Our New (Still Itty Bitty) City Kitchen

I haven’t been posting a lot lately.

But that’s becuase I haven’t been cooking a lot lately.

We spent much of our summer closing on, doing work on and moving into our new apartment.

We’re still in the city.

And my kitchen is still Itty Bitty.

But it’s got a smarter layout and a few more cabinets. Yay storage.

Here it is actually.

I also was really excited to have more counter space.

Until I realized that the fancy hood over the stove meant there was no microwave/vent combo that i had grown used to.

Which meant that we’d have to put a microwave on the counter.

Which meant that I’d lose counter space.

But Dad to the rescue!!

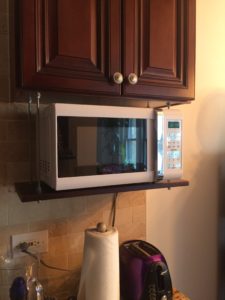
He came up with this awesome idea to use all thread, some nuts and a shelf we had that actually matched the cabinets perfectly.

Holes drilled into the cabinet; holes drilled into the shelf, all thread and some time getting it all level, and voila!

Can’t wait to share with you from our new kitchen!

Lemon Scones

It’s been rainy and dreary here in New York. So we definitely needed something yummy, and warm and comforting.

But it’s also almost Spring (or at least it should be feeling like Spring, ahem, Mother Nature).

So I was thinking of a recipe that would be good for a rainy day but would also hint at the coming of Spring.

My thoughts immediately turned to scones. What’s better on a rainy day than a warm, buttery scone and a mug of tea?

Nothing! That’s right.

But how to spring-ify that scone?

I don’t know about you, but spring always makes me crave bright, citrusy, lemony desserts.

Bingo.

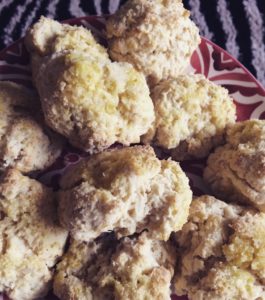
Here you have super simple, super warming scones, topped with a bright lemon sugar.

For the scone recipe you will need:

  • 1.5 cups flour
  • 2-3 tablespoons sugar (depends on how sweet you want them)
  • 2.5 teaspoons baking powder
  • .5 teaspoon baking soda
  • pinch of salt
  • 5 tablespoons unsalted butter
  • 2/3 cup reduced fat buttermilk

Topping

  • zest of one lemon
  • 2-3 tablespoons sugar

Preheat oven to 400.

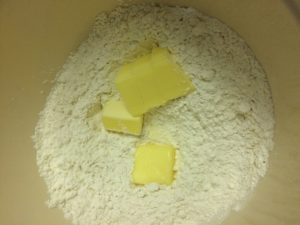
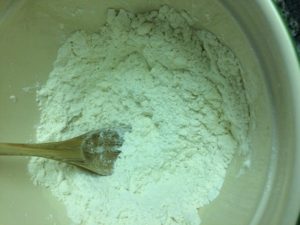
Mix together the dry ingredients and then add five tablespoons of cold butter.

Using a pastry cutter or two knives combine the butter with the dry ingredients.

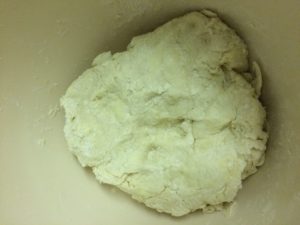
Then make a well and add the buttermilk, stirring until the ingredients come together. You may have to get in with your hands and knead the dough a bit.

Let the dough sit for a minute while, in a bowl, you combine the lemon zest and some sugar to make your lemon sugar topping.

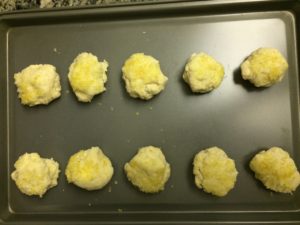
Break off roughly baseball sized balls of dough, loosely form in a ball and press the top into the lemon sugar.

Arrange on an ungreased baking sheet.

Bake for 15 minutes or so.

Buttery, warm, comforting scones with a bright lemon zing.

Come on Spring!

Revisiting Helen’s Cinnamon Rolls

My dad’s mom had six kids, never had a driver’s license and was an amazing cook.

Odd facts to give you, I know, but it helps paint the picture.

She had six kids, so had a lot of mouths to feed.

She also did not have a driver’s license so couldn’t run out to the store whenever. This meant

a. she had to use what was on hand

and

b. she was home all day and had a lot of time while the kids were in school

Every Monday during football season she made cinnamon rolls.

Every Monday.

I really only bust this recipe out for the holidays because

a. it’s a bit labor intensive

and

b. it’s not really itty bitty city kitchen friendly.

But for Christmas, you need cinnamon rolls. And so I turn the dining table into a dough rolling station and get flour all over the living room floor.

I’ve actually posted this recipe before. But I confess that I actually spent some time tweaking it.

GASP

I know. I know.

You don’t mess with grandma’s recipes.

BUT! remember what I said a little while ago? Using what was on hand?

Well, Helen always had margarine and crisco on hand but did not always have butter. So her original cinnamon roll recipe was made with margarine, but I tried it with butter. And oh my goodness are they so much better!

So here is the revised cinnamon roll recipe.

  • 1/4 cup sugar
  • 1 teaspoon salt
  • 1/4 cup butter, room temperature
  • 1/2 cup scalded milk
  • 1 package dry yeast
  • 1/2 cup warm water
  • 3 and 3/4 cup all purpose flour
  • 1 egg, room temperature
  • extra margarine for greasing the dough
  • 2 tablespoons melted butter for brushing the dough
  • cinnamon
  • brown sugar
For the glaze:
  • 1 cup brown sugar
  • 6 tablespoons butter
  • 4 tablespoons hot water
Okay. To get started combine sugar, salt, butterand scalded milk in a large bowl.
Scalded milk is milk heated to just before boiling.
 Dissolve the yeast in a half cup of warm water
When the yeast mix is lukewarm, add it, half the flour and the egg to the sugar, butter and milk mixture.
Continue to stir and incorporate the flour until all of it has been added.
Turn the dough ball out onto a floured surface and knead for a few minutes.

Grease the dough ball with butter, then place back in the bowl, covered with a towel in a warm place.

Let the dough rest and rise for 1 and a half hours.

It will double in size.

Then, punch the dough down, cover and let sit for another 15 minutes. It will rise a bit again.

Now we are ready to get rolling! Preheat the oven to 350.

Flour your work surface. Here’s where the dining table comes into play in our house.
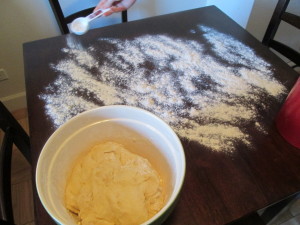
IMG_1514

Roll out the dough into a rough rectangle. We’re going to roll it up like a jelly roll so you want it to be fairly thin.
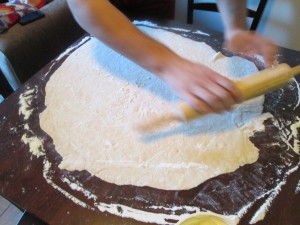
IMG_1518

Brush the dough with melted butter and sprinkle with brown sugar and cinnamon. Be generous.

Starting at one ed, carefully roll it up.
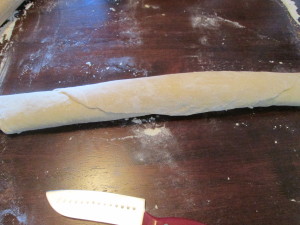
IMG_1521

Leave the dough to sit for a minute while we make the glaze.

In a sauce pan, heat one cup of brown sugar and four tablespoons of hot water, stirring until the sugar is dissolved.
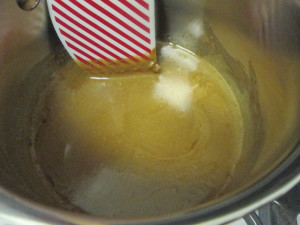
IMG_1516

Add 6 tablespoons of butter and stir until melted.
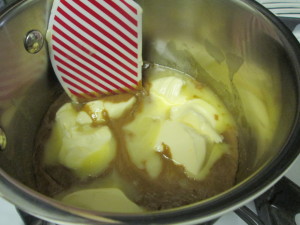
IMG_1517

Pour this sauce into the bottom of a greased 9×13 baking tray.

Stay with me on this one.

Slice the cinnamon roll log up – I got 16 rolls out of this dough – and place the slice rolls in the tray on top of the sauce.
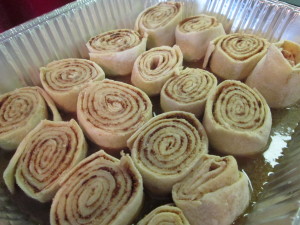
IMG_1522

Bake at 350 for 20-25 minutes. The rolls will absorb the glaze and will puff up.

Let them sit for about 5 minutes so the glaze sets up on the rolls.

Flip.

Enjoy!

Here’s a side by side pre flip so you can see the difference between the butter and the margarine. The left is butter and the right is margarine. The left one just got puffier and fluffier. And let’s face it, buttery-ier. Which is always more betterer
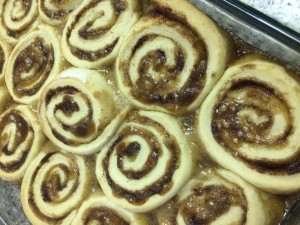
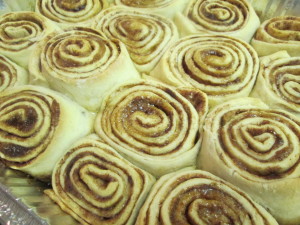
50490851887__d071e00c-b1e0-4fd0-81e9-c17669003bc9 IMG_1526

Blueberry Fairy Muffins

We have many incredible neighbors down the shore. Maybe I’m biased, but I’d say we have the best street in Fenwick.

I mean, I’m almost certain we have the only street with a blueberry fairy.

You don’t know the blueberry fairy?

Well then, you, my friend, are missing out!

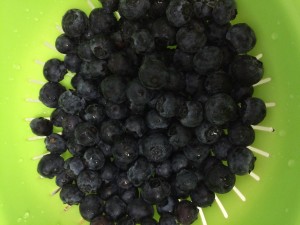
The blueberry fairy goes blueberry picking and then leaves bags of ripe, juicy blueberries on your door in the morning.

IMG_4656

They are the biggest and best blueberries ever, and they are just screaming to be baked into blueberry muffins.

Now, we used to have a blueberry muffin fairy on our street. She, sadly, has passed. So to keep the tradition alive, and to keep the fairy magic on our street, I sprinkled some flour and sugar pixie dust and whipped up these muffins. They’re not quite the same, but pretty darn close.

Thank you blueberry fairy (Colleen!) for the special ingredient.

For the muffins you will need:

  • 1 1/2 cups flour
  • 3/4 cup sugar
  • 1/2 tsp salt
  • 2 tsp baking powder
  • 1/3 cup vegetable oil
  • 1/3-1/2 cup milk (this estimated measurement will make sense later)
  • 1 egg
  • 1 cup blueberries

Preheat oven to 400 and line a muffin pan with cupcake papers.

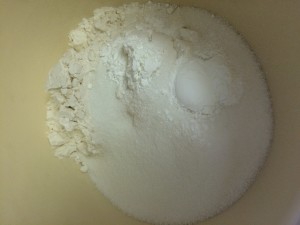
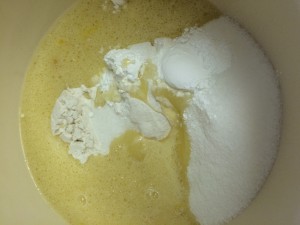
In a large bowl mix flour, sugar, salt and baking powder.

IMG_4657

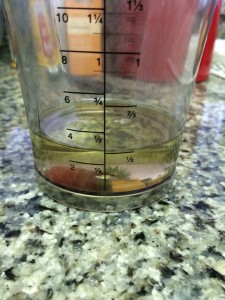
In a large measuring cup (2 cup size is best) measure out a 1/3 cup of vegetable oil.

IMG_4658

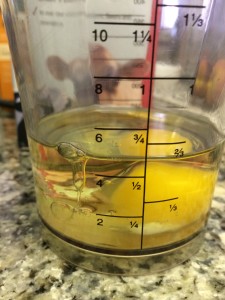
add the egg

IMG_4659

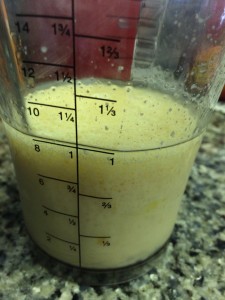
and then pour in enough milk to bring the liquid to one cup (about 1/3 to 1/2 cup of milk)
IMG_4661

Whisk the liquids together.

IMG_4662

Then add to the dry ingredients and stir until well combined.

IMG_4663

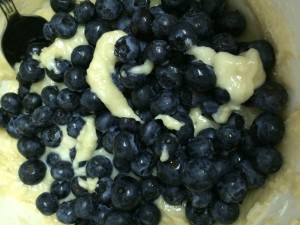
Add your blueberries and carefully fold them into the batter.

IMG_4664

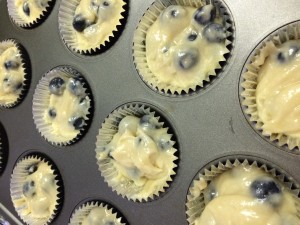
Fill your cupcake liners about 3/4 of the way.

IMG_4665

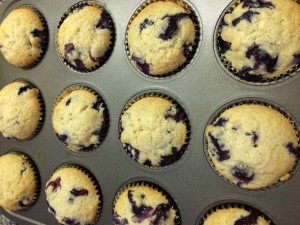
And bake the muffins for about 20 minutes, until golden and a toothpick comes out clean

IMG_4666

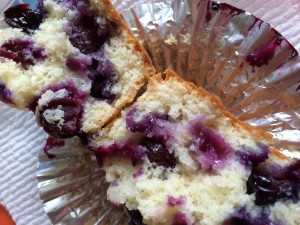
You can let them cool. Or you can break one open and dig in.


IMG_4667

Baba Ganoush


I love Greek and Middle Eastern food and I love eggplant.

So baba ganoush is right there in my wheel house.

I order it every time we are out at a Greek or Turkish restaurant, but for some reason I never thought to try making it. It’s funny, meme (husband’s grandmother) always made hummus and yogurt dips, but she never made baba ganoush. I guess because she, master chef, never made it, I assumed it was hard.

It’s essentially a fire-roasted or grilled eggplant puree mixed with tahini.

Well, I hosted Greek Easter this year for the first time, and, ya know, since I didn’t have enough to do what with all the other food, I turned to my husband and said I’m making baba ganoush.

Have I got news for you all: it’s so easy!

No, seriously.

You don’t need a grill or even a stove with gas burners.

All you need:

  • 1 eggplant
  • 2 tablespoons tahini (or more or less to taste)
  • salt
  • white pepper
  • food processor

Preheat your oven to 450.

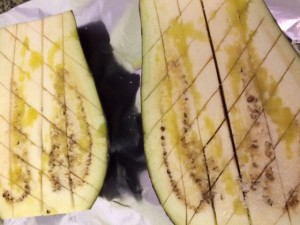
Slice the eggplant in half lengthwise and then score the flesh with your knife in a cross hatch pattern, not going all the way through to the skin. Drizzle with a little olive oil.

IMG_4478

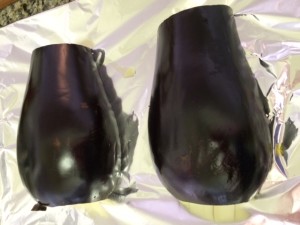
Place cut side down on a foil-lined cookie sheet and place in the oven.

IMG_4479

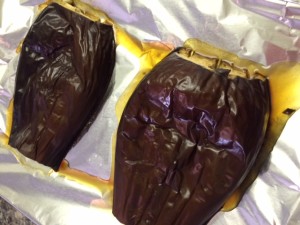
Bake for about 45 minutes, or until the eggplant has basically collapsed.

IMG_4482

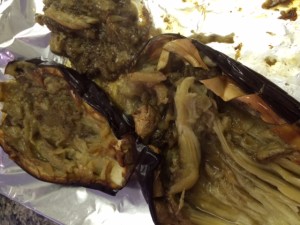
Let cool then flip it over and scrape out the awesomely roasted eggplant with a fork.

IMG_4483

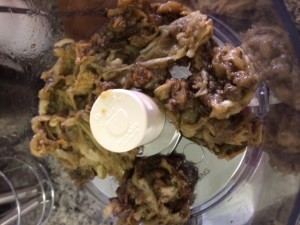
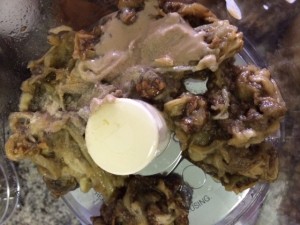
Place the scooped out eggplant into the food processor

IMG_4486

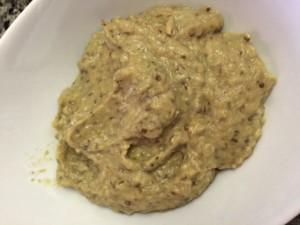
And add the tahini, salt and pepper. Blend until smooth.


IMG_4487

Serve immediately or put it in the fridge to chill. Amazing with veggies or with pita.

IMG_4488

Easiest and Tastiest Cocktail Party Meatballs


Having everyone over our place is a fairly regular occurrence. I always make our friends’ and family’s favorites but I also like to make something new. Don’t want it to get boring now.

One of the challenges of entertaining in a small space, though is making sure you don’t need a lot of ingredients to make a dish (limited cabinet and fridge space) and making sure the preparation isn’t too elaborate (1 pot or pan preferred).

Over the summer we went to our neighbor Nancy’s for a big Labor Day bash. She had these incredibly addictive little spicy meatballs. Bingo. There was my something new for this party.

But Nancy and her husband are in the restaurant biz. Those meatballs could be tough to recreate.

So I put in a call.

And Nancy let me in on the secret to the meatballs.

IMG_2256


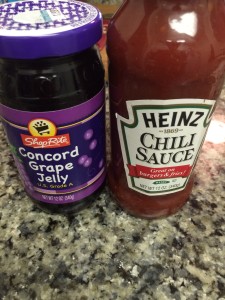
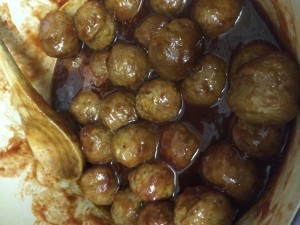
Yup. You see that correct. Grape jelly and heinz chili sauce. Pour into a pot and add in frozen meatballs. Yup. Frozen meatballs. Just regular old, unseasoned frozen meatballs. Let them simmer away in the grape jelly and chili sauce. I used 2 jars of each for 2 pounds of meatballs. Three ingredients. One pot.
IMG_2258

Your guests will never be able to guess what’s in the sauce. And you will be one calm, cool and collected hostess!

IMG_2257

Pumpkin Oatmeal Muffins

There is a hint of a chill in the air here. The mornings start out crisp. The sky is a clear turquoise blue. Summer fruits no longer abound on grocery store shelves.

Fall is coming.

Fall is a warm mug of tea, a hint of cinnamon in the air and pumpkins.

These muffins packed with pumpkin, oatmeal and cinnamon give you something to accompany that mug of tea.

No all you need is a good book.

For the muffins:

  • 1 cup all-purpose flour
  • 1/2 cup packed brown sugar
  • 2 teaspoons baking powder
  • 1 teaspoon cinnamon
  • 1/2 teaspoon salt
  • 1/4 teaspoon baking soda
  • 1 egg, beaten
  • 3/4 cup canned pumpkin
  • 1/4 cup milk
  • 1/4 cup vegetable oil
  • 1 cup old-fashioned oats

Preheat the oven to 375 and line a muffin pan with cupcake liners. I got 12 muffins out of this recipe.

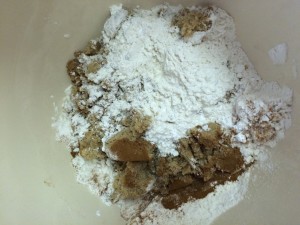
In one bowl, mix the flour, sugar, baking powder, baking soda, cinnamon and salt.

IMG_1538

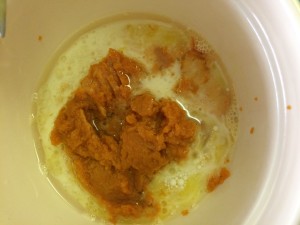
In another bowl, mix the egg, pumpkin, milk and oil.

IMG_1539

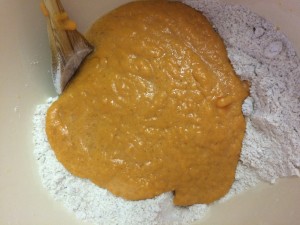
Add the wet to the dry.

IMG_1540

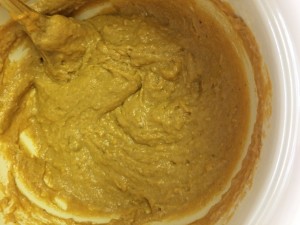
Stir until combined.

IMG_1541

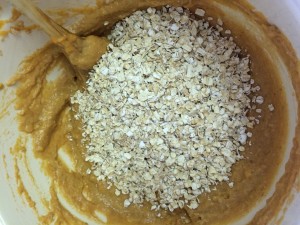
Then add in the oats

IMG_1542

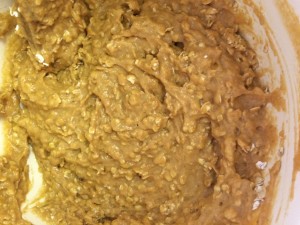
And stir until combined.

IMG_1543

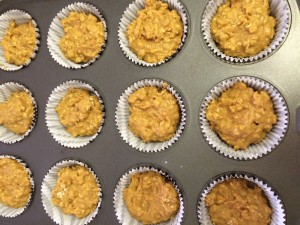
Spoon the mixture into the cupcake liners.

IMG_1544

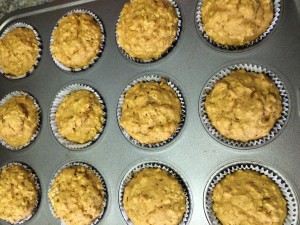
And bake for about 15 minutes. The house will smell like pumpkin pie. Is there anything better?

IMG_1545

Pesto Farro

Lately we’ve been trying to up our lunch game- up the nutrition, up the flavor and up the wow factor- without upping the prep time.

Enter the grain bowl trend.

It’s pretty brilliant actually. Take a grain – think brown rice, quinoa, cousouc- add some vegetables and protein and boom, lunch. Even better? Easy to make in bulk. Boom, lunch for the week.

We discovered farro a few months ago while watching Extra Virgin on Cooking Channel. It’s an ancient grain with a somewhat nutty flavor that you can treat sort of like pasta.

I buy the kind that you cook just by boiling in water for about 20 minutes.

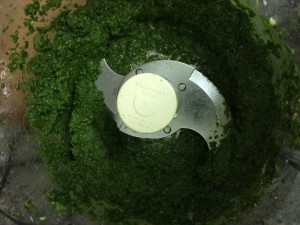
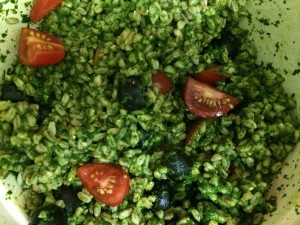
I whipped up some basil pesto

IMG_0631

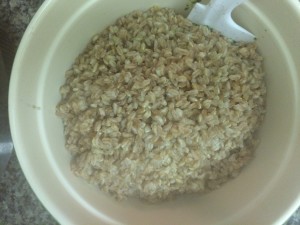
boiled the farro

IMG_0633

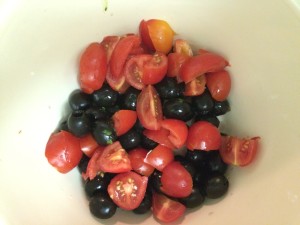
sliced some tomatoes and black olives

IMG_0632

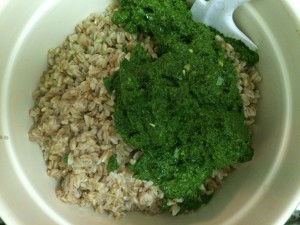
And poured it all into a big bowl


IMG_0634

stirring until the pesto coated every grain.

IMG_0635

Portioned out in tupperware containers, this was an easy grab and go lunch for the week.

Croque Madame

The very first meal we ate in Paris was croque madames while the hotel got our room ready.

That was when I learned about the French way- your room being ready upon arrival really means your room being ready after the maid has had her nap.

So, tired after the train ride from London, we took our bags to the closest cafe and ordered two pernods and two croque madames.

A croque monsieur is essentially  french ham and cheese sandwich. It becomes a croque madame when you add a fried egg.

You will find these sandwiches on the menus of every cafe lining Paris’s streets, and, if you have one you’ll know why. They’re so simple, yet so incredibly delicious with the toasted bread, the buttery, melted cheese and the salty ham. The runny egg yolk is la piece de resistance.

I’ve had a travel itch lately, so when that happens, I tend to recreate meals we had on our travels, to give myself the illusion of being elsewhere.

For the croque madame you will need

  • Bread
  • ham
  • cheese (traditionally gruyere but anything that melts well will work)
  • butter (because what’s a French dish without butter?)
  • eggs

A traditional croque monsieur or madame is made with a beschamel. That’s lovely when you’re on holiday, but a little too heavy for everyday eating. So I eliminated the sauce and made something a bit more akin to a grilled cheese.

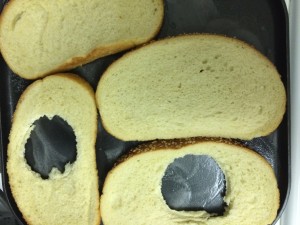
Start by using a biscuit cutter or a glass to cut a whole in two slices of your bread.

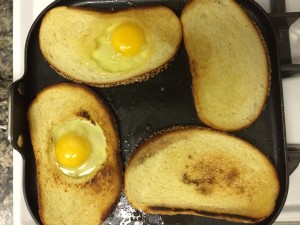
Butter a skillet and toss the two slices with holes and two more slices into the melted butter. Cook over medium heat until browned.

IMG_0638

Once browned, flip the bread and carefully crack an egg into each hole- sort of like when you make egg in the holes. Okay, exactly like when you make egg in the hole.

IMG_0639

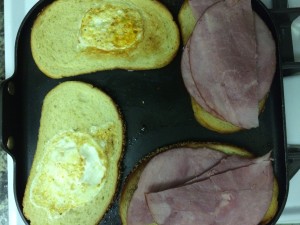
Once the egg is cooked but still runny, top the non-egg bread with slices of ham.

IMG_0640

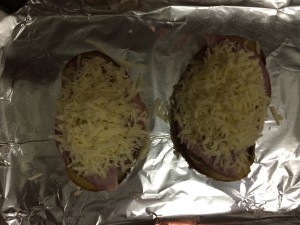
Remove the ham side from the skillet and place on a foil-lined cookie sheet. Top the ham with shredded cheese and pop under the broiler to melt the cheese.

IMG_0641

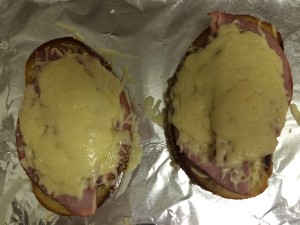
It only takes a minute or two to get the melty gooey perfection, so don’t go anywhere.

IMG_0642

If you want to be extra decadent, you can also top the egg-bread with cheese and pop under the broiler.

So that when you make your sandwich, you have two doses of cheese.

IMG_0644

Egg-in-the-hole-meets-grilled-cheese-meets-taylor-ham-sandwich.

My version of a croque madame.

C’est Magnifique.

Tater Tots!


Yup. Tater Tots!

I’m not joking.

I made them in our tiny kitchen, and they were super easy!

For some reason, I assumed that tater tots would be a complicated endeavor involving multiple ingredients.

But, like most of the best things in life, they are incredibly simple.

And they only take 4 ingredients.

  • Baked potatoes
  • 1 tbs flour
  • 1 tsp salt.
  • Vegetable oil for frying

I made these for the Super Bowl, and man did they make great Game Day snacks!

I used 2 potatoes and got about 40 tots.

Start by preheating your oven to 400 and then baking potatoes as you would for ordinary baked potatoes. Leave yourself enough time for them to cool completely before making the tots.

IMG_3987

Peel the potatoes (why you want them to be completely cooled) and use a box grater to shred them.

IMG_3988

Place shredded potatoes in bowl.

IMG_3989

Add flour and salt and then mix.

IMG_3990

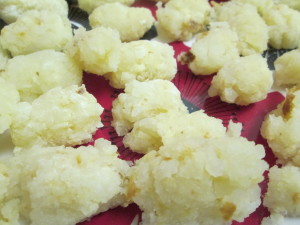
When mixed, it’s time to form the tots.

I tried my hands first.

IMG_3991

But after 2 or 3 tots, my hands were a sticky potatoey mess.

So I pulled out two teaspoons and used those to form my tots.

IMG_3992

Line up the tots on a plate as you make them.

IMG_3994

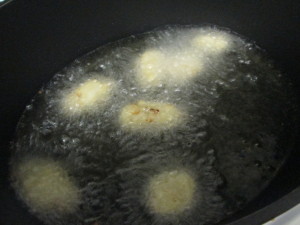
Now it’s time to get the oil ready. You want a sturdy pot with fairly high sides. Pour in enough for there to be 1 inch of oil on the bottom. Heat over mediu. The oil is hot and ready when you still a wooden spoon in and bubbles for around it. (Or, you can use a thermometer and check for 350, but this lil kitchen doesn’t have room for all those fancy tools).

When the oil is hot, carefully drop in a few tots. Don’t overcrowd the pan. Also, don’t walk away. They go fast. About 2 minutes per side.

IMG_3995

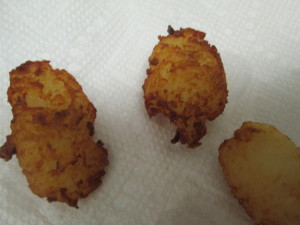
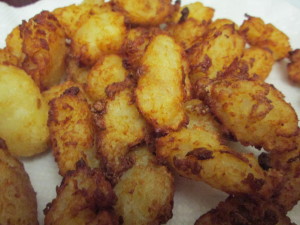
When golden brown, pull out the tots and place them on a paper towel-lined dish.

IMG_3996

Get your favorite dipping sauce and enjoy your tots on the couch, in your sweats, with the game on.


IMG_3997