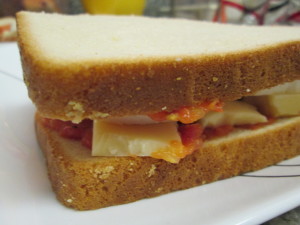
Roasted Tomato Grilled Cheese

IMG_2492

A juicy tomato nestled in a gooey grilled cheese is one of life’s simple pleasures.

And two slices of white bread, some cheese and a tomato slice has its place.

But sometimes, you want to pump it up a bit.

And that’s where roasting tomatoes comes in.

Preheat the oven to 400 degrees.

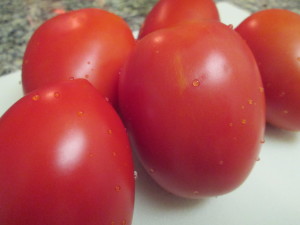
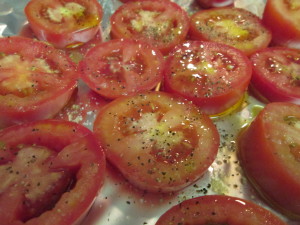
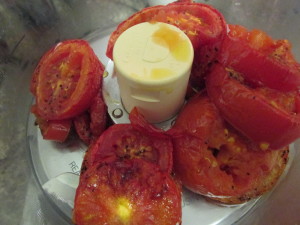
Slice your tomatoes and place them on a foil-lined cookie sheet. Season with olive oil, salt and lots of black pepper.

IMG_2493

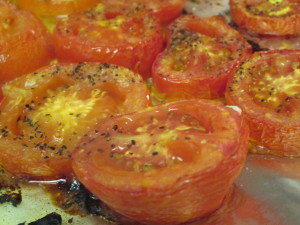
Roast for about 45 minutes, until the tomatoes are toasty and golden.

IMG_2494

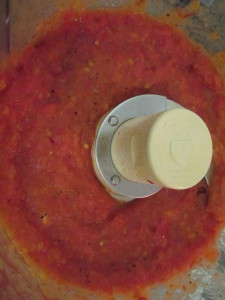
Place the tomatoes in your food processor or blender

IMG_2495

And blend til you have a smooth spread

IMG_2496

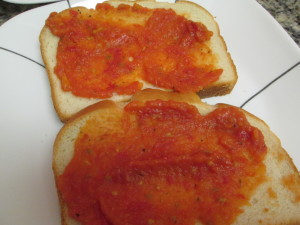
Spread the tomato sauce on both sides of your bread

IMG_2497

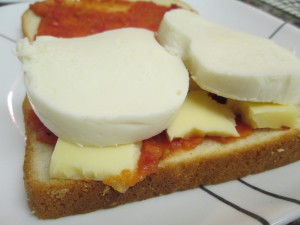
layer with mozzarella and fontina

IMG_2498

and lid it.

IMG_2499

melt some butter on a skillet and place your sandwich in the pool of butter.

IMG_2500

Cook until golden brown, then flip and cook the other side.

Slice and enjoy.

IMG_2501

Quick Quesedillas

This is a non recipe recipe.

This is for one of those nights when you need something to eat super quickly and you really can’t be bothered with real cooking.

Or when you have hungry kids who need food immediately.

Or, for one of those nights when you come home from the bar and you can’t find a pizzeria and you need something to soak up the alcohol.

I’m not judging.

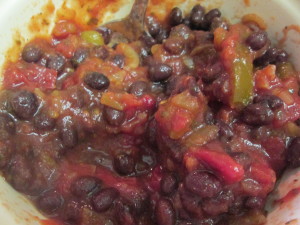
So I took a jar of salsa and mixed it with a can of rinsed and drained black beans.

IMG_2604

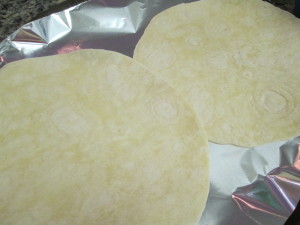
Put two tortillas on a foil-lined baking sheet.

IMG_2605

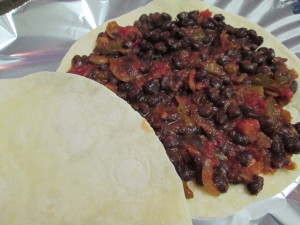
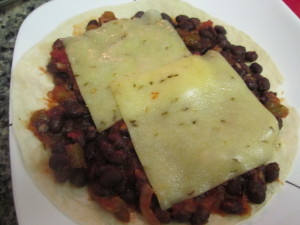
Spooned some of the bean and salsa mix on one of the tortillas

IMG_2606

Added some monterey jack cheese

IMG_2607

And popped it under the broiler for a few minutes

IMG_2608

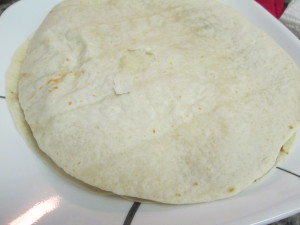
Top with the naked tortilla.

IMG_2609

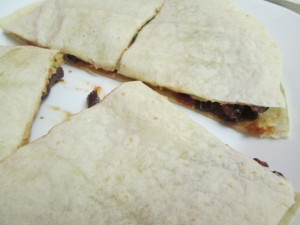
Slice into fourths.

IMG_2610

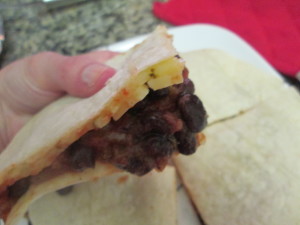
And nom.

IMG_2611

After school snack. Quick dinner. Sober-you-up food.


Noodles with broccoli and cabbage

I love pasta.

In any form.

And I mean any form.

Think beyond Italian here.

A nice big bowl of noodles with vegetables in a rich peanut buttery and sesame and sauce?

I’m all in.

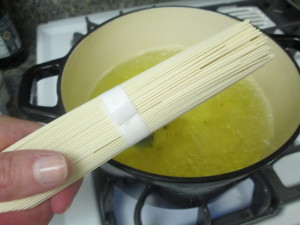
I recently discovered soba noodles. Let me tell you, they are your best friend if you need to get dinner on the table fast. They cook in like two minutes and they are great hot right away or cold as leftovers the next day. Soba noodles are super thin buckwheat noodles that provide vitamin b, manganese and can help lower cholesterol.

IMG_2599

Healthy little noodle!

I pile mine high with vegetables and whip up a quick little sesame sauce to toss everything with.

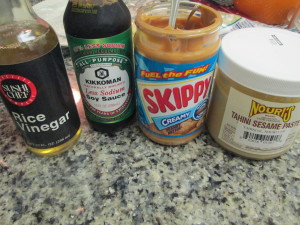
For the sauce you will need creamy peanut butter, tahini, rice wine vinegar and soy sauce

IMG_2596

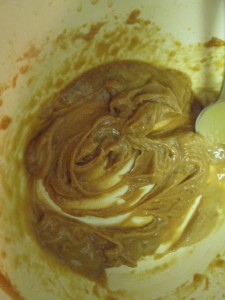
Mix together 1 teaspoon of each ingredient in a large bowl. Start with a teaspoon and then taste. You may want more sesame than peanut, or more vinegar than the salt from the soysauce, so adjust accordingly.

IMG_2597

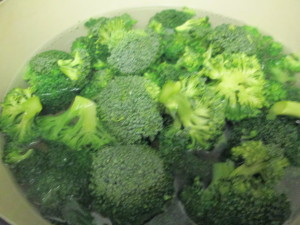
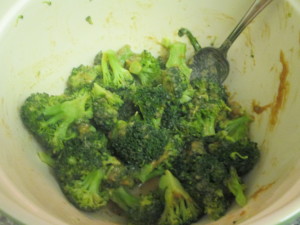
Bring a pot of water to a boil and toss in some broccoli. You can use whatever vegetables you wish really, but I’m partial to broccoli and cabbage.

cook the broccoli for a minute or so. You want it to be crispy still.

IMG_2595

Use a scoop to remove the broccoli and leave the water behind. Toss the broccoli into the bowl with your sauce. It’s okay if some water goes in too. It will thin out the sauce and help you coat the broccoli.

IMG_2598

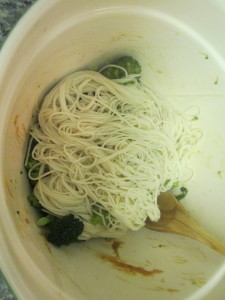
We’re going to cook the noodles in it. 1. we only dirty one pot that way and 2 the noodles pick up a hint of the broccoli flavor from the water.

When the noodles are cooked, toss those in with the broccoli.

IMG_2600

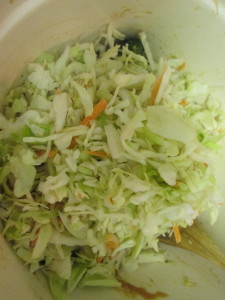
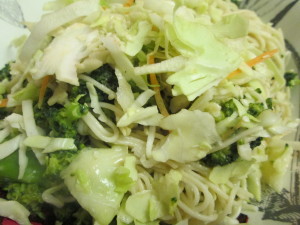
Then add a few handfuls of shredded cabbage. I use coleslaw mix because it’s cheap, it’s easy and you get cabbage and carrots!

IMG_2601

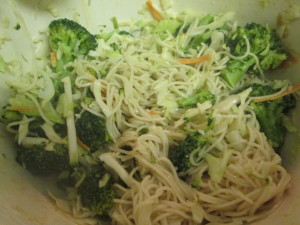
Give the bowl a big stir, coating everything with the sesame sauce.

IMG_2602

Serve up in bowls topped with a sprinkle of sesame seeds.

IMG_2603

Takeout?

Why bother!


Mushroom and Leek Frittata

Frittata is basically the Italian version of quiche.

Only it’s better.

Not because it’s Italian

But because you make the whole thing in one pot.

Score!

Mushrooms and leeks are a fantastic combination. Leeks, if you’ve never had them, have a very mild onion flavor and, because of their light flavor, crispness and pretty green color, they just feel so springy!

Only word of warning, leeks are sandy and gritty. you have to really wash them thoroughly. Preferred method? Slice them in half length-wise, then cut into small slices. Fill a large bowl with water and the drop slices in. The sediment will fall to the bottom.

For this dish you will need

white button mushrooms, sliced

2 leeks, cleaned and sliced

4 eggs

splash of milk

shredded fontina (optional)

olive oil

salt

pepper

Drizzle olive oil in an oven-proof skilled. If you don’t have one, then you’ll just transfer the whole thing to a baking dish and wind up with a two pot dinner instead of a one pot. Still not terrible.

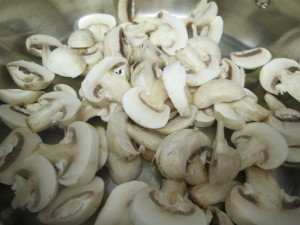
Toss in the mushrooms and cook over medium heat.

IMG_2576

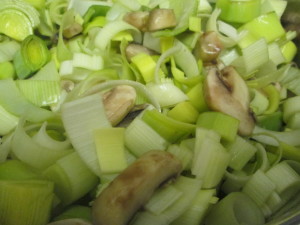
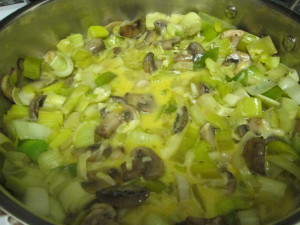
when the mushrooms start to brown, add in the leeks and let them cook for about 10 minutes, until soft.

IMG_2577

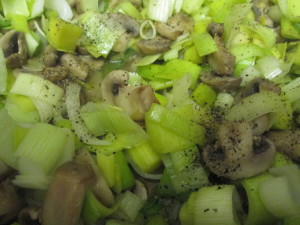
season with salt and lots of black pepper and stir.

IMG_2582

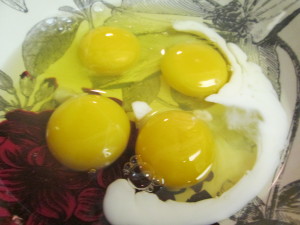
Meanwhile, in a bowl whisk together 4 eggs and a splash of milk.

IMG_2584

If you are using, add the grated fontina to the eggs and stir

IMG_2585

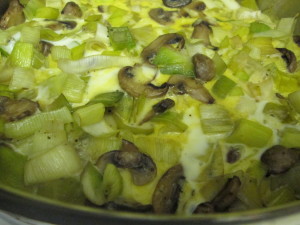
Lower the heat on your mushrooms and leeks (or transfer them to a baking dish) and pour the eggs over the veggies.

IMG_2586

If you’re using the frying pan to bake them, bring the heat back up to medium and cook the eggs a bit, maybe 5-7 minutes.

If you’ve transferred to the baking dish, skip this step and instead pop into a 375 degree oven for about 20 minutes.

Either way, cook until the eggs are set. Frying pan method requires less time in the oven as we pre-cooked the eggs a bit.

IMG_2587

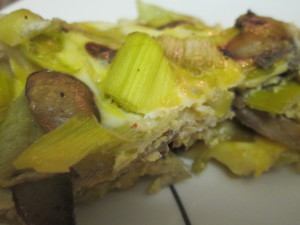
Slice up and enjoy.

IMG_2588

Lemon cookies

What a lovely spring day!

And Love is in the air

Today is our  anniversary!  It’s been one heck of a crazy ride – kayaking to the queen’s island, navigating London and Paris, cooking a lot, oh yea, and, of course, saying yes!

I love ya babe and I’m looking forward to all the good things to come.

And if life sends bad things our way, well then, we’ll just take lemons and make lemon cookies!

Because these are seriously amazing.

And!

These are getting into bikini shape friendly cookies. No butter, no milk, no eggs!

Just citrusy lemony goodness.

  • 2 ½ Cups Flour
  • 1 ½ Cups Sugar
  • 2 tsp Baking Soda
  • ¼ tsp salt
  • 2 tbsp Lemon zest
  • ¾ Cup vegetable oil
  • ½ Cup lemon juice (about 3 lemons)
  • 2 tsp Vanilla Extract

Preheat the oven to 350

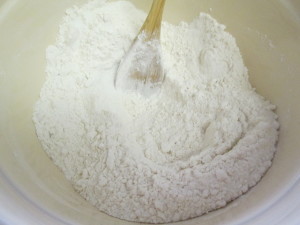
Mix flour, sugar, baking soda and salt in a bowl.

IMG_2523

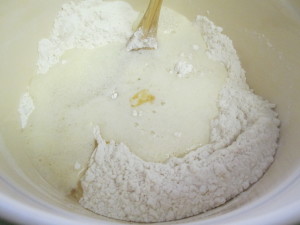
Make a well and add lemon juice, vegetable oil and vanilla.

IMG_2524

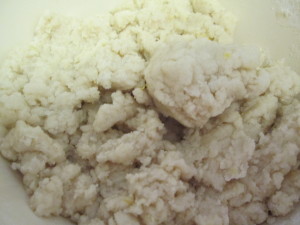
and mix until combined

IMG_2526

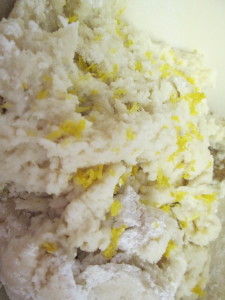
add in the lemon zest and gently mix again

IMG_2525

roll the dough into one inch balls and place on an ungreased cookie sheet.

IMG_2527

bake for about 10 minutes.

The cookies are light and fluffy with a lemony zing.

IMG_2528

I got 33 cookies from this dough. Which seems appropriate as today is our 3 year anniversary.

Kalamata Olive, Feta, Arugula Pizza


Friday night in my house has always been pizza night.

Which is very convenient during Lent when you need meat free dinners on Friday nights!

Now, pizza every Friday can sound a little boring.

But the thing about pizza is the possibilities are endless.

Mushroom ricotta, tomato basil, broccoli mozzarella…

Or, for something a little different, how about a Greek pizza?

Kalamata olives, feta and arugula.

Preheat the oven to 425.

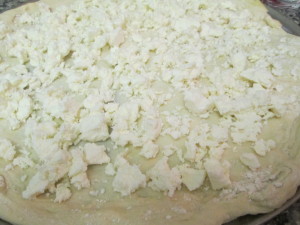
Stretch out your dough and sprinkle with feta.

IMG_2517

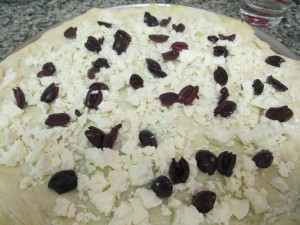
Add some pitted and chopped Kalamata olives

IMG_2518

And then toss into the oven for about 10 minutes. We want to cook most of the way.

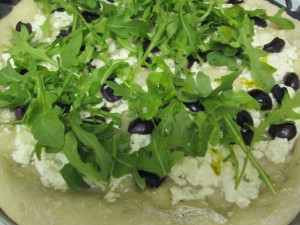
Then we’re going to remove form the oven, and sprinkle with arugula and add a drizzle of olive oil.

IMG_2519

Back in the oven for another 4 minutes or so to wilt the arugula.

IMG_2520

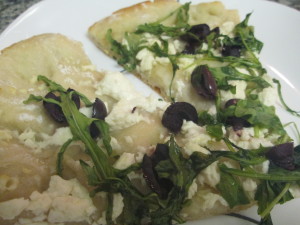
Then slice and enjoy.

IMG_2522

A blend of Greece and Italy.

Hey, just like me and my fiance!

Jam-Filled Thumbprint Cookies

Pump up the Jams! It’s Friday!

And it’s time for Jam-filled cookies.

IMG_2515

I love me a jam-filled cookie. It’s one of the few vending machine snacks I find it hard to resist and it’s the one in the Italian cookie assortment I reach for first.

(My real favorite in the Italian cookies is the tri color pink, green and yellow spongey cake-like cookie, but no one else likes those, so I don’t have to reach for that first. They’re always left behind.)

The beauty of the jam-filled cookie is the way it walks the line between a butter cookie and shortbread cookie but then brings another friend to the party with jam.

These cookies are super easy and you probably already have everything in your kitchen already.

  • 1 stick of butter, room temperature
  • 1/4 cup sugar
  • 1 egg
  • 1/2 tsp vanilla
  • 1 cup flour
  • 1/2 tsp salt
  • jam of your choice (I used strawberry)

Preheat the oven to 350.

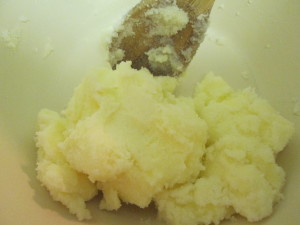
Cream together the butter and the sugar.

IMG_2506

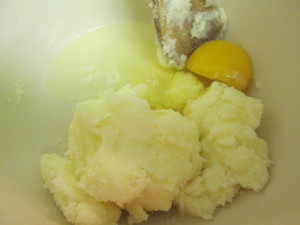
Add the egg and the vanilla and mix

IMG_2507

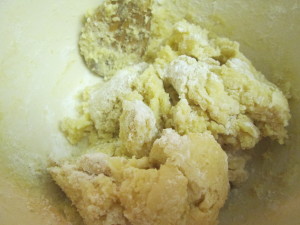
Add the flour and mix

IMG_2508

Pop the dough in the refrigerator for 15 minutes.

Lightly grease a cookie sheet.

When the dough is chilled a bit, roll into one inch balls and place on the cookie sheet

IMG_2509

Truthfully, I never manage one inch balls. I always look at them and think, wow, that’s a sad cookie, and add more dough. So while you should be able to get 20 cookies from this dough, I got 15.

I like a hefty cookie.

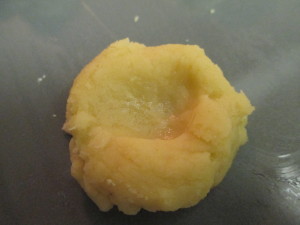
Now, lightly dampen your thumb and press gently into the center of a cookie (thumbprint cookies!)

IMG_2510

You’ll leave a little indent

IMG_2511

Which we’re going to fill with jam!

IMG_2512

Continue until all the cookies are indented and filled. Be careful not to overfill.

IMG_2513

Bake for about 10-12 minutes.

IMG_2516

You will be tempted, but do not eat these right out of the oven. They will be delicious, but they will also be like molten lava and will scald your mouth.

Let them cool before enjoying.

They are slightly reminiscent of a buttery and jammy scone.

The perfect cookie for afternoon tea!


Indian Spiced Baked Eggs

In keeping with yesterday’s post about expanding our spice palate, today’s dish takes some plain old ingredients on an exotic Indian spice journey.

This recipe comes via the New York Times, though, in my usual fashion, I tweaked it a bit. Also, I started with my oven at 375, but it just was not cooking the eggs. At least not in the 8 to 13 minute time frame they gave. So I upped it to 400. Sorry New York Times, but you may want to double check that.

You will need:

  • 5 yukon potatoes, boiled until tender
  • 1 white onion, sliced thinly
  • 1 can whole peeled tomatoes
  • 4 eggs (2 eggs per person)
  • olive oil
  • 2 cloves of garlic, chopped
  • 1 teaspoon ground coriander
  • 1 teaspoon garam masala
  • salt

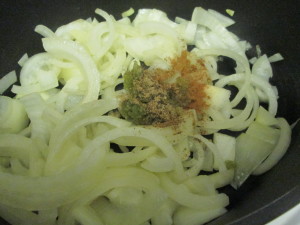
Drizzle olive oil into a skillet and toss in the onions and the spices.

IMG_2440

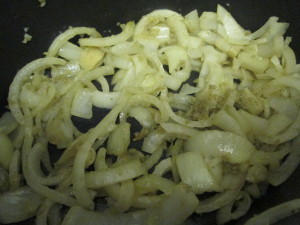
Let these cook over medium until they have softened

IMG_2441

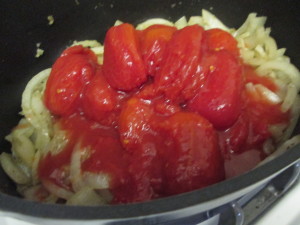
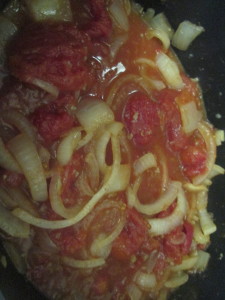
Then add the can of tomatoes and let them cook with the spiced onions

IMG_2442

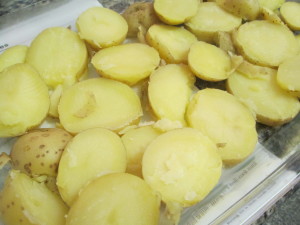
Meanwhile, slice the potatoes into coins and line a 9×13 baking dish with the slices

IMG_2447

Check on your tomatoes and onions and break them up with the back of a spoon.

IMG_2448

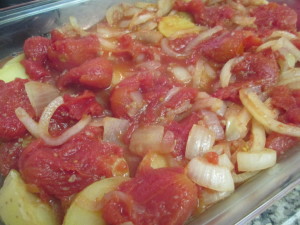
When the mixture is cooked, carefully pour over the potatoes. Pop this into a 400 degree oven for about 15 minutes so the tomatoes and onions bake into the potatoes a bit.

IMG_2449

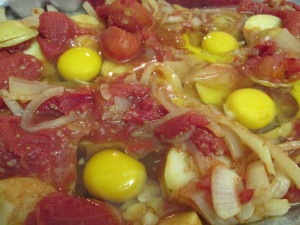
Remove from the oven and, using a spoon, make four wells in the mixture and carefully crack an egg into each. I suggest cracking into a bowl and the sliding the egg into the well to avoid breaking the yolk.

IMG_2471

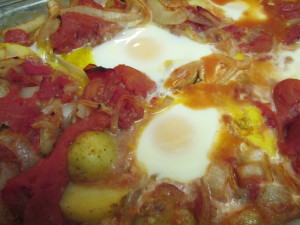
Each egg will be surrounded by the warm tomatoes, which will start to cook the eggs. Back into the oven for about 12 minutes, or until the eggs are set.

IMG_2476

The garam masala and coriander take eggs and potatoes from boring and basic to anything but.

Halebi Biber – or Holla Baby Bear

Hooray! We made it to Hump Day!

And to the letter H.

Today I’m not going to share a recipe. Instead I’m going to share a spice with you.

Sometimes you walk into the grocery store and you look around and you see all the vegetables and fruits and you just think, bleh, I’ve cooked with all of this before!

And it’s true. You probably have made so many eggplant dishes, or roasted potatoes or pasta primaveras that you just can’t imagine another one.

Well, instead of trying to find exotic new produce, how about changing up your flavor profile? How about spicing things up a bit?

Haha. See what I did there?

But seriously.

Changing out your basil and oregano for some smoked paprika and garam masala can give the same ‘ol same ‘ol an exotic new kick.

So I want to introduce you to Halebi Biber.

It’s sort of pronounced like holla baby bear, if you said it really quickly, so that’s become the joke in our house. (See my most on Grape Leaves for the origin.)

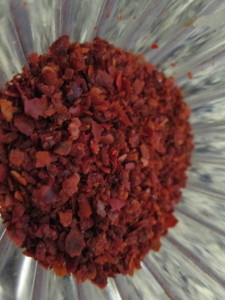
I had never heard of this spice until I started cooking with my fiance’s grandmother. It’s a spicy red pepper that gets spicier as it cooks. Yes, I learned that the hard way.

IMG_2503

I’m actually going to let my FMIL (future-mother-in-law) tell you about it.

Patty says:

For those who don’t know what “Halebi Biber” is – it’s grounded fresh red pepper that you buy in Armenian/Sirian specialty stores. “Haleb” is really called and spelled Alep or Aleppo and in Arabic they say Haleb. It is a city of northwest Syria near Turkish border inhabited as early as the 6th millennium B.C. Alep was a key point on the caravan route across Syria to Baghdad and later a major center of Christianity in the Middle East. It is now the country’s largest city. I am assuming that [back in the day…] Aleppo “Haleb” must have had the best red pepper for that region so when Armenians use red pepper the name stuck. Halebi (Alep, Seria) and Biber (means pepper)! And there is a little history on where Halebi Biber came from.

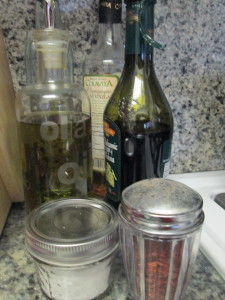
So, what can you do with this fun new spice? I keep mine in a a cute little shaker on the counter next to my salt, oil and vinegar. It’s a great addition to a salad dressing.

IMG_2505

It adds a nice little kick to soups and chilis. I’ve even used it to season my ground beef when making tacos.


pasta e Fagioli

I missed E on the A to Z challenge. I got hit with a stomach bug and couldn’t manage anything more than channel surfing on the couch.

I’m going to cheat a little and sneak in the e here with the f. The first thing I was able to eat was scrambled eggs. Made by mom. You’re never too old to ask mom to come take care of you when you’re sick! And no matter what, mom’s scrambled eggs always taste better than mine.

So now I’m on the mend and I’m moving on to F.

Fagioli is Italian for beans.

Pasta e Fagioli is, simply, pasta and beans. It’s one of those amazingly simple Italian dishes that is really one of those poor man’s meals. I mean, it’s pasta and beans. Cheap ingredients. But those are the kind of meals that are the best.

Simple ingredients will always make the most delicious dinners.

There are two ways of making it. One’s in a red sauce and one’s in a garlicky white sauce. My family is partial to the red, so that’s what this recipe is for.

I’ve made it a couple times and have tweaked the recipe every time. But this time, I got it.

My fiance and my dad both told me to continue to make it this way. There are some times when you just don’t argue with the men in your life.

You will need:

  • 1 15 oz can whole peeled plum tomatoes
  • 1 can of cannellini beans
  • 1 small white onion, chopped
  • 3 stalks of celery, chopped
  • 2 cloves of garlic, chopped
  • 2/3 cup tomato puree
  • 1-2 cups of water (depending on how thick you want it)
  • 2 cups elbow macaroni (or any other short pasta)
  • olive oil
  • salt
  • pepper

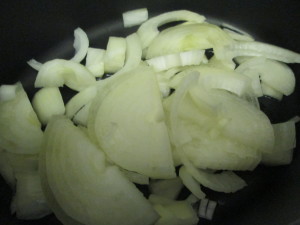
In a heavy-bottomed soup pot, drizzle some olive oil and toss in the onions. Turn to medium heat.
IMG_2437

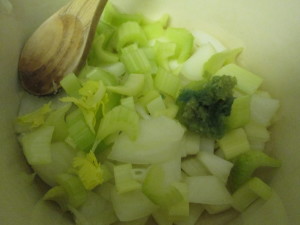
When the onions are translucent, add the celery and the garlic. (My garlic is green. I know. As a time saver, we crush a bunch of garlic cloves and put the crushed cloves in a container with some olive oil and store it in the fridge. This is a meme trick. If the garlic is young, it will react with the olive oil and turn green. It’s fine. There’s nothing wrong with it. It’s just the color of the stuff that turned the turtles into the Teenage Mutant Ninja Turtles.)
IMG_2436

Let the celery soften, then add the can of tomatoes.
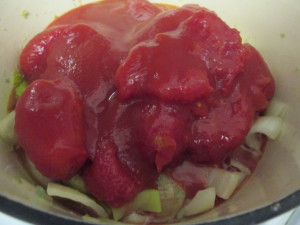
IMG_2438

And the tomato puree and 1 cup of water. Season with salt and pepper and let the mix simmer for about 15-20 minutes.
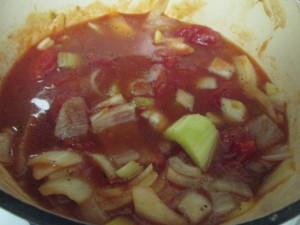
IMG_2439

Turn the burner off and, using an immersion blender (or a blender or food processor) blend the mix.
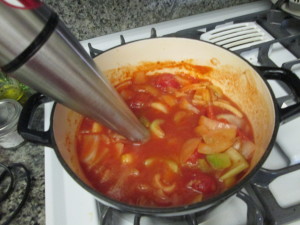
IMG_2443

If, at this point, the mix is too thick for your taste, add in more water.
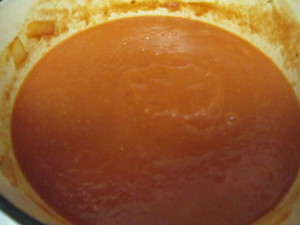
IMG_2444

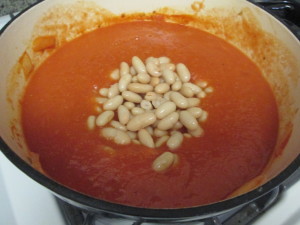
Turn the heat back to medium and add the rinsed and drained cannellini beans.
IMG_2445

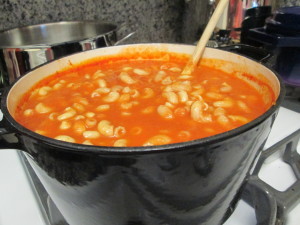
and your pasta and give a big stir.

IMG_2446

Let this simmer for about ten minutes, until your pasta is cooked. You can let it go for longer on low. At this point, you can also pop it in the fridge for dinner another night.
IMG_2450

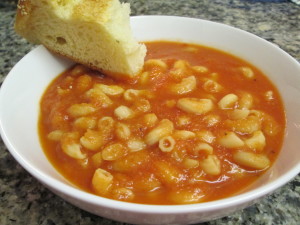
Dish up a big bowl, add a piece of crusty bread and mangia!
IMG_2451