Barbecue Chicken Pizza

I saw this recipe over at Sally’s Baking Addiction and immediately started drooling.

I sent it over to the fiance and asked what he thought of it.

I don’t know why I even wasted time asking!

I made it last night figuring it’d be good hockey food. And it’s totally great for watching Stanley Cup playoffs and will definitely be in the rotation once football season starts. The only slight problem is it’s so good and we ate so much of it that we kind of hit food coma and may have missed the overtime period for Kings vs Blackhawks.

But, hey, there’s always the highlights!

So this pizza combines a few simple ingredients for a taste that is out of this world.

You will need

  • pizza dough (frozen dough that’s been thawed is fine)
  • shredded mozzarella
  • shredded smoked gouda
  • 1 red onion, sliced
  • 1 chicken breast, shredded
  • barbecue sauce

Preheat the oven to 400 degrees.

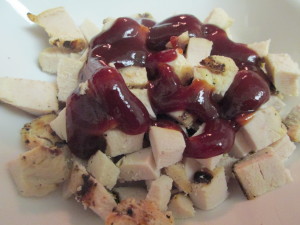
In a small bowl, mix together the chicken and a tablespoon of barbecue sauce.

IMG_2707

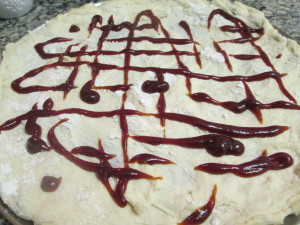
Stretch your dough and place on a pizza pan. A cookie sheet flipped over works too. Drizzle the dough with barbecue sauce.

IMG_2708

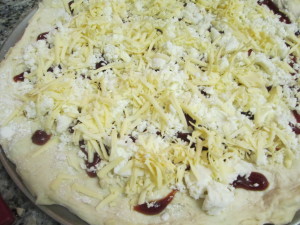
Layer on the mozzarella and the smoked gouda.

IMG_2709

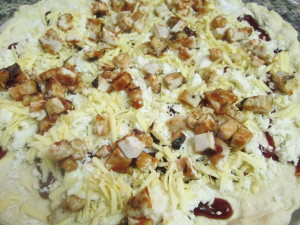
next add your barbecue sauce tossed chicken.

IMG_2710

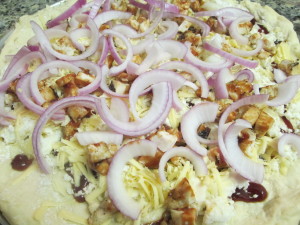
Last, top with your red onion slices

IMG_2711

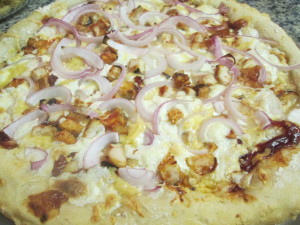
Bake for about 15 minutes, until the cheese is melted and the crust is golden.

IMG_2712


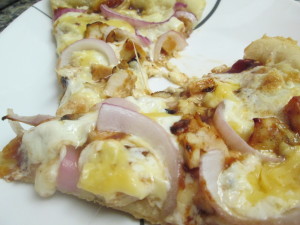
Slice, and enjoy.

IMG_2715

Potato and Leek Frittata

Whenever I have no idea what to make for dinner, I turn to frittatas.

They’re the perfect meal when you’re stumped because 1. they’re really easy and no one wants to be stumped and faced with an impossible recipe 2. they’re really versatile so you can easily just grab what’s in the fridge or what looks good at the grocery store and 3. they’re a one pot meal! and who wants to wash more than one pot?

I’m a big fan of potato leek soup, but with the weather finally warming up, I wasn’t in the mood for a hot bowl of soup.

So, light bulb! I turned my favorite soup into a frittata, and boom, dinner!

For this dish you will need

  • 2 leeks, sliced and thoroughly cleaned
  • 3 yukon potatoes, boiled until just tender, then cubed
  • 4 eggs
  • a splash of heavy cream
  • olive oil
  • salt
  • pepper
  • gruyere

Drizzle olive oil in the bottom of an oven proof skillet. If you don’t have one then you will need to use a skillet and a baking dish. Not the end of the world. If you do have an oven-proof skillet, go with one that has a bit of depth to it so you can pile in the ingredients.

Preheat the oven to 400.

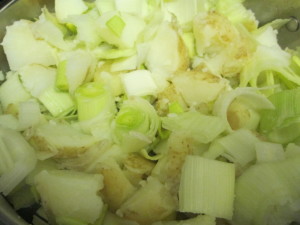
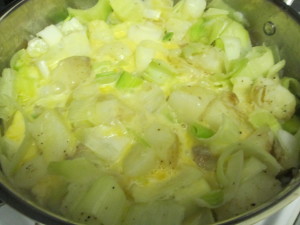
Toss your potato cubes and leek slices into the pan.

IMG_2702

Le them cook over medium heat for about 10 minutes or so. Then season with salt and pepper and more oil if needed.

IMG_2703

Meanwhile, beat together 4 eggs and splash of heavy cream and pour the mixture over the potatoes and leeks.

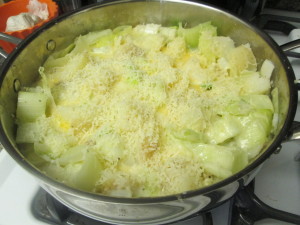
Le this cook for about 5-7 minutes, just so the eggs start to set. The sprinkle with grated gruyere.

IMG_2704

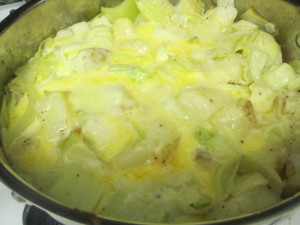
Pop in the oven for about 10 minutes or until the eggs have set.

IMG_2705

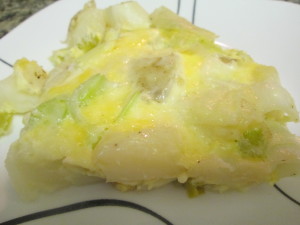
Slice and voila.

IMG_2706

The dinner conundrum, solved.

Banh Mi Hot Dog

It’s Memorial Day Weekend! And that means it’s time to slather on the sunscreen and fire up those grills!

Burgers and dogs are the classics for a barbecue, but how about sprucing up the condiment station and giving guests something more than the ketchup, mustard and relish they’ve grown accustomed to?

How about some sriracha yogurt sauce, some cucumbers, cabbage and bean sprouts?

That’s right.

I’m talking about making a banh mi hot dog.

A banh mi is a Vietnamese sandwich made with pork and traditional Vietnamese ingredients like cilantro and pickled carrots.

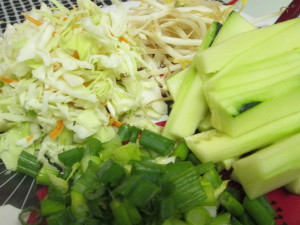
For our version, we set out a plate with sliced cucumbers, scallions, bean sprouts and shredded cabbage. And mixed up a sauce of Greek yogurt and a few dashes of sriracha.

IMG_2698

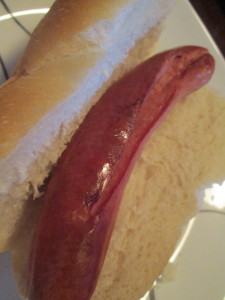
So this Memorial Day, turn your plain old hot dog

IMG_2699

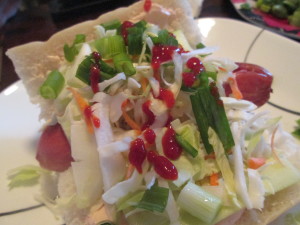
Into a spicy, Vietnamese-style banh mi dog

IMG_2700

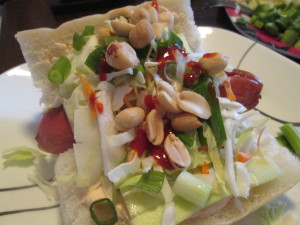
For additional crunch, we topped ours with some chopped peanuts.

IMG_2701

That Thai iced tea we made yesterday went great with the dogs. Really cools down the srirachi sauce!

Pad Thai and Thai Iced Tea

Let’s take a little break from the pizza and the pasta.

Don’t get me wrong, I love all the yummy Italian food that my mom and grandma always cook.

But sometimes, I want to get a little adventurous in the kitchen.

Plus, our favorite Thai restaurant started to suck.

So instead of ordering again and be disappointed again, I took matters into my own hands.

I decided to make a simplified pad Thai. It’s noodles. Noodles are familiar! And then I decided to get a little fancy and make some Thai iced tea. Both were surprisingly easy. And delicious.

And required very few ingredients.

For the iced tea you will need 6 black tea bags, 6 cups of water, 3/4 cup sugar and some coconut milk.

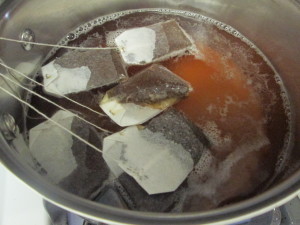
Bring the water to a boil and then add the tea bags and the sugar. Let boil for about 3 minutes, then turn off the heat. Let the tea steep for about 30 minutes.

IMG_2684

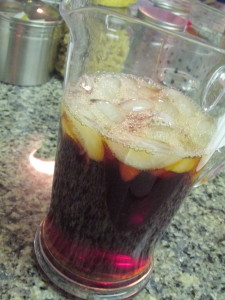
Remove the bags and pour the tea into an ice-filled pitcher and pop in the fridge to chill.

IMG_2686

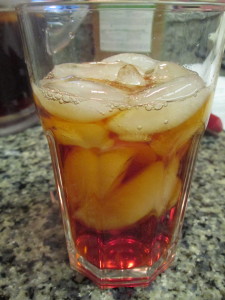
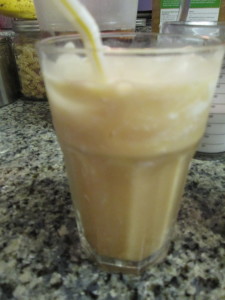
When you’re ready to serve, fill a glass with ice, and pour iced tea about 3/4 of the way up.

IMG_2694

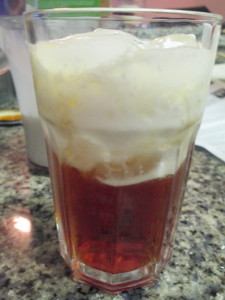
Add coconut milk to the top.

IMG_2695

And stir.

IMG_2696

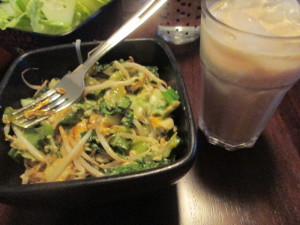
Thai iced tea! The perfect accompaniment for some spicy pad Thai.

Pad Thai is basically noodles, bean sprouts, scallions eggs and Pad Thai sauce. I added bok choy to mine because I always like to add veggies when I can. And I used jarred pad Thai sauce because, well, why not allow a few shortcuts? I made the tea from scratch so I’m justified in using jarred sauce. Kitchen logic.

I used a griddle like you would make pancakes on for this and it worked lovely.

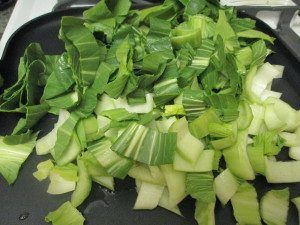
Drizzle with olive and toss on your chopped bok choy. I just sliced mine into thin ribbons. Cook over low to medium heat.

IMG_2687

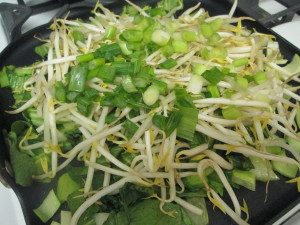
When the bok choy has wilted down, add your sliced scallions and your bean sprouts and let these cook together.

IMG_2688

Meanwhile, bring a pat of water to a boil and prepare your noodles according to the package directions.

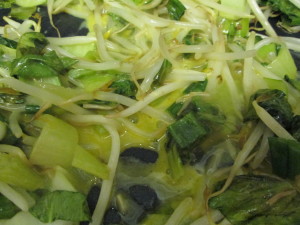
Next, beat two eggs and pour the mixture over your veggies.

IMG_2689

Let cook over low, stirring often, until the eggs solidify.

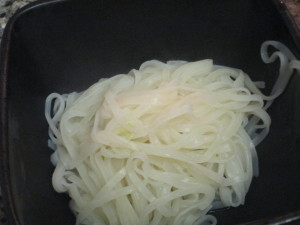
When the noodles are done, drain and place in a bowl.

IMG_2691

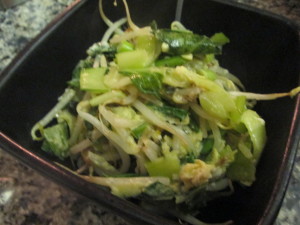
Top with the veggie and egg mixture

IMG_2692

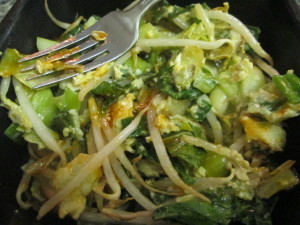
And add your Pad Thai sauce.

IMG_2693

You can garnish with chopped peanuts if you want an added crunch.

And there you have it. Thai food on the table with no pricey takeout!

IMG_2697

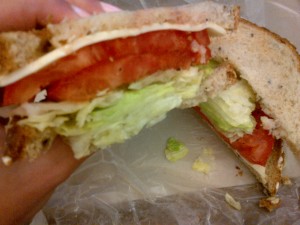
Tomato Sandwich

IMG-20140520-00100 (1)

Does anything say summer more than a juicy tomato sandwich?

Toasted whole wheat bread, crisp and refreshing iceberg lettuce, tomatoes bursting with juice and freshness and seasoned lightly with salt and black pepper, and a slice of classic American cheese.

Helen’s Banana Cream Pie

If you ask anyone within a five mile radius of my grandma Helen’s house about banana cream pie, I bet you their eyes will light up and a little bit of drool will form at the corner of their mouths.

Yes, this pie is that good.

My dad and his siblings used to tell Helen that she should sell it.

But that wasn’t Helen’s style.

Cooking for her 6 kids and their friends and anyone else in the neighborhood who happened to stop by was her style.

So there are definitely quite a few people who can wax poetic about this pie.

I’m not going to lie, this is not really one of my typical easy dessert recipes.

It takes a lot of standing at the stove and stirring.

But, it is surprisingly itty bitty kitchen friendly! Once you make the crust, all you need is a saucepan and a bowl. So, time-consuming? Yes. Complicated and intricate? No.

I actually have this recipe hanging on the wall in my kitchen.
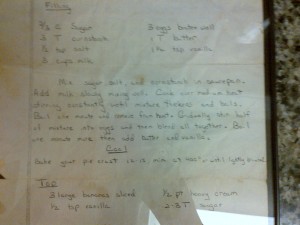
IMG-20140515-00099

You’re going to need a 9 inch pie crust, baked, to start. Use your favorite recipe, or use Helen’s, which you can find here.

Now onto the filling.

You will need:

  • 2/3 cup Sugar
  • 3 tablespoons cornstarch
  • 1/2 teaspoon salt
  • 3 cups whole milk (sorry no cheating here)
  • 3 eggs, well beaten
  • 1 tablespoon butter
  • 1 1/2 teaspoons vanilla
  • 3 bananas sliced
  • whipped cream (preferably homemade)

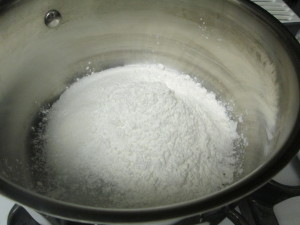
Mix the sugar salt an cornstarch in a medium pot.
IMG_2669

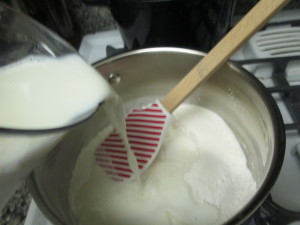
Add the milk slowly, mixing well.

IMG_2670

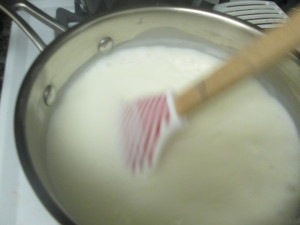
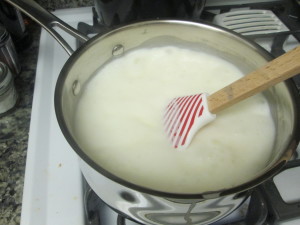
Cook over medium heat, stirring constantly until the mixture thickens and boils.
IMG_2671

Don’t try and force it by raising the heat. You will burn the milk (I’m speaking from experience). You should put on a show you’ve been meaning to catch up on or a CD you’ve been wanting to listen to, because you’re going to be here a little while.

When the mixture has thickened, remove from the heat.
IMG_2672

In a large bowl, beat 3 eggs.

IMG_2673

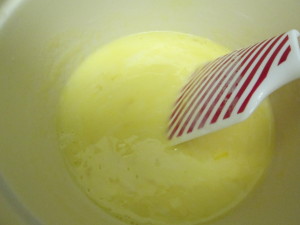
Slowly ladle half of the milk mixture into the eggs, stirring as you pour. We’re tempering the eggs so you don’t end up with scrambled eggs in your pie.
IMG_2674

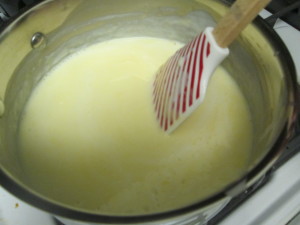
When the mixture is well incorporated, pour back into the pot on the stove and bring to a boil, again stirring constantly.
IMG_2675

Lower the heat and add the butter and vanilla and stir.
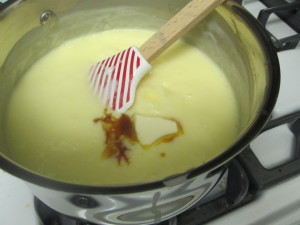
IMG_2676

Let that sit for a minute, and turn your attention to your pie crust. We need to get it ready for this luscious filling.

Place a layer of sliced bananas along the bottom of the crust.
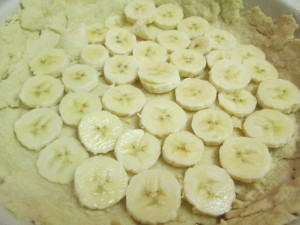
IMG_2677


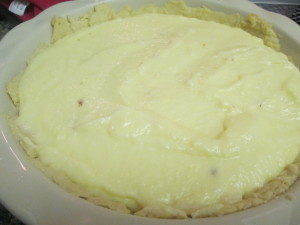
Pour in the filling.

IMG_2678

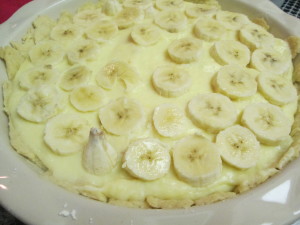
Layer with more banana slices.

IMG_2679

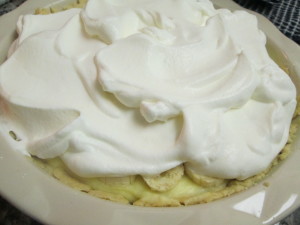
And top with whipped cream.

IMG_2681

This is best when it’s icy cold, so let it sit in the fridge for at least 6 hours.

Be careful when you go to lift it. It’s heavier than you think.
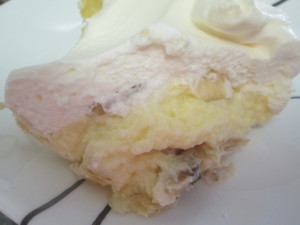
IMG_2683

You will never be able to order a slice of banana cream pie at the diner again.
Clams Oreganato


This is a super simple, 3 ingredient dish that can be part of an antipasto spread, serve as an appetizer, or can be a light dinner with the addition of a salad on the side.

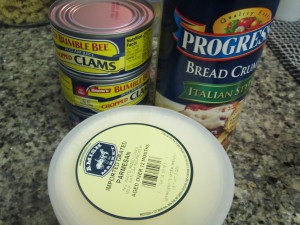
All you need are Italian-seasoned bread crumbs, grated parmesan and canned clams.

IMG_2662

For two people for dinner, I used 3 cans of clams. This made 7 large-ish servings. If you were doing these as antipasto or appetizers, I’d make them a little smaller. I’ll explain.
Preheat the oven to 350.

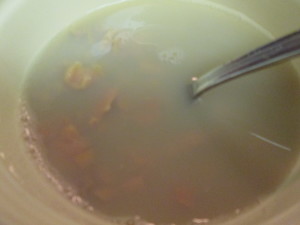
In a large bowl, dump the clams and their liquid.

IMG_2663

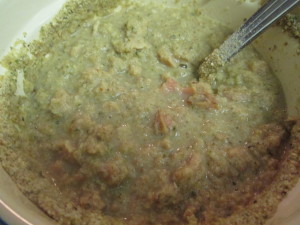
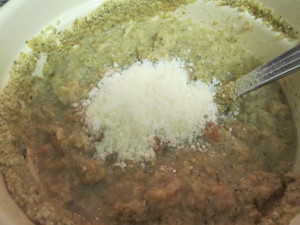
Next, start adding bread crumbs and stirring. This is one of those no measurements because we gotta go by feel kind of recipes. You want something almost like stuffing but a little looser.

IMG_2664

Add cheese and stir

IMG_2665

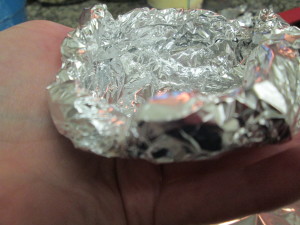
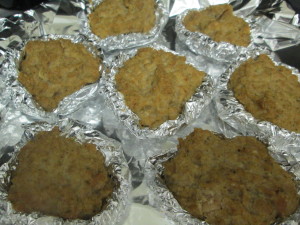
Now, you can be all fancy and bake these in clam shells or special serving containers. But I’m doing what my mom always does and making little cups out of foil.

IMG_2666

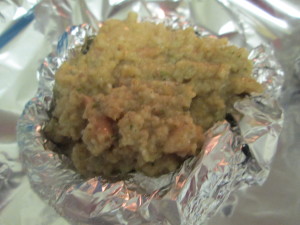
Fill each cup with clam mixture

IMG_2667

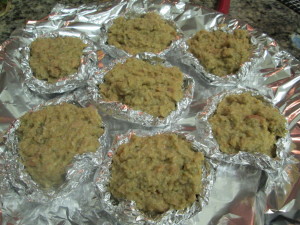
And place them on a foil-lined baking sheet.

IMG_2668

Into the oven for about 25 minutes.

IMG_2682

And ta-da! Clams oreganato.

Your friends will be very impressed

Steak Fajitas and Margaritas!


It was Cinco de Mayo yesterday, which totally trumps Meatless Mondays.

I mean, we had to have a Mexican inspired dinner.

Yes, we had to. Absolutely imperative.

And yea, I kind of wanted to make margaritas.

Christopher was slightly skeptical when I said I was going to make margaritas.

He’s not the first person to feel this way. And let me let you in on a little secret. Most people who wrinkle their noses at margaritas do so because of a bad experience with that sickeningly sweet sour mix we’ve all had in bars at some point in college.

Put down the sour mix. And don’t even think about buying margarita mix.

I’m about to change your life.

To make an absolutely delicious margarita, you just need to make your own simple syrup.

Which, as the name implies, is super simple.

One cup of water and one cup of sugar go in a pot.

IMG_2653

The heat goes to medium and you stir until the sugar is dissolved into the water

IMG_2654

That goes in the fridge and is the base for your margarita.

When it cools down, fill a glass with ice and add one ounce of tequila, the juice from two limes and 2 ounces of sour mix.

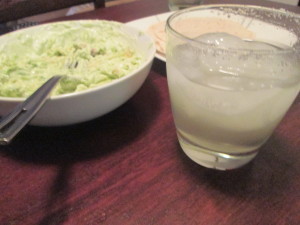
You can salt your rim or not, as you prefer. The guacamole, however, is not optional.

IMG_2657

Okay, onto the fajitas. Because as amazing as margaritas and guacamole are, it’d get a sloppy in here without some real food.

I was on drink duty, so Christopher cooked.

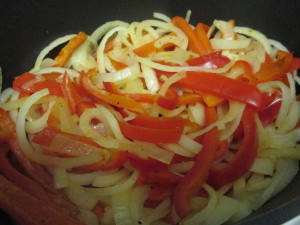
Drizzle some olive oil in a pan and toss in 1 white onion and 3 red bell peppers, julienned. Season with salt and pepper and let them cook down.

IMG_2655

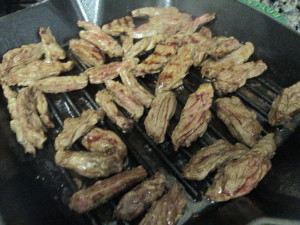
Meanwhile, slice hangar steak into bite-sized chunks and toss onto your grill pan. Season with vegetable oil, salt and pepper. The steak cooks fast. Only a few minutes on each side.

IMG_2656

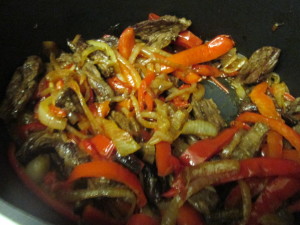
When the steak’s don, toss it in with the peppers and onion.

IMG_2658

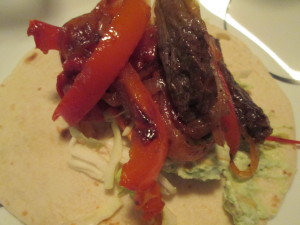
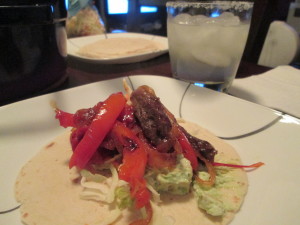
Assemble your fajita. Guacamole, shredded cabbage and the steak mixture was our combo of choice.

IMG_2659

Fajitas and margaritas.

IMG_2660

Life is good.

Jacky’s Greek-Inspired Salad

Anyone who is actually Greek (my fiance and future father in law included) will probably cringe at this salad. It’s not a real Greek salad. Notice how I call it Jacky’s Greek salad.

It takes some of my favorite elements of a Greek salad and Greek food and some of my favorite things in general (like an egg with a runny yolk) and combines the two to make a salad worthy of a meal.

Start by preheating your oven to 400.

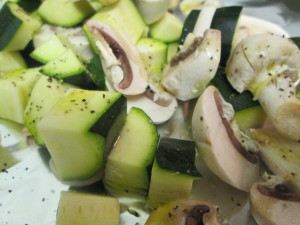
Slice up some white button mushrooms and some zucchini and lay them on a foil-line baking sheet. Drizzle with olive oil, salt and pepper.

IMG_2649

Toss those in the oven to roast for about 10 minutes.

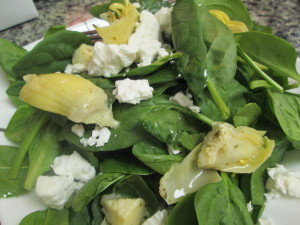
Prepare the base for your salad. I layered baby spinach, kalamata olives, artichoke hearts and feta cheese on a big plate.

IMG_2650

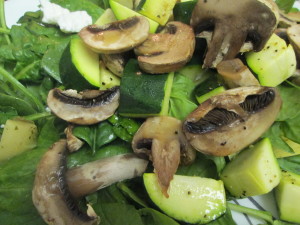
Then I added the zucchini and mushrooms when they were done roasting.

IMG_2651

I love the combination of cool crisp spinach with warm and slightly mushy zucchini.

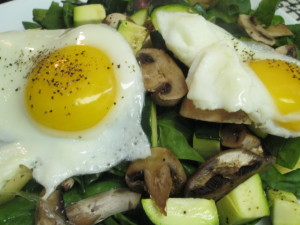
Top the salad with two fried eggs

IMG_2652

And there you have my Greek inspired salad.

Chicken Scaloppine with Pepperonata

It’s a super rare occasion when I follow a recipe to the letter.

But when I saw this recipe in Cooking Light Magazine I knew I would not veer from the path.

Peppers and onions cooked down with cherry tomatoes bursting with juicy freshness and a chicken cutlet seared in butter? In

You will need

  • 3 bell peppers, sliced (any color is fine. I used one each of red, yellow and green for a pretty plate)
  • 1 yellow onion, sliced thinly
  • 1 pint cherry tomatoes, halved
  • 2 garlic cloves, minced
  • olive oil
  • 2 tablespoons balsamic vinegar
  • 2 boneless skinless chicken breasts
  • flour
  • salt
  • pepper
  • 1 tablespoon butter

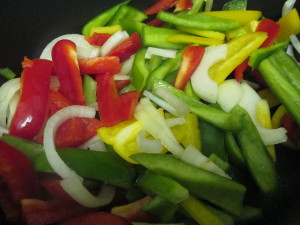
Drizzle olive oil in a pan and add the peppers and onions.

IMG_2617

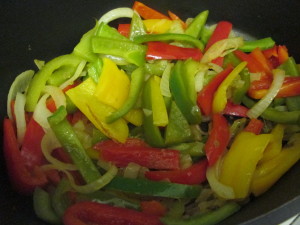
Let these cook down for a good fifteen minutes or so.

IMG_2618

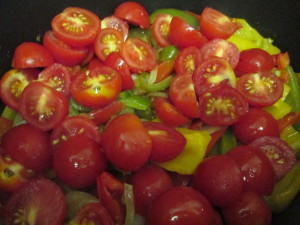
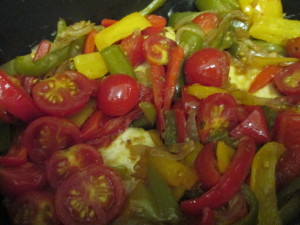
Then add the tomatoes and garlic and season with salt and pepper

IMG_2619

And let cook for another 10 minutes. The tomatoes will start to burst

IMG_2624

Remove the mixture from the pan and set aside.

IMG_2621

Now, time to get out some aggression.

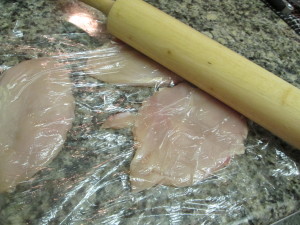
Lay your chicken breasts between two pieces of plastic wrap. (I know I said two chicken breasts but the store only had three small ones in a pack, so we’ll each have one and a half). Using your rolling pin, pound the chicken breasts out.

IMG_2620

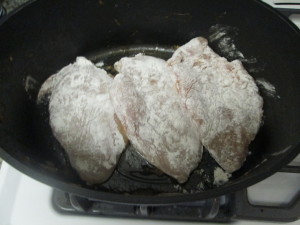
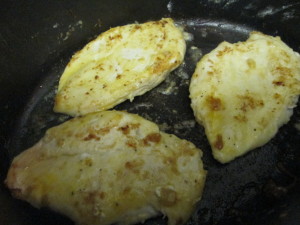
Season the chicken with salt and pepper. Dip in flour and shake off excess. Drop a tablespoon of butter into the pot you cooked the pepper mixture in and lay the chicken breasts out.

IMG_2622

Because they are so thin, they cook pretty quickly. A few minutes on each side and they are golden.

IMG_2623

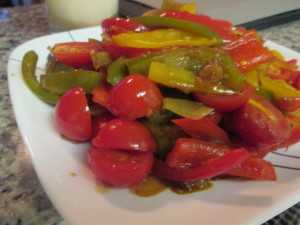
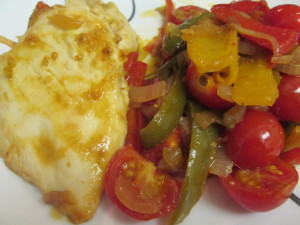
Serve the chicken alongside the pepper mixture (pepperonata)

IMG_2625