Dolma – Our first Attempt

We were lucky enough to have learned to make dolma from meme before she passed away.

But the true test?

Making dolma in our own kitchen.

Without meme’s guidance.

It was a cold and gray Sunday, so we decided to roll up our sleeves and give it a try.

Also, I was really adamant about not making it until I had meme’s rock and plate.

(Check out the posts from the day we spent with meme here and here for more on the rock and the plate and for the recipe for dolma.)

When it came time to go through meme’s house and we were talking about who was going to take what, I called the rock and the plate. Not kidding.

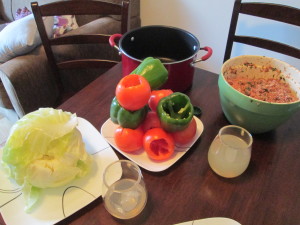
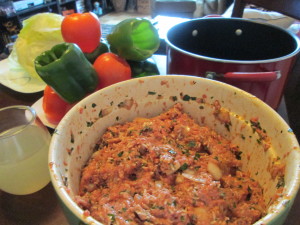
Below are some pictures from dolma making our itty bitty kitchen, which, as you can see, spilled over into our living room.

IMG_2377


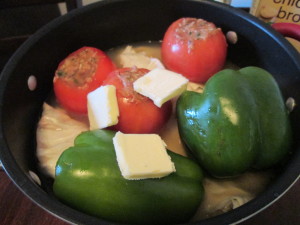
We didn’t make any grape leaves, since our city apartment doesn’t really allow for a grape vine in the backyard, but we made cabbage, peppers and tomatoes (which are my favorite anyway)

IMG_2378

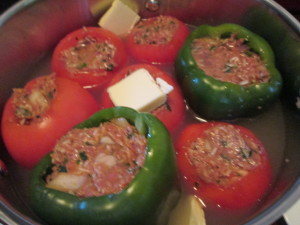
While the dolma simmered on the stove, the smells that filled the apartment brought us back to meme’s kitchen.

IMG_2380

IMG_2379

And isn’t that why we cook?

Food isn’t just about nutrition and fuel. It’s about memories and about traditions and about keeping people and good times alive.

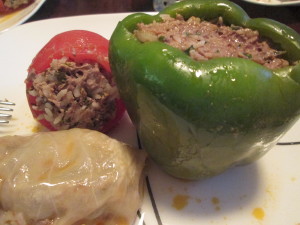
IMG_2381

Was our dolma perfect?

Nope. (Notes for next time, cook it for longer than meme said to and DO NOT use 90/10 beef. You need the fat of 80/20)

But it was pretty darn close.

And I bet meme was happy to see us in the kitchen.

Crepes with Mushrooms Onions and Gruyere

So we’ve done Italian and Irish this week, which covers my family. So I decided it was only fair to make something from his side.

I think I’ve mentioned this before, but if I haven’t, my fiance is Greek and Armenian, but the Armenian part of his family lives in France. So a lot of the food he grew up with actually has some French influence.

One such dish? Crepes.

We ate our weight in crepes when we were in Paris!

I had only ever had a sweet crepe before, but while I was there, I fell in love with the savory ones. Melty cheese, salty ham, warm crepe wrapping it all up.

C’est Magnifique!

So I decided to bring us back to the streets of Paris with dinner.

Crepes are a tad fussy, but once you get into a rhythm, and break one or two, you’re fine. And they don’t have to be perfect! When you put them on the plate and they’re all covered with cheese and mushrooms and onions, no one will know!

Not having meme’s crepe recipe, I went to the webs and decided on Alton Brown’s. Because, well, he’s Alton Brown and he can do no wrong.

And because he made his batter in a blender.

And I’m always in for using a blender instead of a bowl and a spoon.

Plus, the blender makes it really really easy to pour out the batter.

I know. Alton Brown is a genius.

For the crepes you will need:

  • 2 eggs
  • 3/4 cup milk
  • 1/2 cup water
  • 1 cup flour
  • 3 tablespoons melted butter + extra butter for pan

For the filling, I used

  • sliced white button mushrooms
  • slice baby portabella mushrooms
  • 1 medium yellow onion, fine sliced
  • olive oil
  • black pepper
  • a splash of white wine
  • gruyere

To get started, toss all the ingredients for the crepe batter into the blender.
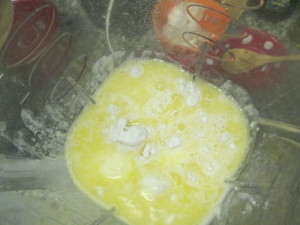
IMG_2364

Give it a couple of quick pulses until it is smooth and combined.
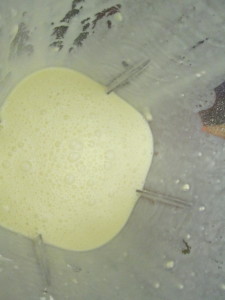
IMG_2365

Put the batter into the fridge for about an hour to rest.

While the batter rests, we’re going to make the filling.

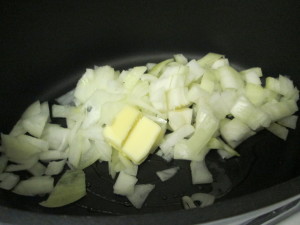
In a skillet, drizzle olive oil and toss in the onions.
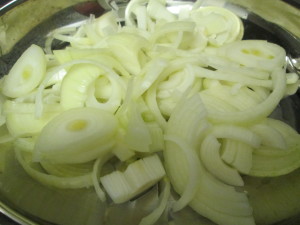
IMG_2363

You really want to let these cook down and get nice and caramelized. It will give the filling a flavor sort of reminiscent of French onion soup and that combines two French food favorites in one dish!

When the onions are cooked down (Maybe 20 minutes) add a splash of white wine and scrape all the brown bits up from the pan. Then add the mushrooms.
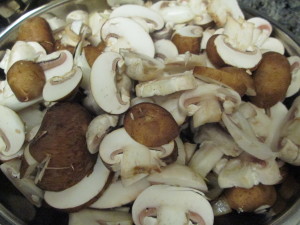
IMG_2366

Let the mushrooms cook down. Season with black pepper. I refrained from salting because the gruyere is rather salty.

When your batter has rested, it’s go time on the crepes.

You’re going to want a nonstick skillet or griddle. I used the griddle because I found it easier to flip the crepes.

First, melt some butter on the pan. You don’t want a pool of butter, just a nice layer. So take a paper towel and wipe the butter lightly. Hang on to the butter-soaked paper towel because you can use it if the pan needs some butter.
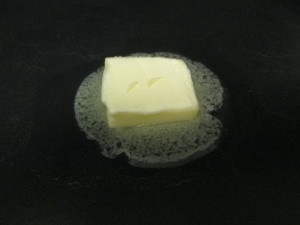
IMG_2367

Carefully pour the batter onto the buttered skillet and swirl around into a thin layer. Don’t worry if it’s not a perfect circle. None of mine were. They taste the same.
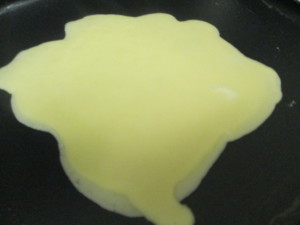
IMG_2370

Cook on one side for about 30 seconds. Then, with a spatula, very gently lift the crepe and flip.
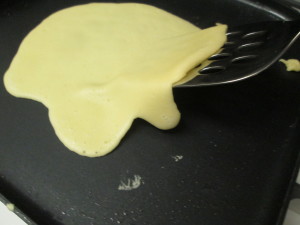
IMG_2371

Cook on the second side for about 20 seconds.

Remove from the pan and set on a plate to cool. Keep cranking out the crepes and stacking them up until the batter is done.

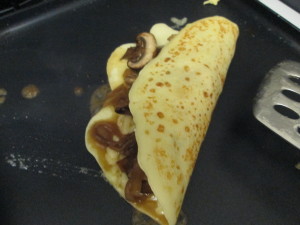
When you’re ready to assemble your crepes, toss one back onto the pan and sprinkle with grated gruyere.
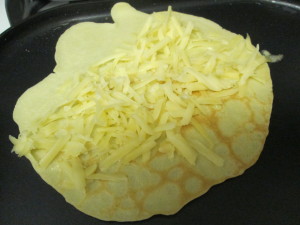
IMG_2372

Let the cheese melt for a few seconds and then scoop some of your mushroom and onion mixture on top.
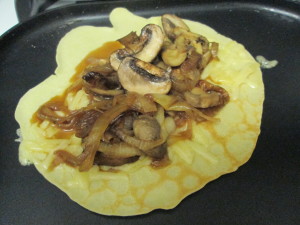
IMG_2373

Fold one side of the crepe over.

IMG_2374

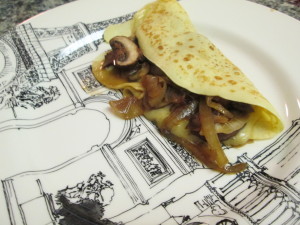
And transfer to a plate.

IMG_2375

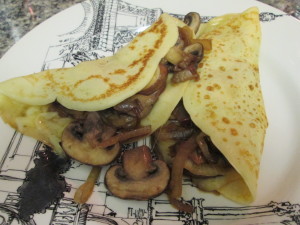
And repeat!

IMG_2376

Pour some red wine and imagine you are sitting in a small cafe on the Champs Elysees.

Oh and if you have leftover crepes, they stay well in the fridge or in the freezer.

I have a great, quick lunch idea using some that I will share soon!
New Jersey Italian Hot Dogs

So this week started out with two Irish classics.

But I gotta go back to the food I love most. Sorry folks. Another Italian dish coming up today.

But this isn’t just any Italian dish. This is an Italian-American New Jersey original.

Italian Hot Dogs.

Ever been to Jersey? Ever heard of Jimmy Buff’s? If you answered yes and then no, call up whoever you were visiting in New Jersey and say “Hey, forget about it! You didn’t take me to Jimmy Buff’s?”

If you can’t get back out to Jersey anytime soon, no worries. You can make the awesomeness that is an Italian hot dog at home.

Just a few simple ingredients:

3 green bell peppers, diced

2 yellow onions, sliced into half moos

2 yukon potatoes, cut into 1 inch chunks

hot dogs

Italian bread (no hot dog rolls!)

olive oil

salt

pepper

spicy mustard

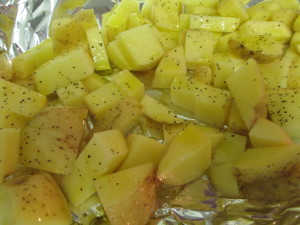
Preheat the oven to 400 and line a baking dish with foil. Toss the potatoes into the dish, drizzle with olive oil and season with salt and pepper. Toss into the oven for about 20 minutes. The potatoes take longer to cook so we’re giving them a head start.

IMG_2355

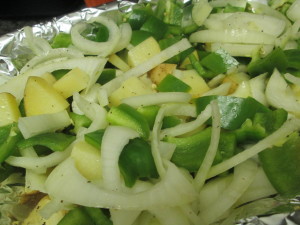
Remove the potatoes and add the peppers and the onions, seasoning with more salt and pepper, and adding another touch of olive oil. Stir everything up, then back into the oven for another 15 to 20 minutes.

IMG_2356

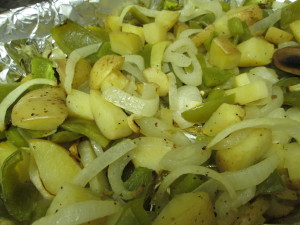
You want the onions to brown up and the peppers to blister a bit.

At Jimmy Buff’s they actually fry this mixture, but 1. roasting is less messy and 2. it’s slightly healthier and 3. you don’t have to babysit a pot of oil.

IMG_2357

When the veggie mix is nice and cooked, get your hot dogs ready. You grill them or broil them. DO NOT BOIL THEM! You need the char on the dogs and boiling will just leave them rubbery and sad.

And Nobody wants a sad hot dog.

Okay ready?

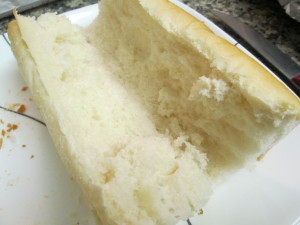
Italian bread.

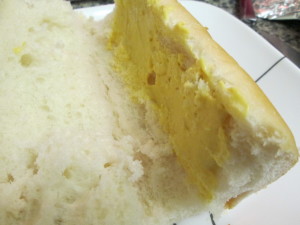
IMG_2358

Spicy mustard

IMG_2359

Hot dog

IMG_2360

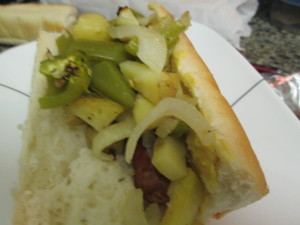
Potato, pepper and onion mix.

IMG_2361

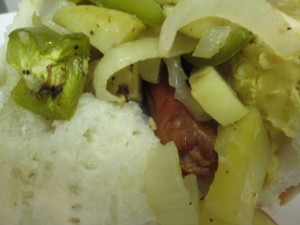
Nom.

IMG_2362

Guinness Shepherd’s Pie


One day is just not enough time to try out all the Irish goodies I found while perusing the webs.

Guinness chocolate cake, Guinness beef stew, Guinness ice cream!

Are you seeing the pattern here?

So here’s another Irish meal. Warm. Hearty. Filling. Cheesy. Oh. And boozey.

Yea. I added Guinness.

I couldn’t resist!

This was actually easier than I thought it would be to put together. I usually shy away from multi-step, multi-method cooking, but for a holiday, I always throw caution to the wind. And, this somehow manages to still only be a 2 pot meal!

This involves making mashed potatoes, sauteeing meat and vegetables, and then assembling and baking. You can easily make the mashed potatoes ahead of time. Or use leftovers if you have them handy.

For this recipe you will need:

  • 1 yellow onion, diced
  • 1 pound of ground beef
  • 1 cup each of frozen peas, carrots and corn.
  • 4 medium potatoes, peeled and cubed
  • 1/2 cup Guinness
  • 2 tablespoons flour
  • olive oil
  • butter
  • salt
  • pepper
  • cheddar cheese (if you’re feeling indulgent)

Start by setting the potatoes in a pot of water and bringing to a boil. I read somewhere to always start boiling potatoes in cold water, rather than adding potatoes to already boiling water. I don’t know why. But it has stuck with me and I always do that.

While the potatoes boil, drizzle some olive oil into a pot and add the onion and a touch of butter, maybe a tablespoon. I cooked the filling in an oven-proof cast aluminum casserole so I could just transfer from burner to oven. If you don’t have something that would work, sautee in a frying pan then transfer to a lightly buttered casserole.

IMG_2334

When the onions turn translucent, add the ground beef.

IMG_2337

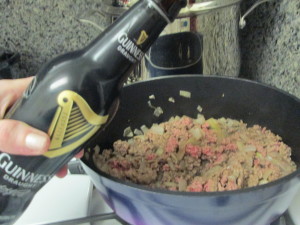
Let the beef brown with the onions. When it is about halfway cooked, pour in some Guinness. I used about a 1/2 a cup. You can use as much or as little as you like. Or you can use beef broth instead.

IMG_2343

Add about two tablespoons of flour to the pot to help the juices firm up a bit.

IMG_2344

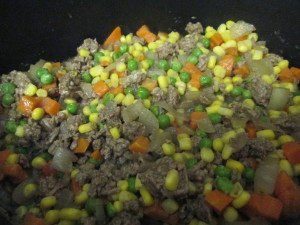
Give the pot a good stir and season with salt and lots of black pepper. The add in your frozen vegetables.

IMG_2345

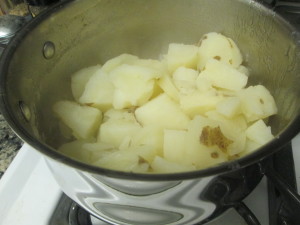
Meanwhile, your potatoes should be fork tender by now. Drain the water and place the potatoes back in the pot.

IMG_2346

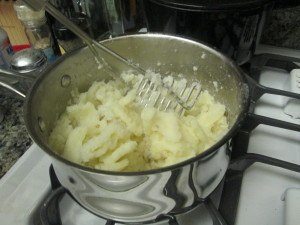
Add some butter and start mashing! You can add a touch of milk if you like. I leave a bit of water in the pot to help the potatoes along. I was trying not to add too much richness. Since I’m going to dump some cheddar cheese into the pot in a second.

IMG_2347

Yup, there we are. Shredded cheddar into the potatoes. And lots more coming up on top.

IMG_2348

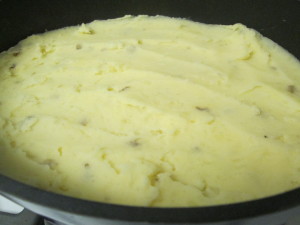
When your meat is cooked and your veggies are nice and defrosted, layer the potatoes over the filling.

IMG_2349

And top with cheese.

Yup. There it is. There’s why I didn’t add milk to the potatoes.

IMG_2350

Bake in a 400 degree oven for about thirty minutes, until everything is all golden and bubbly.

IMG_2353

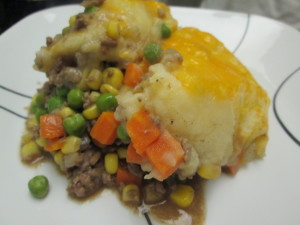
Scoop out heaving platefuls.

IMG_2354

And get ready for a nap!


Irish Soda Bread

By now you all probably know that I’m Italian. But I’ve never mentioned that I am, in fact, Irish too. A little.

My grandma Helen (of the famous cinnamon rolls) was an Irish girl through and through. But because she married an Italian man, most of the food I most associate with her is Italian. Or kind of Southern.

So this St. Patrick’s Day, I decided to channel my oft-forgotten Irish roots with some soda bread.

Now, if you’re like me, you’ve had some amazing Irish soda bread in your life, and you’ve probably had some not so amazing soda bread in your life.

It has to be kind of dense, a little chewy, not overloaded with raisins and not real sweet. You know what I mean.

I found the most perfect soda bread recipe over at Simply Recipes, and I will definitely be making this one again. It may not be my grandma’s recipe (I don’t know where it is or if she ever wrote one down in the first place) but it tastes homey and comforting.

Oh and east! This is one of the easiest bread recipes I’ve ever made.

You will need

  • 4 cups flour
  • 2 tbsp sugar
  • 1 tsp salt
  • 1 tsp baking soda
  • 4 tbsp butter
  • 1 cup raisins
  • 1 egg, beaten
  • 1 3/4 cups buttermilk

Preheat the oven to 425 and lightly grease a cookie sheet.

In a large bowl, whisk together flour, sugar, salt and baking soda.

IMG_2335

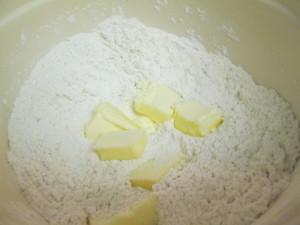
Slice the butter and add it to the dry ingredients, working it into the flour with your hands or a pastry cutter until it forms a coarse meal.

IMG_2336

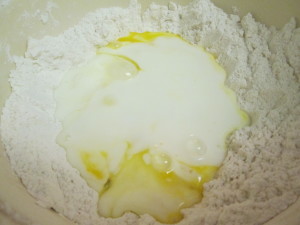
Make a well in the center and add the egg and the buttermilk.

IMG_2338

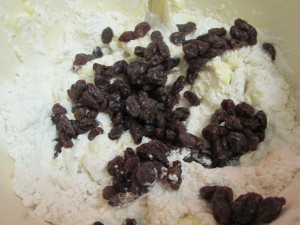
Using a wooden spoon, gently combine the ingredients and add the raisins.

IMG_2339

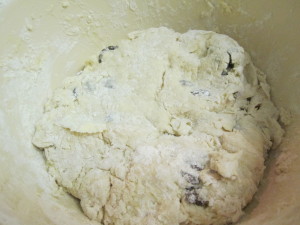
Lightly flour your hands and gently knead the dough. This isn’t a dough you want to go at. You want to just bring it together loosely.

IMG_2340

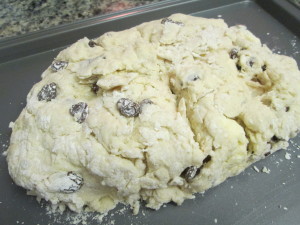
When it forms a loose ball, turn it out on the cookie sheet and form it into a loaf.

IMG_2342

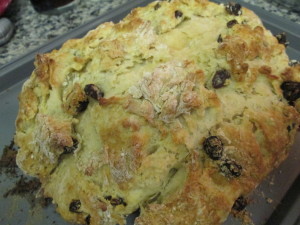
Bake at 425 for about 30-40 minutes.

The top will be golden brown and a knife will come out clean when inserted in the center.

IMG_2352

Put on the tea. Or grab a Guinness.

Slice up the bread. Slather with butter.

And kiss me! I’m Irish!

Tuscan Sausage, Bean, Tomato Stew

IMG_2328

So after a glimmer of Spring, we’re back to the arctic blast, or the polar vortex, or Mr. Freeze or whatever.

Just when I was dreaming about lemon cakes and avocado and shrimp salad.

So back to the hearty and warming dishes we go.

This one comes from watching Extra Virgin on Cooking Channel the other day. We saw it and both had the same reaction: when can we have that?

Well the answer is now.

This is a super simple and super rustic Tuscan-style dish that is hearty and filling and warming and oh so yummy.

And simple.

Did I mention simple?

Like 3 ingredients (plus olive oil and salt and pepper) simple.

All you need are

  • Sweet Italian sausages (figure two links/person)
  • 1 can of whole peeled tomatoes (1 can worked for the two of us. multiply as appropriate)
  • 1 can cannellini beans, rinsed and drained
  • olive oil
  • salt
  • pepper

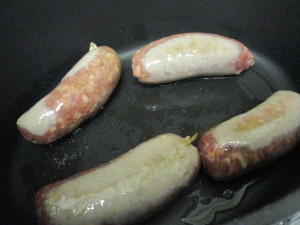
Drizzle olive oil in the bottom of a heavy-bottomed pot and add your sausage. Cook over medium, turning to brown all sides.

IMG_2318

You aren’t looking to cook them all the way through, just get a nice crust on the outside. When all sides are brown, remove from the pot and place on a dish for now. We’ll get back to them.

IMG_2319

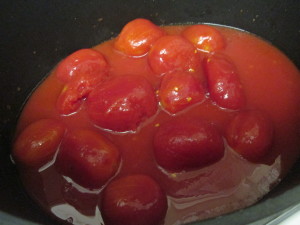
In your pot, you’ve got all this yummy oil that’s been flavored by the sausage. To that, add the can of whole tomatoes.

IMG_2320

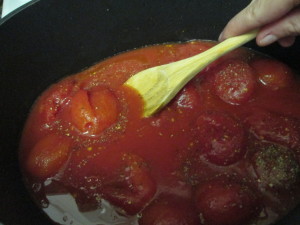
Let these simmer over medium heat for about 15 minutes. They will start to break apart.

Help them along with the back of a spoon. Season generously with lots of black pepper. I salt moderately because my mom always did. But I can hear the Chopped judges yelling to salt your food properly.

IMG_2322

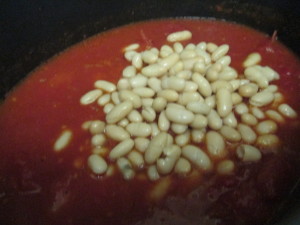
Add the cannellini beans to the tomatoes and give a big stir.

IMG_2323

Let these cook together for a few minutes.

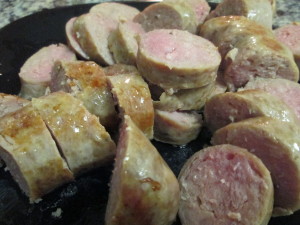
Meanwhile, slice up your sausage.

IMG_2325

See how it’s still a touch pink? Well, we’re going to fix that.

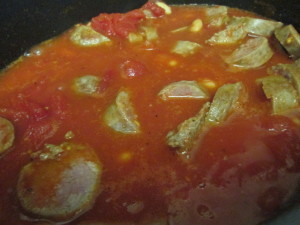
Into the pot they go.

IMG_2326

Let the sausage simmer in the tomato and cannelli beans for about 20 minutes. The longer it sits, the more the broth becomes infused with the sausage flavor. I actually made this for myself when I got home, then left it on the stove, covered, on low heat for a few hours until my other half got home.

IMG_2327

Sprinkle with parmesan if you like.

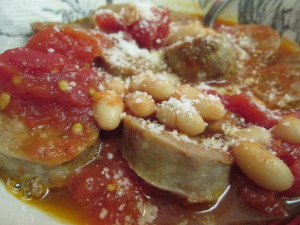
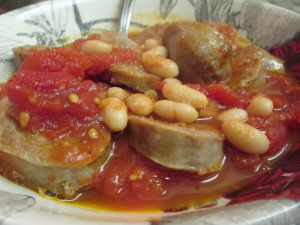
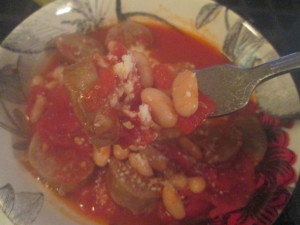
See that? Sausage, beans, tomato. That’s the perfect forkful right there.

IMG_2330

I forgot one important thing to add to your grocery list.

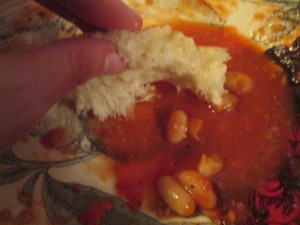
Some crusty bread to mop up all those juices.

IMG_2331

Don’t you feel warmer already?

Note: this is making its way into our goto recipe rotation.

Spinach Artichoke Quiche

Spinach Artichoke dip is one of the greatest food inventions. Ever. Period.

However, it can’t be consumed in large quantities. Or with great frequency.

Especially not when your waistline is still recovering from the croissants and the crepes and the baguettes from your trip to Paris.

With Paris still on my mind, I started thinking about the fantastic foods we ate and I landed on quiche. My fiance’s cousin made an absolutely fantastic traditional quiche lorraine for us while we were there, loaded with cream and cheese and ham and a buttery crust. I knew my tummy couldn’t handle quite the same flavor bomb, but I thought I could lighten it up and mash it up with spinach artichoke dip.

And that’s how spinach artichoke quiche came to be.

This quiche doesn’t have a crust, which helps eliminate loads of calories right there, and is jam packed with spinach and artichokes, so the filling is more veggie than egg and cheese.

For this recipe you will need:

  • 1 bag of spinach
  • 1 can of artichoke hearts, drained
  • olive oil
  • salt
  • pepper
  • 4 eggs
  • grated gruyere (I leave the amount to you)
  • parmesan cheese (again, I will never limit your cheese intake)

Preheat the oven to 375 and lightly butter a 9 inch pie pan.

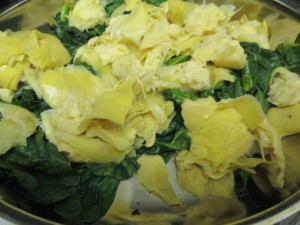
In a large skillet, drizzle some olive oil and sautee the spinach and the artichokes. I just broke up the artichoke hearts into chunks with my hands. You can chop nicely if you wish.

IMG_2309

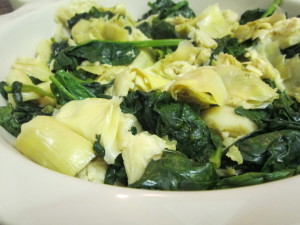
When the spinach is nice and wilted, season with salt and pepper and then transfer the mixture to the pie pan.

IMG_2310

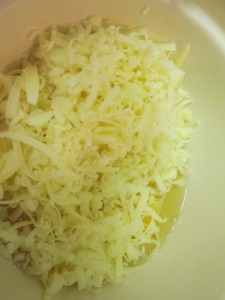
In a large bowl, crack four eggs and toss in the gruyere and the parmesan cheese.

IMG_2311

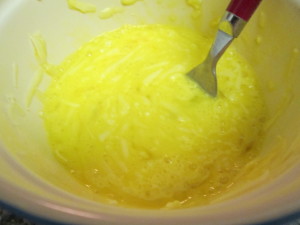
Using a fork, stir to combine.

IMG_2312

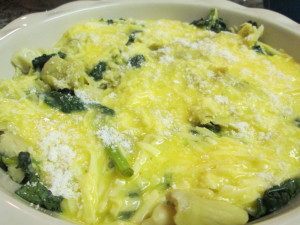
Pour the egg and cheese mixture over the spinach and artichokes and add a sprinkling of parmesan to the top.

IMG_2313

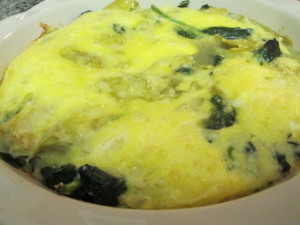
Bake for about 30-40 minutes until the eggs are set.

IMG_2315

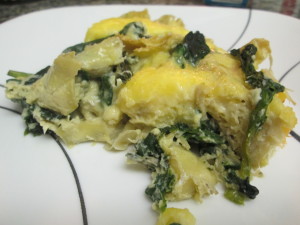
Slice it up and enjoy the mash-up of a quick Parisian meal with your favorite bar snack.

IMG_2317

Homemade Donuts!


So I’ve started having really random cravings for donuts lately.

I say random because I’m really not that big of a fan of donuts.

I’m more that person that walks into a coffee shop, sees a donut that looks tantalizingly delicious, and then takes a bit of it and is woefully disappointed.

I don’t know. Maybe it’s just me, but they always look better than they taste.

So, naturally, I bought a donut pan so I could make my own donuts and control how they taste!

I borrowed this recipe from Sally’s Baking Addiction. I just took out the sprinkles and did away with the glaze to make a super basic cake donut. For round 2 I will probably get creative. But as a base dough, this one rocks.

You will need:

  • 1 cup all-purpose flour
  • 1 teaspoon baking powder
  • 1/4 teaspoon baking soda
  • 1/4 teaspoon ground nutmeg
  • 1/3 cup sugar
  • 1/4 cup milk
  • 1/4 cup Greek yogurt
  • 1 egg
  • 2 tablespoons melted butter
  • 1.5 teaspoons vanilla

Preheat the oven to 350 and grease your donut pan.

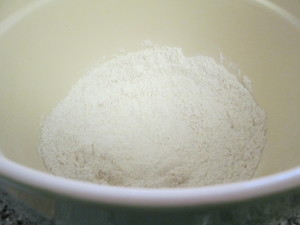
In a large bowl whisk together flour, baking powder, baking soda, nutmeg and sugar.

IMG_2301

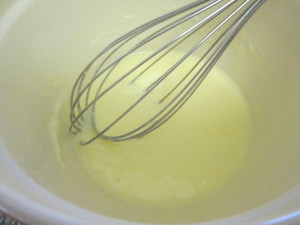
In another bowl whisk together milk, yogurt, egg, melted butter and vanilla.

IMG_2302

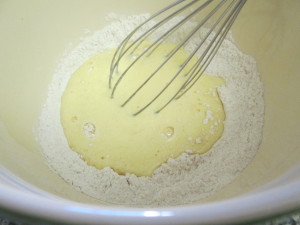
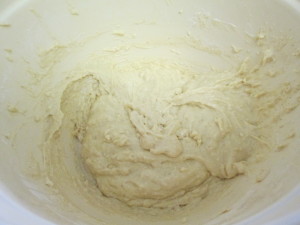
Add the wet to the dry

IMG_2304

and whisk until combined

IMG_2305

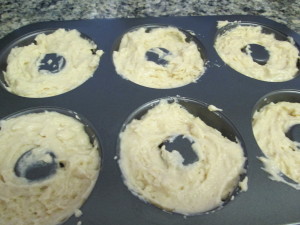
Carefully place the batter in the donut pan. I used two tablespoons and carefully scooped the mix. You can also use a pastry bag for better precision (or as Sally did, a ziploc bag that you snip the end off of to make into a pastry bag).

IMG_2306

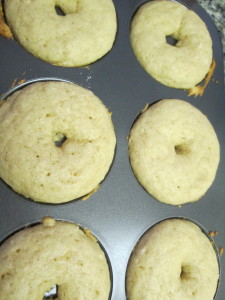
Bake for 9-10 minutes. I flipped mine over after they were fully baked, since the tops were on the light side, and let them for for a minute to brown them up a bit.

IMG_2307

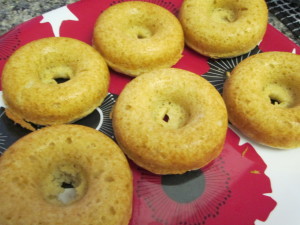
And voila! Homemade donuts. Little blank canvases waiting for glaze, chocolate ganache, cinnamon sugar, powdered sugar… the possibilities are endless!

IMG_2308

Moroccan Memory

Hello again blogosphere!

I’ve been away from you, traveling through London and Paris, and regaining my culinary verve!

In looking back at some of my last posts, I can see I was in a cooking rut. Making dinner had become a chore instead of the hour of relaxation and decompression it had previously been for me.

I was definitely in need of a break.

But now, I’m back in my itty bitty city kitchen with new culinary inspiration!
In London I stumbled upon a fantastic little Moroccan restaurant in the Leicester Square area. And I had one of the most amazing plates of food I have ever experienced. It could have been the charming waiter. It could have been the thrill of being to dinner by myself in a foreign city. Or it could have been the best darn cous cous I have ever had.

Whatever it may be, I was craving it when we got back. So I set to work to recreate the meal.

Moroccan food is my new obsession. The way the vegetables are roasted to tender perfection, the pairing of sweet and warm and savory spices, the burst of dried apricots nestled amongst the squash and sweet potatoes… Drool worthy.

This might not be authentic Moroccan, but it captured the essence of the meal.

This made enough for the two of us for dinner and extra for two or three lunches. The best kind of recipe!
You will need

  • 1 medium onion, diced
  • 2 cloves of garlic, minced
  • 2 tablespoons tomato paste
  • 1 teaspoon cinnamon
  • 2 sweet potatoes, peeled and cut into 1 inch chunks
  • 1 yellow squash cut into 1 inch chunks
  • 3 carrots, peeled and chopped
  • a handful of shredded cabbage
  • a handful each of dried prunes and dried apricots, chopped
  • 1 15 ounce can chickpeas, rinsed and drained
  • 2 cups water
  • couscous

Once all of the ingredients are chopped, it’s just a matter of layering all of the flavors in a big pot and letting them cook together.

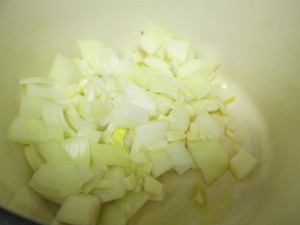
Start by drizzling a big heavy bottomed pan with olive oil and tossing in the onion.


IMG_2290

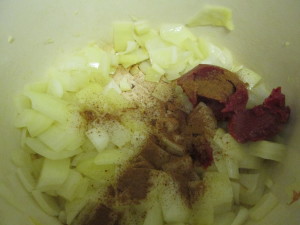
When the onion is softened, add the garlic, tomato paste and cinnamon.

IMG_2291

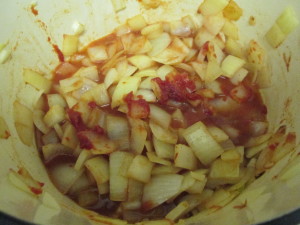
Give a big stir and add about a 1/2 cup of water, stirring to combine the tomato paste.

IMG_2292

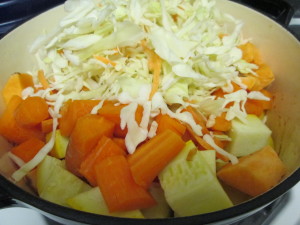
Let this cook together for about 5 minutes, and then add the sweet potato, squash, carrots and cabbage.

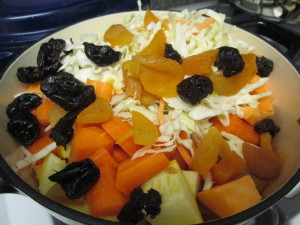
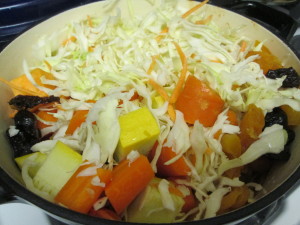
IMG_2293

Give the pot a big stir and add the apricots and prunes.

IMG_2294

Give it another big stir to combine and then add about a cup and a half of water

IMG_2295

Cover and let simmer over medium heat for about an hour, stirring twice.

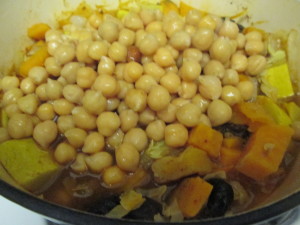
After an hour, add the chickpeas and stir to combine.

IMG_2296

Meanwhile, prepare the couscous. The chickpeas just need a few minutes to warm through. Season with salt and pepper as desired.

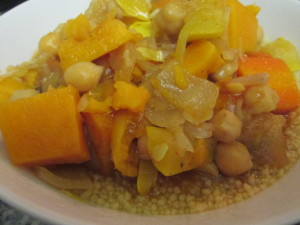
Serve up big bowls of couscous and ladle the vegetable mixture over top.

IMG_2297

Eating it I was back in the restaurant watching people walk around London…

Fudgy peppermint brownies

I know.

Two sweet and delicious recipes in a row.

But it’s Valentine’s Day and all I want to do is bake and eat chocolate.

And spread love.

And what better way is there to spread love than with a brownie?

And not just any brownie.

Oh no. You will never be able to even look at another brownies again after having these.

I admit,  I always reach for the box when a craving for brownies strikes. But, it being Valentine’s Day and all, I decided to put on my girl panties and go for it. From scratch.

And to whom did I turn when venturing into the world of real, made from scratch brownies for the first time? Pssh.

Do you even need to ask?

This recipe comes from the one and only Martha Stewart.

My little twist was to add some chopped up candy cane Hershey Kisses to the top because I love peppermint and chocolate and because I’m trying to use them up.

Necessity the mother of invention and all that jazz.

So. The recipe.

  • 1 stick unsalted butter
  • 8 ounces bittersweet chocolate chips (or chocolate chopped up)
  • 1 1/2 cups sugar
  • 4 eggs
  • 1 tsp vanilla
  • 3/4 cup flour
  • 1/2 tsp salt
  • chopped candy cane Hersey Kisses (optional)

This recipe is really pretty easy. I don’t know why, but I had always imagined that brownies would be harder and that the box was just so much more convenient. But really, this is a snap.

Preheat the oven to 350 and grease an 8×8 baking pan.

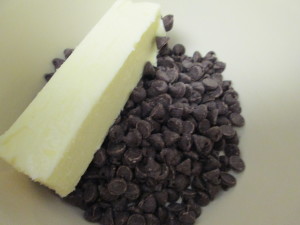
fill a pot with about a one inch layer of water and set a heat-proof bowl in it. The bottom of the bowl should not touch the water. Turn the burner to medium and add the butter and the chocolate to the bowl.

IMG_1587

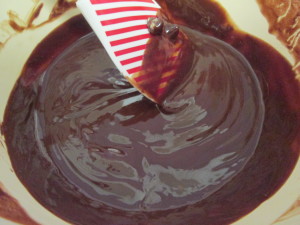
Stir the butter and chocolate until the melt, being careful not to burn,

IMG_1588

When melted, remove from the heat and let cool.

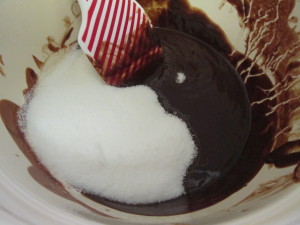
Add in the sugar and stir until combined.

IMG_1589

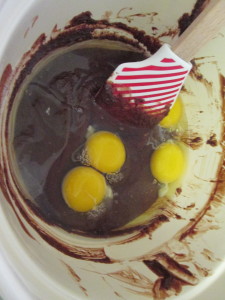
Add the eggs and vanilla, and again stir until combined.

IMG_1590

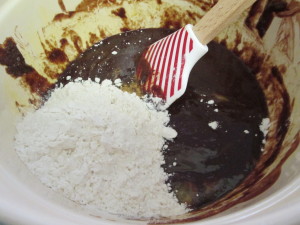
Last, Gently fold in the flour.

IMG_1591

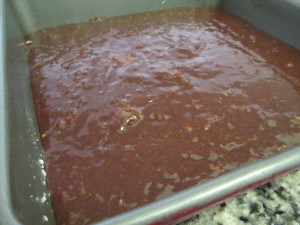
Pour the mixture into the greased pan

IMG_1592

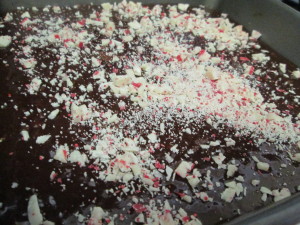
Sprinkle with the candies (if you want to)

IMG_1593

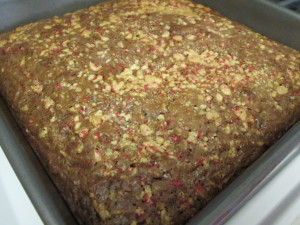
And pop in the oven for 40-45 minutes.

The peppermint candies will bake into the top and form a minty crust on top of the rich chocolate brownies.

IMG_1594

Your Valentine will definitely be thine.