Halebi Biber – or Holla Baby Bear

Hooray! We made it to Hump Day!

And to the letter H.

Today I’m not going to share a recipe. Instead I’m going to share a spice with you.

Sometimes you walk into the grocery store and you look around and you see all the vegetables and fruits and you just think, bleh, I’ve cooked with all of this before!

And it’s true. You probably have made so many eggplant dishes, or roasted potatoes or pasta primaveras that you just can’t imagine another one.

Well, instead of trying to find exotic new produce, how about changing up your flavor profile? How about spicing things up a bit?

Haha. See what I did there?

But seriously.

Changing out your basil and oregano for some smoked paprika and garam masala can give the same ‘ol same ‘ol an exotic new kick.

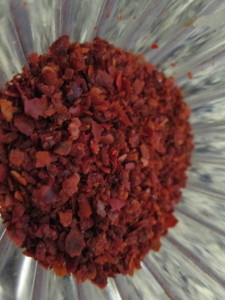
So I want to introduce you to Halebi Biber.

It’s sort of pronounced like holla baby bear, if you said it really quickly, so that’s become the joke in our house. (See my most on Grape Leaves for the origin.)

I had never heard of this spice until I started cooking with my fiance’s grandmother. It’s a spicy red pepper that gets spicier as it cooks. Yes, I learned that the hard way.

IMG_2503

I’m actually going to let my FMIL (future-mother-in-law) tell you about it.

Patty says:

For those who don’t know what “Halebi Biber” is – it’s grounded fresh red pepper that you buy in Armenian/Sirian specialty stores. “Haleb” is really called and spelled Alep or Aleppo and in Arabic they say Haleb. It is a city of northwest Syria near Turkish border inhabited as early as the 6th millennium B.C. Alep was a key point on the caravan route across Syria to Baghdad and later a major center of Christianity in the Middle East. It is now the country’s largest city. I am assuming that [back in the day…] Aleppo “Haleb” must have had the best red pepper for that region so when Armenians use red pepper the name stuck. Halebi (Alep, Seria) and Biber (means pepper)! And there is a little history on where Halebi Biber came from.

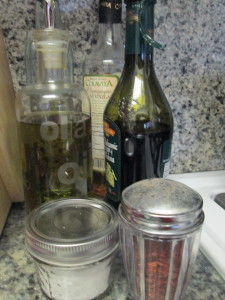
So, what can you do with this fun new spice? I keep mine in a a cute little shaker on the counter next to my salt, oil and vinegar. It’s a great addition to a salad dressing.

IMG_2505

It adds a nice little kick to soups and chilis. I’ve even used it to season my ground beef when making tacos.

 

Gnocchi!

Gee, are’t you glad we’ve galloped along to the letter g?

And to a big ol bowl of gnocchi!

I love gnocchi.

But it’s not a dish I grew up with.

See, Italian food is very regionally specific. My family comes from Naples and gnocchi comes from Northern Italy, the other side of town.

So I don’t have a gnocchi recipe passed down from my grandma.

Instead, I have one I found on Food 52 courtesy of Christina. This is her grandma DiLaura’s gnocchi recipe.

So thank you, Christina for sharing, and thank you, grandma DiLaura for passing it down.

Most people think of potato dumplings when they think of gnocchi. But that’s just limiting yourself to the vast potentials of gnocchi! This recipe here is a ricotta version that is the lighter fluffier more pillowy cousin of the potato gnocchi.

It sounds intimidating, making your own gnocchi. But I promise you, it’s super simple and well worth the extra 20 minutes or so that making your own takes versus opening a package from the grocery store.

You will need

  • 1pound fresh whole milk ricotta cheese
  • 1large egg
  • 1tablespoon olive oil
  • 1/4cup finely grated parmesan cheese
  • 2cups flour, sifted, plus extra for rolling dough

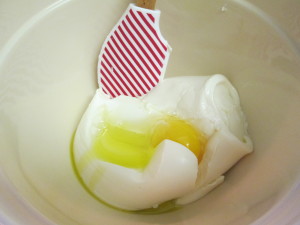
Add the ricotta egg and oil to a bowl and mix.

IMG_2418

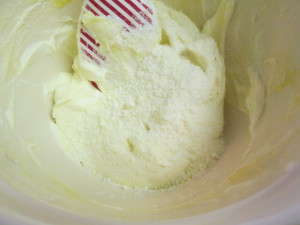
add the parmesan and mix

IMG_2419

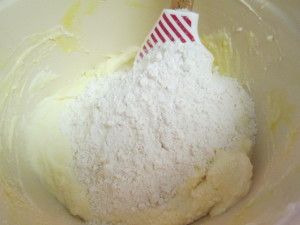
add the flour, one cup at a time, mixing in between.

IMG_2420

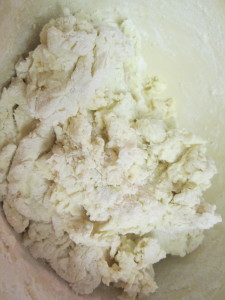
stir until the dough comes together

IMG_2421

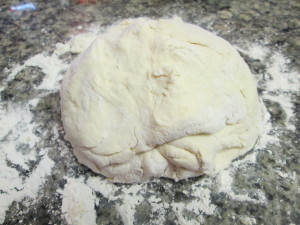
then turn out onto a floured surface

IMG_2422

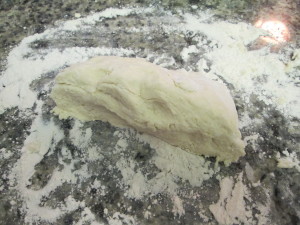
Divide the dough, lengthwise, into 4 pieces so it’s easier to work with.

IMG_2423

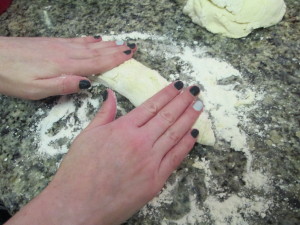
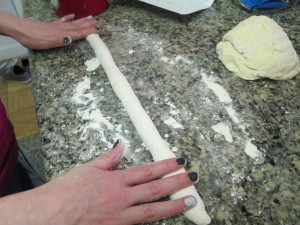
Now, like when you were a kid playing with playdough, start rolling the dough section out like a snake.

IMG_2424

working your hands out from the center so the snake gets longer and thinner

IMG_2429

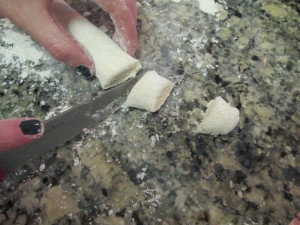
when it’s about 1-2 inches wide (depending on how big you want your gnocchi) slice the dough into 1 inch pieces.
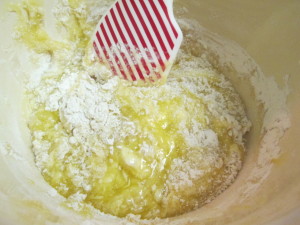
IMG_2430

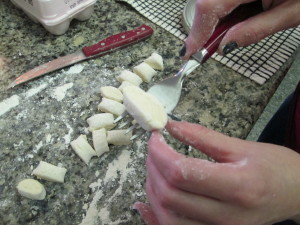
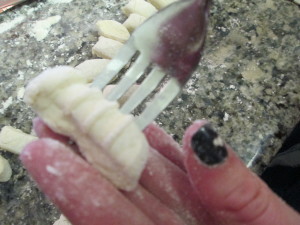
Next, take a fork and one of your little dumplings

IMG_2431

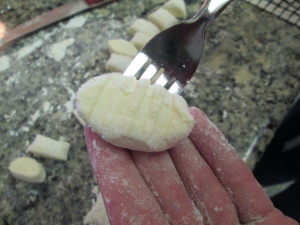
and roll the gnocchi over the tines of the fork to make grooves in it

IMG_2432

the sauce will stick inside those little ridges

IMG_2433

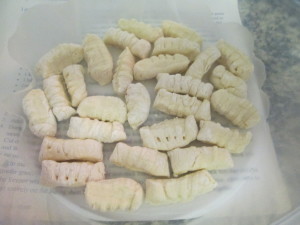
Repeat until all your dough is made into cure little gnocchi

IMG_2434

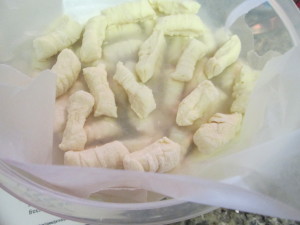
These can be used right away or they can  be frozen for later use. If freezing, lay out on parchment paper in a single layer so the gnocchi aren’t touching and pop in the freezer for an hour.
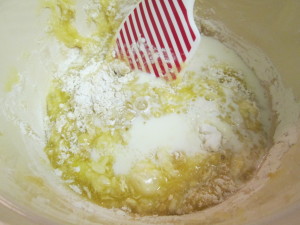
IMG_2435

Once they are frozen, you can pop them into a ziploc bag.

To prepare, remove from the freezer and drop gently into a pot of boiling water. Gnocchi are done when they rise to the top.

Top with a simple tomato sauce, pesto or aglio e olio

pasta e Fagioli

I missed E on the A to Z challenge. I got hit with a stomach bug and couldn’t manage anything more than channel surfing on the couch.

I’m going to cheat a little and sneak in the e here with the f. The first thing I was able to eat was scrambled eggs. Made by mom. You’re never too old to ask mom to come take care of you when you’re sick! And no matter what, mom’s scrambled eggs always taste better than mine.

So now I’m on the mend and I’m moving on to F.

Fagioli is Italian for beans.

Pasta e Fagioli is, simply, pasta and beans. It’s one of those amazingly simple Italian dishes that is really one of those poor man’s meals. I mean, it’s pasta and beans. Cheap ingredients. But those are the kind of meals that are the best.

Simple ingredients will always make the most delicious dinners.

There are two ways of making it. One’s in a red sauce and one’s in a garlicky white sauce. My family is partial to the red, so that’s what this recipe is for.

I’ve made it a couple times and have tweaked the recipe every time. But this time, I got it.

My fiance and my dad both told me to continue to make it this way. There are some times when you just don’t argue with the men in your life.

You will need:

  • 1 15 oz can whole peeled plum tomatoes
  • 1 can of cannellini beans
  • 1 small white onion, chopped
  • 3 stalks of celery, chopped
  • 2 cloves of garlic, chopped
  • 2/3 cup tomato puree
  • 1-2 cups of water (depending on how thick you want it)
  • 2 cups elbow macaroni (or any other short pasta)
  • olive oil
  • salt
  • pepper

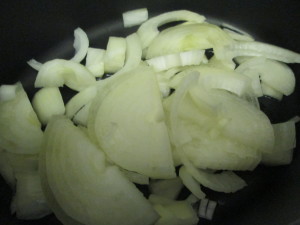
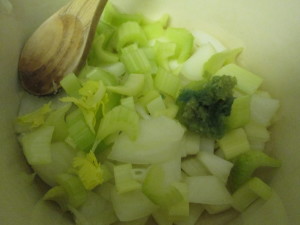
In a heavy-bottomed soup pot, drizzle some olive oil and toss in the onions. Turn to medium heat.

IMG_2437

When the onions are translucent, add the celery and the garlic. (My garlic is green. I know. As a time saver, we crush a bunch of garlic cloves and put the crushed cloves in a container with some olive oil and store it in the fridge. This is a meme trick. If the garlic is young, it will react with the olive oil and turn green. It’s fine. There’s nothing wrong with it. It’s just the color of the stuff that turned the turtles into the Teenage Mutant Ninja Turtles.)

IMG_2436

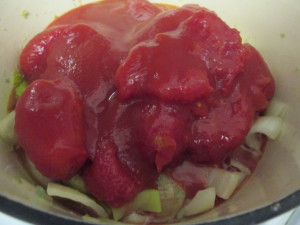
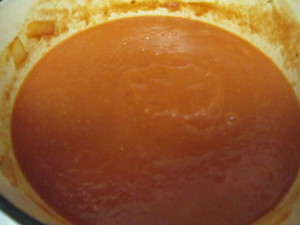
Let the celery soften, then add the can of tomatoes.

IMG_2438

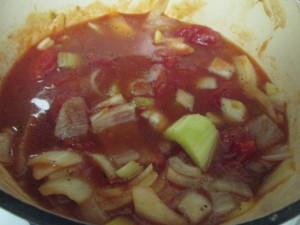
And the tomato puree and 1 cup of water. Season with salt and pepper and let the mix simmer for about 15-20 minutes.

IMG_2439

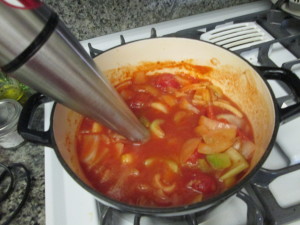
Turn the burner off and, using an immersion blender (or a blender or food processor) blend the mix.

IMG_2443

If, at this point, the mix is too thick for your taste, add in more water.

IMG_2444

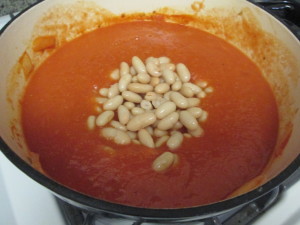
Turn the heat back to medium and add the rinsed and drained cannellini beans.

IMG_2445

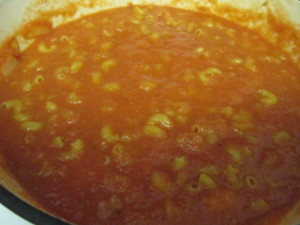
and your pasta and give a big stir.

IMG_2446

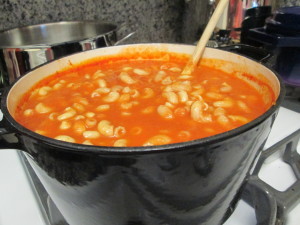
Let this simmer for about ten minutes, until your pasta is cooked. You can let it go for longer on low. At this point, you can also pop it in the fridge for dinner another night.

IMG_2450

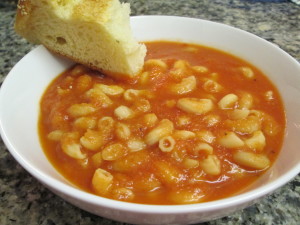
Dish up a big bowl, add a piece of crusty bread and mangia!

IMG_2451

spinach salad with Dried plums and cranberries

It’s a Dreary and Drizzly day here in New York. It’s Downright chilly out and a Darn shame that it can’t just be spring already…. Daffodils in bloom, kids picking Dandelions…

Okay. I think you get it. It’s D day here at the A to Z challenge.

And this gray day could really use a punch of color and brightness.

So, I painted my nails hot pink (I’m obsessed with my new Julep subscription)

And decided to mix up a delicious salad.

Now salads can be boring.

If everything is all one note, same texture, then you’re just going to feel like a bunny munching on greens. No offense to bunnies. Easter Bunny, if you’re reading, I’ll leave you some carrots in exchange for some robin’s eggs.

But if you’re having a salad for lunch, you want it to be interesting enough that you won’t be at the vending machine getting a Snickers bar, and satisfying enough that you’re not rummaging around for a bag of pretzels at 3 o’clock.

Lately I’ve been really into adding dried fruit to my greens. It adds a nice chew, a hint of sweetness and a new texture.

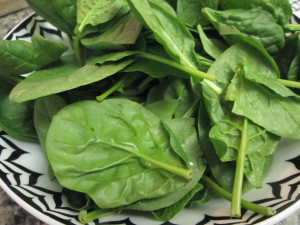
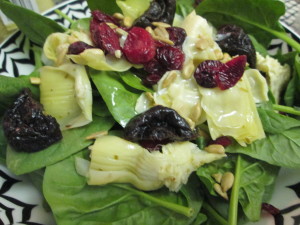
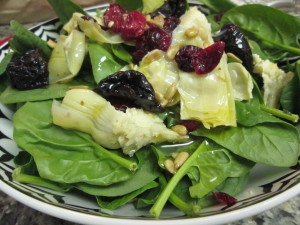
Here’s my spinach

IMG_2482

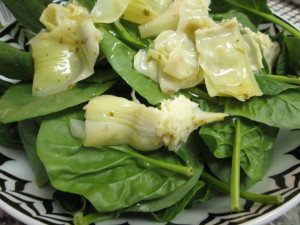
I added some marinated artichokes for some fat and some zing

IMG_2483

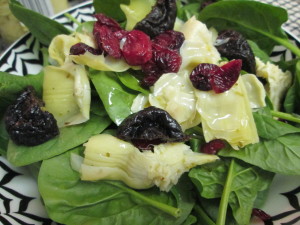
next some dried cranberries and dried plums (yes, prunes. sounds so much better to say dried plums though, no?)

IMG_2484

Some sunflower seeds for crunch and protein to keep me full

IMG_2485

A simple dressing of sunflower oil (to pick up on the sunflower seeds) and champagne vinegar and voila!

An interesting, delicious and filling salad


IMG_2490

Cupcakes!

Yesterday we made some buttercream.

And much as we’ve all had days where we’d love nothing more than to sit down with a big ‘ol bowl of butter cream and a spoon, we’re all adults here.

Well, actually, that doesn’t mean anything. We’re adults. So we CAN eat the butter cream with a spoon if we want to. Yea, I guess we know better. But we also knew better when we were kids and mom told us not to do something and we did it anyway…

But I digress.

We made butter cream. And because we know better, and well, because today is all about the letter C, we’re going to put the butter cream on some amazingly delicious and simple cupcakes.

I don’t have a go-to cupcake recipe so I set out to find one. This one is from Natasha’s Kitchen. She got it from Glorious Treats. If these two ladies both love it, then it sounded good to me. So thank you for posting this one.

  • 1 1/4 cups flour
  • 1 1/4 tsp baking powder
  • 1/2 tsp baking soda
  • 1/2 tsp salt
  • 2 eggs
  • 3/4 cup sugar
  • 1 1/2 tsp vanilla
  • 1/2 cup canola oil
  • 1/2 cup buttermilk (or use 1/2 cup milk with a 1/2 tsp of lemon juice. I did. It works! Swear! Great baking trick!)

Preheat the oven to 350 and line a cupcake pan with cupcake liners.

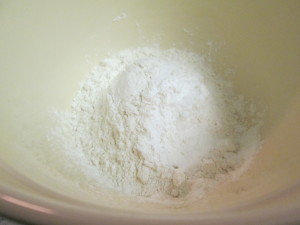
In a bowl whisk together flour, baking powder, baking soda and salt.

IMG_2452

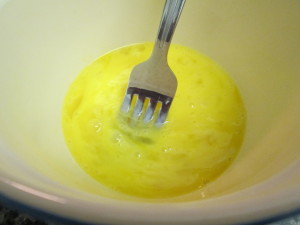
In another bowl beat two eggs

IMG_2453

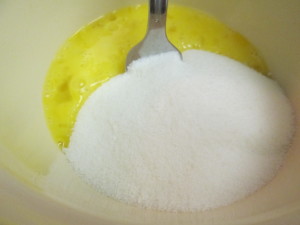
then add the sugar and stir

IMG_2454

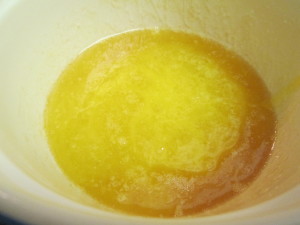
then add the oil and the vanilla and stir

IMG_2455

Now here is where you’re supposed to patiently mix the wet ingredients into the egg mixture, alternating with the buttermilk and the flour until everything is gently combined.

I don’t have the room for a stand mixer in this bitty kitchen

Nor do I have the patience for this.

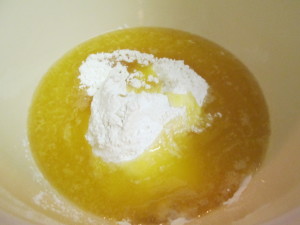
So I very gently folded the dry into the wet (all at once, but carefully)

IMG_2456

And when it was almost mixed

IMG_2457

I added the milk lemon concoction

IMG_2458

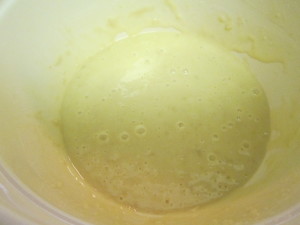
and gently mixed

IMG_2460

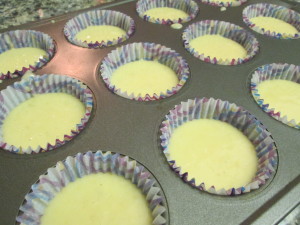
And filled my cupcake liners about halfway

IMG_2461

Bake for about 15 minutes. Let them cool

And frost!

IMG_2481

So if you’re having one of those days where you could just eat a bowl of frosting, remember, it’s almost Friday.

And here, have a cupcake.

IMG_2480

strawberry Buttercream

The letter B. Is there anything that this day could possibly be about other than butter cream?

Last week I made a lemon butter cream that was absolutely delicious.

The lemon really cut through the rich sweetness of the frosting and gave the cake an almost refreshing feel.

With this in mind, I knew I wanted to make a butter cream that wasn’t overpowering and that maybe had a citrusy or fruity twist. It is spring after all.

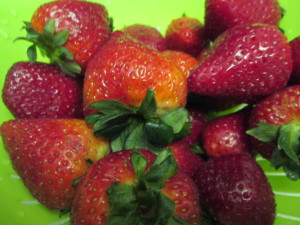
So when I walked into the store and saw these

IMG_2462

i knew.

Strawberry butter cream had to happen.

Now, I’m going to admit, I’m not the best baker.

I started out loving baking, but then over the years I grew to be more of a cook.

So while this butter cream actually came out tasting great, it wasn’t quite how I envisioned. I wanted a bit of a firmer texture. But this came out a little more on the fluffy side. I think I didn’t compensate enough for the extra liquid the strawberries brought to the mix.

But hey. That’s part of the fun of cooking!

Let the kitchen be your laboratory and experiment away.

I’ll tell you what I did and then I’ll tell you what I think I would do differently.

So my vision was a lighter butter cream.

I love me a so-sweet-your-teeth-hurt glob of butter cream on my cupcakes, but after eating a bag of jelly beans without realizing I had eaten a whole bag, I was thinking I should cut the sugar a bit.

Strawberries are naturally sweet, so that would let me cut down the amount of powdered sugar.

I didn’t want to use a full stick of butter though. So I thought maybe mixing some whipped cream into the butter cream to make a less dense frosting.

So that was my thought process.

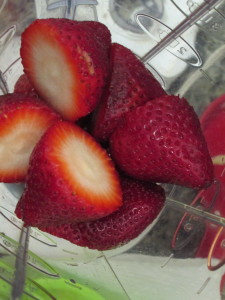
Toss your hulled strawberries into the blender or food processor (I used 10)

IMG_2464

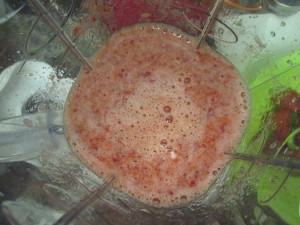
give it a buzz

IMG_2465

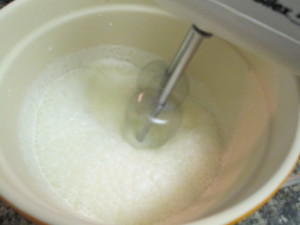
Next, pour some heavy cream into a bowl and whip it up

IMG_2466

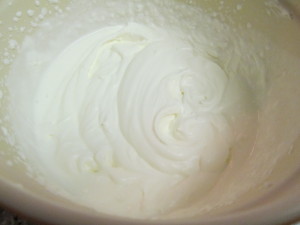
into a thick an frothy whipped cream

IMG_2467

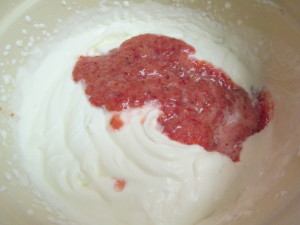
I didn’t put any sugar in because now we are going to fold in the strawberry puree

IMG_2468

and we will tailor the amount of sugar we add based on the sweetness of the strawberries.

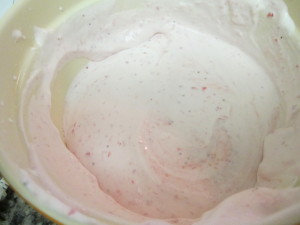
You’ll get a very pretty, light pink whipped cream that would be lovely to top a cream pie with.

A banana strawberry cream pie would be heavenly!

IMG_2470

But I wanted to top some cupcakes, so I needed this to have a bit more substance to it.

And here’s where the butter cream comes in.

And where I think mistakes start to be made.

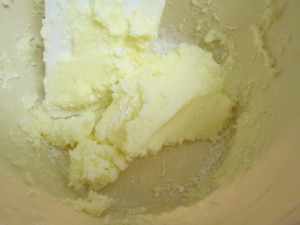
So I used half a stick of butter and a cup of powdered sugar.

IMG_2473

And I am an impatient baker. Which is why I’m not the best baker.

And I don’t think I whipped the butter and sugar up quite enough.

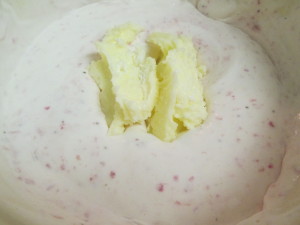
So when I added it to the whipped cream, it didn’t quite incorporate as well.

IMG_2474

Also, next time I would add the whipped cream to the butter cream. I think my ratio was off and if I had added whipped cream to the butter cream I would have had more control over the texture.

But, I gave it a taste, added a little more powdered sugar (my strawberries weren’t as sweet as I thought) and gave the mixture a good whipping with a hand mixer. And let it sit in the fridge for about a half hour.

IMG_2477


The result?

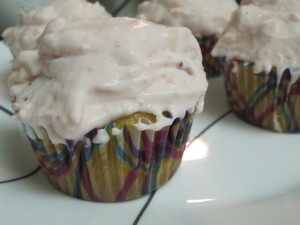
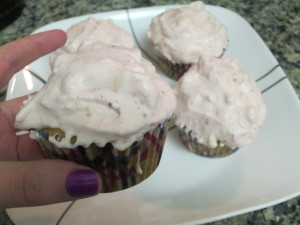
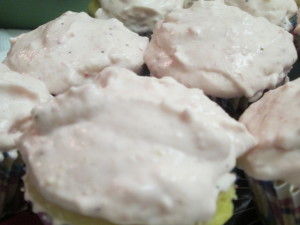
A light and fluffy strawberry butter cream meets whipped cream cupcake topper.

IMG_2478

You really taste the strawberries. And you’re not overwhelmed by butter and sugar.

IMG_2479

a semi-successful butter cream experiment.

Eggplant Parm. Baked Ziti

So there’s a dish called Penne Al Forno, which is a baked penne dish with eggplant in it.

But let’s be real. This pile of cheesy, eggplanty, pasta-goodness can masquerade behind a fancy name all it wants. We know the truth. It’s really just an epic mashup of two of our favorites: eggplant parm and baked ziti.

And it is a glorious way to end a rainy, dreary Monday.

For this recipe you will need:

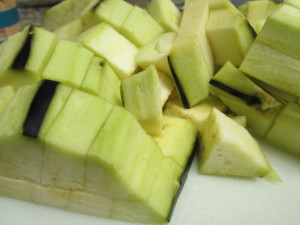
  • 1 eggplant, peeled and cut into 1 inch chunks
  • 1/2 box of pasta (penne’s great but I had elbows on hand. Use what you have!)
  • 15 oz can diced tomatoes
  • 2 garlic cloves, minced
  • mozzarella
  • parmesan
  • olive oil
  • salt
  • pepper

Preheat the oven to 350.

For this dinner, I used an ovenproof deep skillet so I could cut this down to a 2 pot night. But if you don’t have something that works, you can transfer from a skillet to a baking dish.

No problem.


IMG_2392

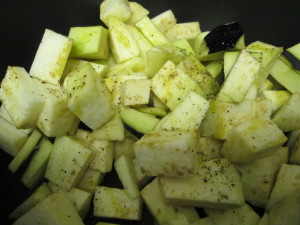
Drizzle some olive oil in a pot and toss in your eggplant chunks. Season with salt and lots of black pepper.

IMG_2393

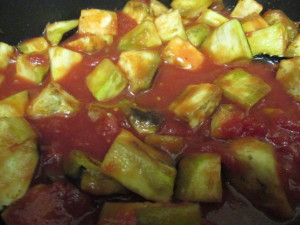
When the eggplant is browned, add your garlic and the can of diced tomatoes and let the mix simmer away.

IMG_2394

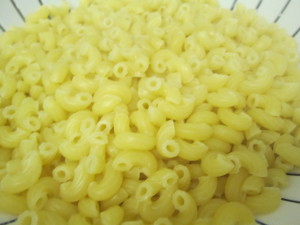
Meanwhile, bring a pot of water to a boil and cook your pasta.

IMG_2402

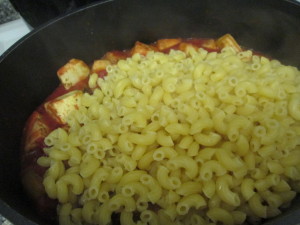
Add your drained pasta to the pot of eggplant and tomatoes (or transfer to a baking dish)

IMG_2404

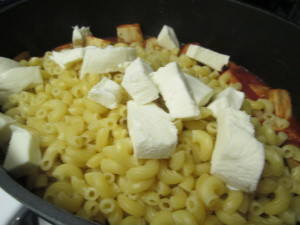
Toss in some chunks of mozzarella and then give a big stir.

IMG_2405

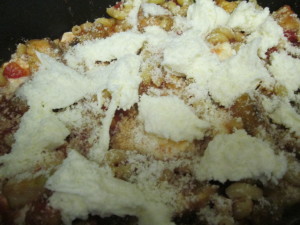
Top with more mozzarella and a sprinkling of parmesan cheese.

IMG_2407

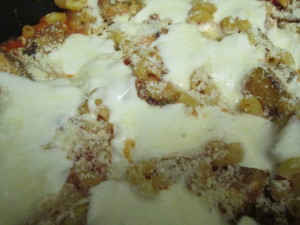
Bake for about 25-30 minutes, until the cheese gets all melty.

IMG_2408

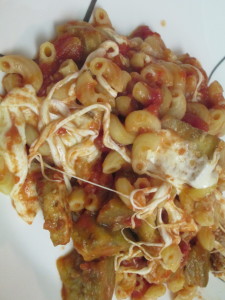
Serve up heaping platefuls and enjoy two Italian classics in one.

IMG_2409


Healthy Peanut Butter Oatmeal Chocolate Chip Cookies

Have greater words ever been uttered?

Peanut Butter Oatmeal Chocolate Chip Cookies. That are healthy? Or at least better for you than the average cookie?

IMG_2411

When I saw this recipe from Sally’s Baking Addiction, I had to try it!

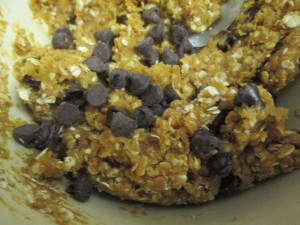
These came out even better than I thought and you can’t even tell that there is no flour and no butter in here. The oatmeal gives the cookie the chewy cookie texture we all expect in our chocolate chip cookies and the peanut butter gives the rich taste that makes this feel like a naughty after school treat.

But there’s good protein and fat in the peanut butter, heart healthy oats, antioxidant rich dark chocolate, and only a few spoonfuls of sugar.

This is not your grandma’s cookie!

You probably even have all of the ingredients in your pantry.

  • 2/3 cup old-fashioned rolled oats
  • 1/2 teaspoon ground cinnamon
  • 1 teaspoon baking soda
  • 1 large egg
  • 1 cup  peanut butter
  • 6 Tablespoons sugar (Sally uses brown sugar, but I didn’t have any.)
  • 1/2 cup dark chocolate chips

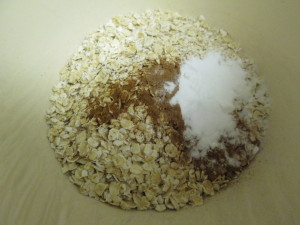
In one bowl mix together the oats, cinnamon and baking soda.

IMG_2395

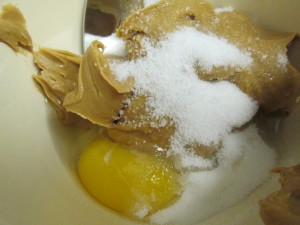
In another bowl place the egg, peanut butter and sugar.

IMG_2396

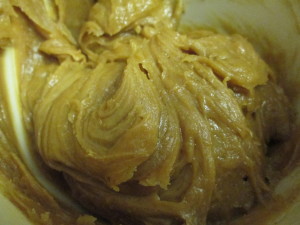
Mix the peanut butter and egg mixture until fully combined.

IMG_2397

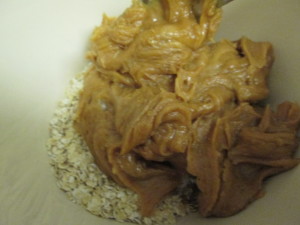
Then add the peanut butter mixture to the oats.

IMG_2398

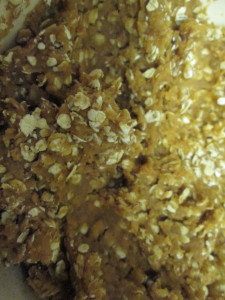
And stir to combine.

IMG_2399

And fold in the chocolate chips.

IMG_2400

Let the dough chill in the refrigerator for about 30 minutes.

Preheat the oven to 350 and lightly grease a cookie sheet.

Roll the dough into one inch balls and flatten slightly.

I was way too excited about getting these cookies into the oven and forgot to take a picture of them before baking.

I got about 16 cookies out of the dough.

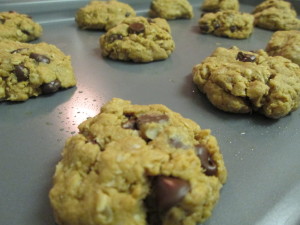
Bake for about 10 minutes.

IMG_2410

Melty chocolate chips. Warm Peanut butter. Nutty Oats.

No guilt?

How could you say no?

Roasted Asparagus Over Spaghetti


Asparagus is such a spring-time vegetable, don’t you think?

IMG_2386

Maybe it’s the vibrant green. Or its resemblance to blades of grass.

It just has me thinking spring.

Unfortunately, the weather here is still winter arctic freezing!

SO as much as I want to make light, vibrant dishes, I’m still in need of something to warm me up after the walk home in the biting wind.

And that’s where this dish comes in. The asparagus of sprint time gets roasted for the warm and peppery taste we crave in the cold, and then tossed over spaghetti for the comfort that only a bowl of pasta can provide.

This little dish straddles the seasonal line.

And the best part?

6 ingredients! Total.

  • Asparagus
  • Spaghetti
  • Ricotta cheese
  • olive oil
  • salt
  • pepper

Preheat the oven to 400 and cover a cookie sheet in foil.

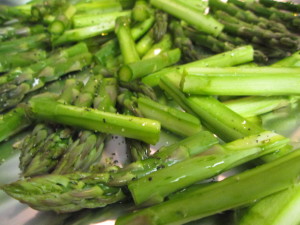
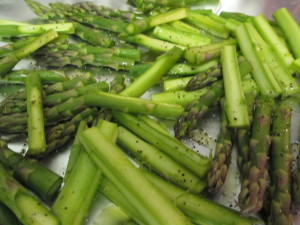
Slice you asparagus up into bit-sized chunks, lay on the cookie sheet and drizzle with some olive oil. Season with salt and pepper and toss to coat.

IMG_2387

Pop in the oven to roast for about 15- 20 minutes.

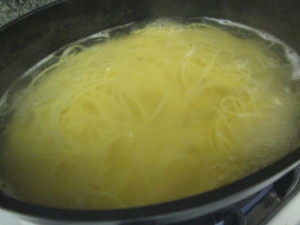
Meanwhile, bring a pot of water to a boil and cook your spaghetti.

IMG_2388

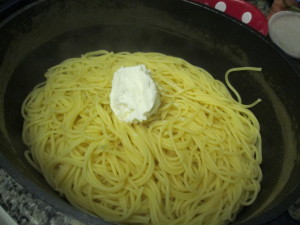
When your spaghetti is cooked, drain the water and put the pasta back in the pot. Add a scoop of ricotta to the warm pasta and give it a stir until it melts in.

IMG_2389

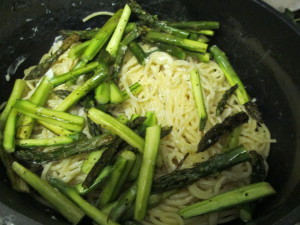
Top with the roasted asparagus and toss.

IMG_2390

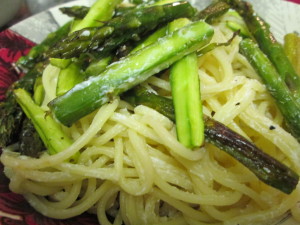
Dish up in big bowls.

IMG_2391

And pray for spring.

Hey, you know how we wear pajamas inside out in hopes of a snow day?

Is there something to bring a Spring day?

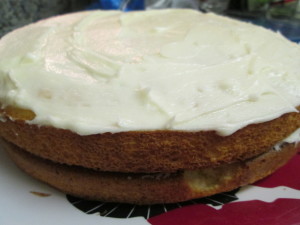
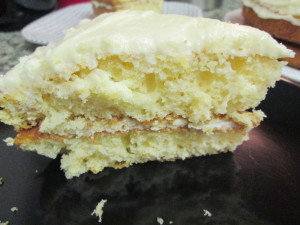
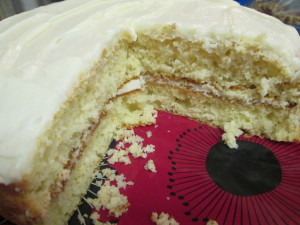
Lemon Buttercream


Have your cake and eat it too!

IMG_2382

Yes, I know the saying is that you can’t have your cake and eat it too, but I was thinking about this. Last night I asked Christopher if he wanted to have some cake with me. And by have, I meant, do you want to eat cake with me so I am not the fat kid sitting on the couch in my pajamas watching the rangers game and eating cake by myself?

Sometimes have and eat are interchangeable.

And sometimes you just need to have cake!

And that’s why I always have box cake mix in the house.

I whipped up a box white cake mix.

And then jazzed it up with homemade lemon butter cream.

I didn’t realize how easy butter cream was to make until recently.

1 stick of butter + 3 cups powdered sugar + flavoring + muscles = frosting!

Seriously.

Just let the butter soften, then either use some muscles and a wooden spoon or a hand mixer.

I vote for muscles and a wooden spoon because then you kinda got a workout in so you’re entitled to more frosting.

For a twist, instead of vanilla extract, I added 3 tablespoons of fresh lemon juice. It gives the frosting a light, springy taste. Despite the snow they’re calling for.

IMG_2383

Hello! It’s the end of March!

I can’t handle the snow. Or the cold!

I’m sorry. I’m having a melt down.

I need spring and sun and beach and warm.

But for now, I’ll have to settle for cake.

IMG_2385