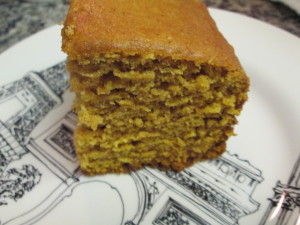
Limoncello Ice Box Cake

So I found a recipe for lemon maple icebox cake in the latest Good Housekeeping, and I was intrigued. Greek Yogurt. Graham Crackers. Dessert without baking?

Wanting to make something sweet on a weeknight and wanting to keep things healthy (an upcoming wedding will have you fixating on your size in ways you never imagined) I thought I’d give this one a try.

So their recipe uses maple syrup and some lemon zest. I’m not big on maple.

And I didn’t have any lemons.

But I did have Greek yogurt and graham crackers.

Oh. And a bottle of limoncello.

Which got the wheels turning.

And resulted in limoncello icebox cake made with Greek yogurt.

For this recipe, well non recipe really, you will need:

  • graham crackers, use any flavor but I just used original for this
  • 16 oz container of Greek yogurt
  • limoncello (or lemon juice or cocoa powder or whatever you want to stir into the yogurt to flavor it)

So you have a few options for assembling this. You can lay the graham crackers out in sheets in a loaf pan and make a layer cake type thing. Or you can make individual trifles in glass pudding cups.

Good Housekeeping did the fancy loaf pan option. So I figured I’d give it a go. Next time I’d definitely opt for the pudding cups. Much easier. Much less pressure. Everything looks good in a pudding cup!

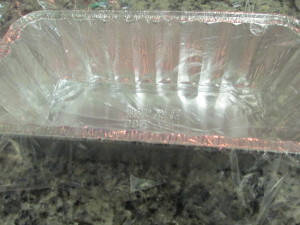
So. The loaf pan. Line it with plastic wrap, leaving yourself enough excess to wrap over the top of the cake.

IMG_1536

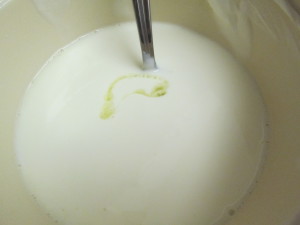
In a large bowl, mix together the yogurt and the limoncello. I used about a 1/4 cup, but use your taste buds as a guide.

IMG_1538


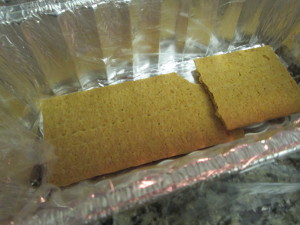
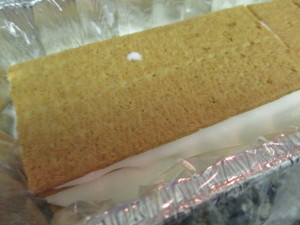
Layer the bottom of the loaf pan with graham crackers

IMG_1539

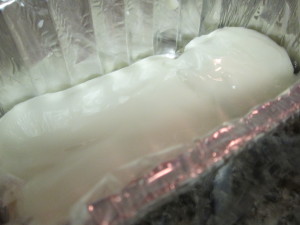
Then add a layer of yogurt

IMG_1540

And another layer of graham crackers, repeating until you have your desired number of layers. Or until the pan is full. Whichever comes first.

IMG_1541

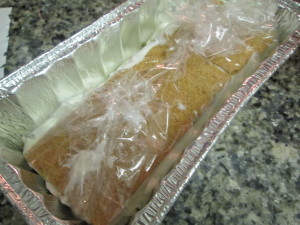
Fold over the plastic wrap and place in the fridge for about 4 hours so it can firm up.

IMG_1542

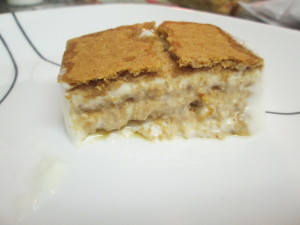
Unwrap and carefully slice to reveal the layers of yogurt and graham.

IMG_1546

The possibilities are endless for this. Next up we want to try some cocoa powder in the Greek yogurt and  adding some marshmallow spread for a s’mores cake.
 

I’m Tellin Helen You ate the Cinnamon Rolls!

IMG_1526

The Irish Coffee was a good way to kick off the snow day.

But this winter storm calls for something even better.

Grandma Helen’s Cinnamon Rolls.

I may have told you about my grandma Helen before, so if I have, I apologize. But she was such a great woman that she deserves a repeat story.

My dad is one of 6 kids – 2 girls and 4 boys. And there is a wide age range between with the first 3 being born about a year apart from one another and then the fourth following after about 8 years. Which means that when my parents were dating at 17, my dad’s youngest brother was 7.

My grandmother had no dishwasher. And no driver’s license.

But she cooked and baked. A lot.

When she passed away and we held her wake, the funeral home was filled to the max with kids from the neighborhood who used to come over for dinner or snacks or family parties. She basically fed the whole neighborhood at some point. Pies, stews, spitzad, pepperoni and string beans, and a whole list of things. Thursday night spaghetti night would find my aunt’ college friends piled into the kitchen.

But Monday night. Monday night football to be exact, was about cinnamon rolls.

I’m not going to lie, I’ve been intimidated by this recipe for some time. Yeast. Letting dough rise. Making a caramel sauce?

Yikes!

But it actually isn’t that bad. And it is totally worth the wait.

Before I get started, a note on the name. My dad and his siblings used to say to each other “I’m tellin’ Helen!” whenever one or the other did something bad. Eating these cinnamon rolls is not in any way a bad thing. But eating them all and not saving any for a family member is definitely a bad thing!

So be sure to share.

Or I’m telling Helen you hate the cinnamon rolls.

For this recipe you will need:

  • 1/4 cup sugar
  • 1 teaspoon salt
  • 1/4 cup margarine, room temperature
  • 1/2 cup scalded milk
  • 1 package dry yeast
  • 1/2 cup warm water
  • 3 and 3/4 cup all purpose flour
  • 1 egg, room temperature
  • extra margarine for greasing the dough
  • 2 tablespoons melted butter for brushing the dough
  • cinnamon
  • brown sugar
For the glaze:
  • 1 cup brown sugar
  • 6 tablespoons margarine
  • 4 tablespoons hot water
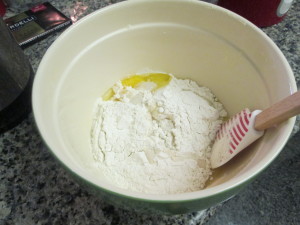
Okay. To get started combine sugar, salt, margarine and scalded milk in a large bowl.
Scalded milk is milk heated to just before boiling.
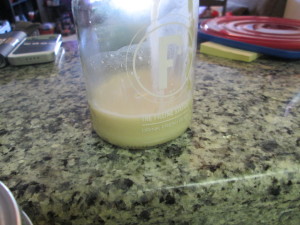
It will look something like this – bubbles at the edges and a slight skin on the top.

IMG_1525

IMG_1502

IMG_1503

IMG_1506

Dissolve the yeast in a half cup of warm water

IMG_1504

When the yeast mix is lukewarm, add it, half the flour and the egg to the sugar, margarine and milk mixture.

IMG_1507

Continue to stir and incorporate the flour until all of it has been added.

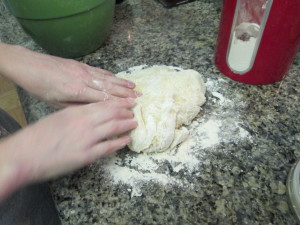
Turn the dough ball out onto a floured surface and knead for a few minutes.

IMG_1508

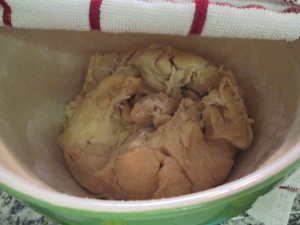
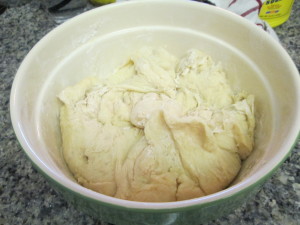
Grease the dough ball with margarine, then place back in the bowl, covered with a towel in a warm place.

IMG_1510

Let the dough rest and rise for 1 and a half hours.

It will double in size.

IMG_1512

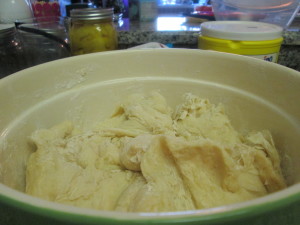
Then, punch the dough down, cover and let sit for another 15 minutes. It will rise a bit again.

IMG_1513

Now we are ready to get rolling! Preheat the oven to 350.

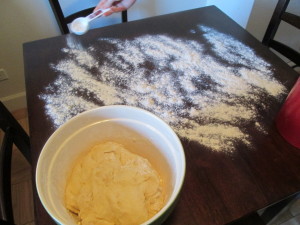
Flour your work surface. The Itty Bitty kitchen does not have enough counter space to roll out dough, so we use our table.

IMG_1514

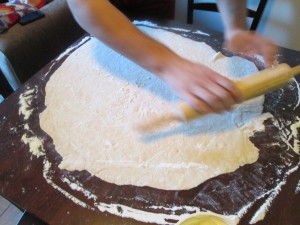
Roll out the dough into a rough rectangle. We’re going to roll it up like a jelly roll so you want it to be fairly thin.

IMG_1518

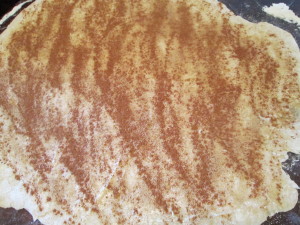
Brush the dough with melted butter and sprinkle with brown sugar and cinnamon. Be generous.

IMG_1519

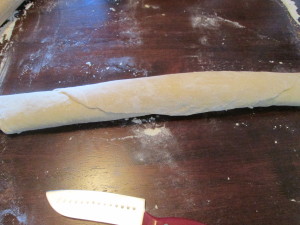
Starting at one ed, carefully roll it up.

IMG_1521

Leave the dough to sit for a minute while we make the glaze.

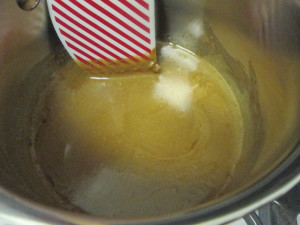
In a sauce pan, heat one cup of brown sugar and four tablespoons of hot water, stirring until the sugar is dissolved.

IMG_1516

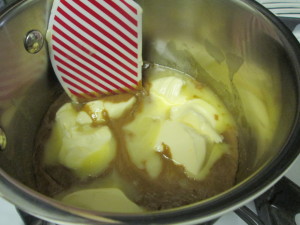
Add 6 tablespoons of margarine and stir until melted.

IMG_1517

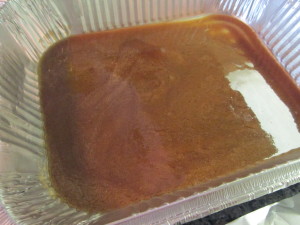
Pour this sauce into the bottom of a greased 9×13 baking tray.

IMG_1520

Stay with me on this one.

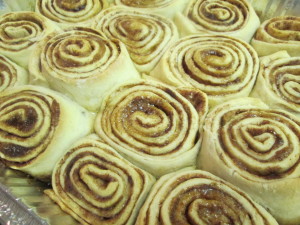
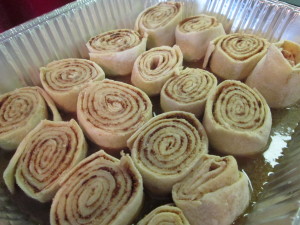
Slice the cinnamon roll log up – I got 16 rolls out of this dough – and place the slice rolls in the tray on top of the sauce.

IMG_1522

Bake at 350 for 20-25 minutes. The rolls will absorb the glaze and will puff up.

IMG_1526

Let them sit for about 5 minutes so the glaze sets up on the rolls.

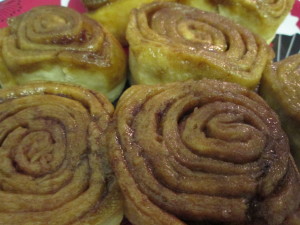
Flip.

Marvel at the ooey-gooey cinnamon deliciousness.

IMG_1524

Christmas Cookies


My coworkers and I do a Secret Santa every year.

I should note that half of my coworkers are in London, so this is not just any Secret Santa. oh no. This is a transatlantic Secret Santa!

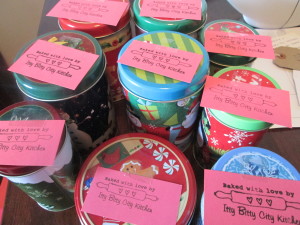
My lovely boss pulled my name, and, knowing my love of baking, got me this custom stamp and cute tags so I can package all the Christmas cookies I baked.

IMG_1442

And when I say all the Christmas cookies, I meant ALL caps, lots of cookies, like 10 dozen cookies.

IMG_1444

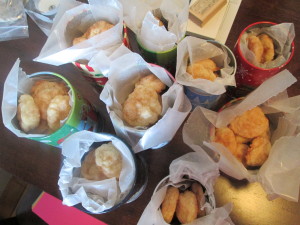
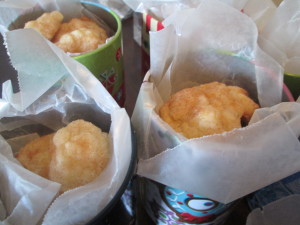
That all got wrapped in parchment and placed in Christmas tins.

IMG_1445

The sealed up tight

IMG_1447

And tagged, with love

IMG_1448

From the Itty Bitty City Kitchen!

IMG_1443

Snickerdoodles

IMG_1378

It’s that time of year.

Cookie swap time!

It’s snowy and cold so it’s the perfect time to hang out in the kitchen, warmed by the stove preheating, and fill the apartment with smells of butter and sugar and cinnamon.

It’s even better when you share those cookies with friends. And, you know, when they share some with you.

These are my cookies for this holiday season.

I made them and brought them into work, because who better to experiment on than your coworkers? My coworkers in London got excited when they heard Snickerdoodle. But then they felt cheated when they learned that there was, in fact, not a snicker to be found.

This of course led to us googling the origin of Snickerdoodle. (see here)

What you really need to know is that the cookies are butter, sugar, cinnamon goodness. Do I have your attention?

For this recipe you will need:

  • 2 3/4 cups flour
  • 2 tsp baking powder
  • 1/2 tsp salt
  • 2 sticks unsalted butter, room temperature
  • 1 1/2 cups sugar
  • 2 eggs
  • cinnamon
  • sugar

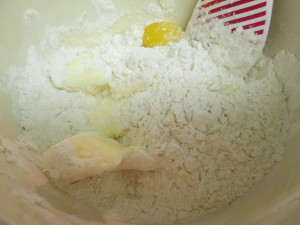
Preheat the oven to 350. In a large bowl, combine butter and sugar until fluffy.

I forgot to take a picture so moving to the next step.

Add the eggs, flour, baking powder and salt and mix until combined.

IMG_1370

Set yourself up with a little assembly line. Bowl with dough, small bowl with cinnamon and sugar mix, cookie sheet.

IMG_1372

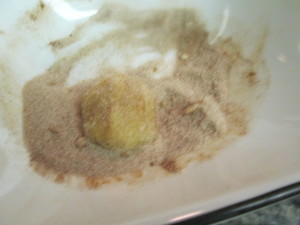
Roll the dough into one inch balls, dunk each dough in the cinnamon and sugar and rolling it around until totally covered.

IMG_1373

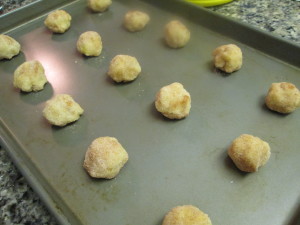
Continue until all the dough is rolled.

IMG_1374

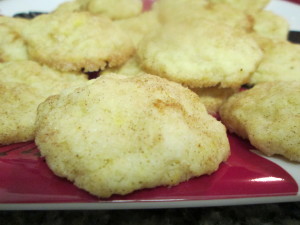
Bake for about 12-15 minutes. I got about 30 cookies out of this recipe.

IMG_1376

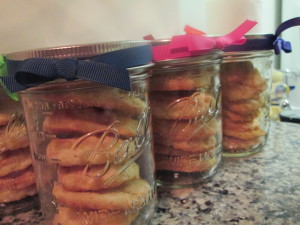
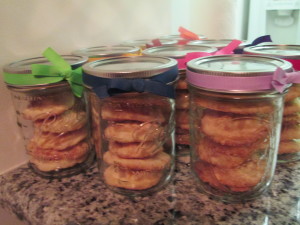
If you’re doing a cookie swap, a great way to transport the cookies is in these cute little mason jars. A stack of them on a plate is great too.


IMG_1377

Pumpkin Bread


Bread is my weakness.

In the fall, pumpkin is my kryptonite.

Combine the two and I am utterly defenseless.

I found this recipe perusing the blogosphere. I landed on My Baking Addiction’s site and was instantly smitten with this recipe. Her original is here. I made one slight tweak to the amount of sugar in mine. Also, instead of making two loaf pans of pumpkin bread, I made one 9×9 pan of pumpkin bread. The Itty Bitty City Kitchen does not have room in cupboards for two loaf pans.

But that goes to show you, baking isn’t something that needs to be 100% precise. You can play a bit. Adjust the sugar if you don’t like things too sweet. Or add in some mix-ins to a plain recipe. My future mother-in-law said that this would be great with walnuts mixed in. I bet chocolate chips could make this more dessert like for the chocoholics.

Oh. Also. This recipe is awesome because it’s simple. My fiance even made it all by himself. I wasn’t there, but I hear it was a highly entertaining experience. Though I can’t say his mom’s kitchen will ever be the same.

For the pumpkin bread you will need

  • 1 (15 ounce) can pumpkin puree
  • 4 eggs
  • 1 cup vegetable oil
  • 2/3 cup water
  • 2 teaspoons pure vanilla extract
  • 2 cups sugar
  • 3 1/2 cups all-purpose flour
  • 2 teaspoons baking soda
  • 1 1/2 teaspoons kosher salt
  • 2 teaspoons cinnamon
  • 1 teaspoon ground ginger
  • 1 teaspoon allspice

Preheat the oven to 350 and grease your pan(s).

In a large bowl or in a food processor (if you want to cheat, sorry meme, I was in a rush!) mix the pumpkin, oil, water, eggs, vanilla and sugar.

IMG_1298

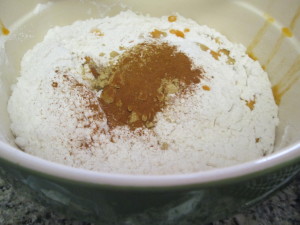
In another bowl, mix flour, baking soda, salt, cinnamon, allspice and ground ginger.

IMG_1299


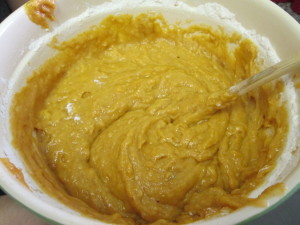
Add the pumpkin mix to the dry ingredients and stir really well to combine.

IMG_1300


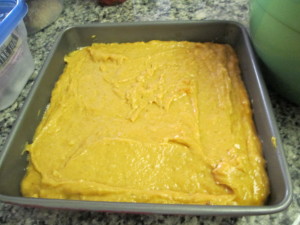
Pour the batter into your greased pan(s)

IMG_1301

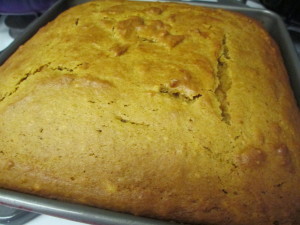
Bake at 350 for about an hour.

IMG_1302

Enjoy the smells of pumpkin and cinnamon filling your kitchen.

Allow to cool slightly (I say slightly because I’m impatient and I’m sure you are too. Or if you’re not, I’m going to pretend that you are so I don’t feel alone), slice and enjoy with a spicy chai latte or some good strong coffee.

IMG_1312

Cakes and Study Breaks

Since I was a kid, homework has been synonymous with baking.

Growing up, both my parents worked, so my grandma used to pick me up from school.

My mom’s mom is not a baker. My dad’s mom is the grandma of the pies. My mom’s mom is the grandma of the meatballs.

But my grandma has a sweet tooth. So she would pick me up from school and then ask me if I wanted to “help” her make brownies. Being 6 and naive, I thought I was a big deal, helping make brownies then sitting at the table and doing my homework while the kitchen was filled with the smell of warm chocolate.

But no.

My grandma just really hated baking and really liked brownies.

But what happened is that baking and homework have become linked in my mind. The time it takes for brownies or a cake to be baked is the time it takes to write a five page paper or read a twenty page article.

So, now, twenty years later and back in school for a graduate degree, I’m still baking while doing my homework.

Maybe because of the connection at an early age it has become part of my thinking process.

See, that’s not just a box of a cake mix and a mixing bowl below; no sir. That’s my brainstorming and rough draft.

IMG_1263

And this bowl of homemade buttercream frosting, it’s me formulating a thesis statement.

By the way, I see no problem with boxed cake mix cakes. They’re delicious and they remind me of childhood. To jazz it up, just make your own frosting. This one’s a snap.

  • 1/3 cup butter, softened
  • 2 cups powdered sugar
  • 1 teaspoon vanilla
  • 1-2 tablespoons of milk

Whip the ingredients together with your hand mixer and voila, homemade frosting.

IMG_1264

Scoop out the frosting and cover the cake when it’s cooled. Think about your introductory paragraph as you spread the fluffy white frosting.

IMG_1267

And then, let the cake sit while you finish the paper. The frosting will get a touch of hardness so there’s a bit of crunch when you bite into the cake.
Speaking of which, the best part of this whole baking and writing thing?

There’s a beautiful cake waiting for you.

IMG_1269

But only when you’ve finished your paper.

Pumpkin Pie


I have never made pumpkin pie before and I figured now is as good as time as any to give it a go.

I looked up a couple recipes and took ideas from them all to come up with this variation.

The key to this recipe is my grandma’s pie crust. Check out the recipe here.

But go ahead, use any pie crust you want.

Then make it again with her crust.

I promise you will taste the difference.

So the filling.

I should say, one of the main reasons for making pumpkin pie, besides it being fall and pumpkin pie being amazing, is that I got a fancy new toy and was dying to try it. My beach godmother sent me a new Cuisinart as an engagement gift. It needed to be christened. Christenings should always involve pie.

So for the filling you will need:

  • 1 15 oz can pumpkin puree
  • 1/2 cup whole milk
  • 1 and 1/4 cups heavy cream
  • 3 eggs, beaten
  • 3/4 cup light brown sugar
  • 2 teaspoons cinnamon
  • 1 teaspoon ground ginger
  • 1 teaspoon allspice

Ready for two step pie making?

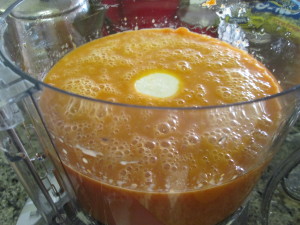
All of the ingredients go in the Cuisinart.

downsized_1012131049

The blended ingredients go in the pie crust. The pie gets baked at 350 for 50 – 60 minutes.

downsized_1012131147

The pie gets sliced and eaten.

downsized_1012132106

I’m probably going to have to make it a few times. You know, to make sure it’s perfect for Thanksgiving…

Lemon Cheesecake Squares

A few years ago my cousin Diane gave me this fantastic book called the Cake Mix Doctor.

Every recipe in the book begins with a box of cake mix. I can’t tell you how fantastic this is if you entertain a lot or if you have kids and have to bake for school function a lot. A box of cake mix and some extra ingredients and you are on your way to a great dessert!

We’re heading to a family Labor Day barbecue. And we were asked to bring a dessert.

This means two things.

1. We’re engaged and so are adults and need to contribute

and

2. We’re engaged so I’m part of the family and can’t just hang out anymore (which is not a bad thing!)

SO I turned to the Cake Mix Doctor. And found this recipe for Lemon Cheesecake Squares.

I like lemony desserts at barbecues because they’re light and cut through all the richness of all the foods you ate throughout the day.

So here it is.

You will need

  • 1 box classic white cake mix
  • 2 eggs
  • 1/3 cup vegetable oil
  • 1/4 cup of sugar
  • 1 8 oz package of cream cheese
  • The juice from 1 lemon

Preheat the oven to 350 and grease a 9×13 baking dish.

Pour the cake mix, vegetable oil and one egg into a large bowl.

IMG_1015

Stir until combined. The mixture will be crumbly. Almost like sugar cookie dough.

IMG_1016

Pour the mixture into the baking dish and press it down. This will be the crust. Pop it in the oven and bake for about 13 minutes.

IMG_1017

While that bakes, stir together the cream cheese, sugar, remaining egg and the lemon juice until the mixture is smooth.

IMG_1019

Remove the cake from the oven and pour the cream cheese mixture over top.

IMG_1020

You get a cakey crust on the bottom and a tangy lemony cheesecake on the top. Two desserts in one.

IMG_1021

Pop the pan back in the oven and bake for another 13-15 minutes, until the cheesecake is set.

IMG_1022

Remove from the oven and allow to cool. Then slice up into bars. I got 24 out of the pan. (The below is only half)

IMG_1023

Three Ingredient Nutella Brownies

Like you I was skeptical.

3 ingredients? brownies?

But I was intrigued. You had me at Nutella.

I’d seen a ton of other bloggers posting about this magical concoction and I’d seen even more comments people had left saying how delicious they were.

So. I tried it.

I had to.

For research purposes.

And I have to say, they are just as amazing as everyone says.

I thought my peach cobbler I made yesterday was easy.

This may have it beat.

Preheat the oven to 375.

You will need

  • 1 cup Nutella
  • 10 TBSP flour
  • 2 eggs

In a large bowl, add in the Nutella and the eggs.

IMG_0815

Stir until combined.

Add in the flour and stir until there are no lumps. The mix will look like regular old brownie batter,

IMG_0817

Pour into a greased baking dish and bake for about 25-30 minutes. You can also line a muffin pan with cupcake papers and make little individual brownies if you want.

IMG_0818

I made these for a party and they were gone as soon as I told people what they were.

Hence the lack of final product pictures.

You’ll have to make them yourself to see what they look like.
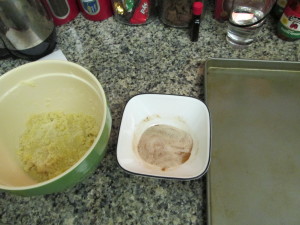
Peachy Keen Cobbler

I’ve been in a baking mood lately.

Not like all from scratch, make your own bread kind of baking. More like, simple and yummy desserts that I can whip up and toss in the oven while I’m preparing dinner.

This little concoction is one of my most recent favorites.

Peaches are one of the best parts of summer. Those fresh, fragrant piles of them in the store are so tantalizing.

But, canned peaches are good too and totally have their place in the kitchen.

This cobbler starts with a can of peaches, drained.

IMG_0790

Look at those peach slices! Don’t you just want to devour them?

To begin the transformation of canned peaches into an awesome cobbler, layer half of the peaches in each of two small ramekins.

When it’s just the two of us, I like making little individual-sized desserts. Maybe it’s the only child in me that doesn’t want to share, or maybe it’s the little kid in me that gets really excited about being able to eat the whole thing.

You can also make just one of these if you’re home alone.
IMG_0791

Either way, he gets one and I get one.
IMG_0792

In a bowl mix together

1/4 cup brown sugar

1/3 cup chopped pecans

2 tablespoons flour

2 tablespoons butter, diced

a mess of cinnamon

IMG_0793

Combine the ingredients. I used my hands so I could crumble the butter and the brown sugar into nice sized crumbs.

IMG_0794

Divide the mixture in half and sprinkle over each ramekin.

IMG_0795

To make baking easier, place the ramekins on a cookie sheet or pizza pan. This way, you only have to remove one thing from the oven. The pan will also catch any spillover so you don’t have to clean your oven.

IMG_0796

Bake at 375 for 20-30 minutes. The butter will melt into the peaches. The crumb mixture will get all crunch and gooey. The peaches will release their juices, forming a sticky syrup in the ramekin.

Add a dollop of whipped cream for some extra indulgence.

Manhattan-20130723-00045

The fruit and the nuts you use are entirely up to you. I can imagine a strawberry and blueberry cobbler topped with hazelnuts. Or apples with pecans.

Let me know if you come up with some yummy combos!