Easy Lemon Yogurt Cake

As soon as there is the tiniest hint of Spring in the air, all I want is lemon.

Lemon with shrimp, lemon with pasta, and especially lemon desserts.

I guess after a winter of heavy and rich soups and stews, my taste buds are craving something as bright and zingy as the beautiful sunshine streaming through the windows.

This is a fantastically light and fluffy cake. And the best part? I almost always have all of the ingredients on hand.

For this recipe you will need:

  • 1 ½ Cups  Flour
  • ½ Cup Greek yogurt
  • ½ Cup Canola Oil
  • 1 Cup Sugar
  • 2  Eggs
  • 2 Tsp Baking Powder
  • ½ Tsp Salt
  • Lemon zest (as much or as little as you want)
  • ¼ Cup Lemon juice (about 2 lemons)

Preheat the oven to 350 and grease an 8 inch round cake pan.

In a large bowl, which yogurt, sugar and eggs.

IMG_4221

until you have a well combined batter

IMG_4222

Add lemon juice, oil and lemon zest

It’s going to look like it wants to separate

IMG_4223

but keep whisking until well combined

IMG_4224

Add flour, salt and baking powder to the wet ingredients

IMG_4225

And whisk (carefully so you don’t have flour all over your kitchen) until you have a smooth batter.

IMG_4226

Pour into your greased cake pan.


IMG_4227

And bake for about 30 minutes. Until a toothpick comes out clean.


IMG_4228

After the cake cools, remove from cake pan and dust with powdered sugar. If you want to get fancy, you can cut a shape out of parchment paper and use it as a template for the powdered sugar.

Aww

IMG_4233

Slice and serve with some whipped cream.

IMG_4234

Lemony, light and oh so delicious.

And kind of healthy!

No butter and not a lot of sugar. Plus Greek yogurt. Which is so good for you.

Win!

Lemon Chess Pie

Bright Sunshiney days make me think one thing: beach.

But, since we can’t get to the beach yet, sunshine’s got me thinking about bright bursts of citrusy flavor.

In the form of a lemon chess pie.

Chess pies are super Southern and consist of eggs, butter, sugar and vanilla. It’s a great recipe to know because you usually have the ingredients on hand and can whip this up if guests unexpectedly will be arriving soon.

This recipe comes from Southern Living. Instead of using vanilla, I used some lemon juice to give the pie a more summery twist.

Start with a pie crust. You can use store bought or homemade.

This little beauty was made by my husband. Following my grandmother’s recipe.

I love that. Him reading the recipe written in her handwriting.

IMG_0673

So, once you have your pie crust baked and cooled, it’s time for the filling.

You will need:

  • 4 eggs, separated
  • 1/4 cup butter, melted
  • 3/4 cup sugar
  • 1/2 cup lemon juice

Preheat the oven to 350.

Separate the eggs, placing the yolks in a big bowl

IMG_0675

And the whites in a not as big bowl

IMG_0674

Using an electric hand mixer, beat the whites into stiff peaks. See how there’s a little point of egg white standing up on the mixer? That’s a stiff peak.


IMG_0676

Leave those whites for a minute and turn to the yolks. Add the melted butter, sugar and lemon juice and stir.

IMG_0678

Now, gently tip the whites into the yolk mixture and fold them in.


IMG_0680

You’ll get this beautiful, pale, buttery yellow.


IMG_0681

When fully combined, pour the mix into the crust.


IMG_0682

Bake at 350 for about 30 minutes, until set.


IMG_0683

Let cool in the fridge, and then pile high with whipped cream.

IMG_0684

When you slice it, I love the contrast of the lemony yellow against the glistening white whipped cream.

IMG_0687

Served icy cold, this pie is like a glass of lemonade on a hot summer day: refreshing, tart and sweet and so satisfying.

Helen’s Pudding Pie

This is a really simple dessert that my grandma Helen used to make all the time when my dad was a kid.

She made a lot of time consuming things (like banana cream pie and cinnamon rolls) but I guess with 6 kids and who knows how many friends and cousins showing up, she needed something easy in her back pocket.

And so there was pudding pie.

It’s not really a pie, actually. It’s just sheets of graham crackers with layers of vanilla and chocolate pudding. But it’s a super simple dessert that looks like it took more time to make than it really did. Which is my favorite kind.

Start by placing graham crackers on the bottom of a 9×13 baking dish.

IMG_2930

Next, make your vanilla pudding according to package directions. You are more than welcome to do the homemade pudding thing, but this is a quick and easy dessert, so packaged works for me.

IMG_2931

When the pudding’s done, carefully pour it over the graham crackers.

IMG_2932

Then pop it in the fridge for a few while you make your chocolate pudding.

IMG_2934


When the chocolate pudding is done, remove the pan from the fridge and carefully pour the chocolate pudding over the vanilla.

IMG_2935

This is why I like using a glass pan for this, so you can see the layers.

IMG_2936

Back into the fridge for a few hours.

Then slice and yum.

IMG_2949

1 Ingredient Vegan Banana Ice Cream

This is kind of life changing.

I mean, come on.

Did you read that title?

One Ingredient.

Vegan

Ice Cream!

I can’t believe how good it is and how ridiculously easy it is.

All you need are some bananas, cut up and popped into the freezer for a few hours (or overnight).

IMG_2782

Toss the frozen bananas into a food processor

IMG_2795

And keep pulsing and scraping down the sides as needed.

You’ll get something that kind of resembles Dip n Dots. Do you remember Dip n Dots? Do they still make Dip N Dots? MMM… Oh wait. We’re talking about healthy foods this week.

IMG_2796

When it reaches the point pictured above, dump into a tupperware container and give a stir with a spatula.

See that? Looks a lot like ice cream to me.

IMG_2797

Pop a lid on and stash in the freezer or enjoy right away.

We may have topped ours with some pieces of chocolate…

IMG_2799

Healthy Peanut Butter Oatmeal Chocolate Chip Cookies

Have greater words ever been uttered?

Peanut Butter Oatmeal Chocolate Chip Cookies. That are healthy? Or at least better for you than the average cookie?

IMG_2411

When I saw this recipe from Sally’s Baking Addiction, I had to try it!

These came out even better than I thought and you can’t even tell that there is no flour and no butter in here. The oatmeal gives the cookie the chewy cookie texture we all expect in our chocolate chip cookies and the peanut butter gives the rich taste that makes this feel like a naughty after school treat.

But there’s good protein and fat in the peanut butter, heart healthy oats, antioxidant rich dark chocolate, and only a few spoonfuls of sugar.

This is not your grandma’s cookie!

You probably even have all of the ingredients in your pantry.

  • 2/3 cup old-fashioned rolled oats
  • 1/2 teaspoon ground cinnamon
  • 1 teaspoon baking soda
  • 1 large egg
  • 1 cup  peanut butter
  • 6 Tablespoons sugar (Sally uses brown sugar, but I didn’t have any.)
  • 1/2 cup dark chocolate chips

In one bowl mix together the oats, cinnamon and baking soda.

IMG_2395

In another bowl place the egg, peanut butter and sugar.

IMG_2396

Mix the peanut butter and egg mixture until fully combined.

IMG_2397

Then add the peanut butter mixture to the oats.

IMG_2398

And stir to combine.

IMG_2399

And fold in the chocolate chips.

IMG_2400

Let the dough chill in the refrigerator for about 30 minutes.

Preheat the oven to 350 and lightly grease a cookie sheet.

Roll the dough into one inch balls and flatten slightly.

I was way too excited about getting these cookies into the oven and forgot to take a picture of them before baking.

I got about 16 cookies out of the dough.

Bake for about 10 minutes.

IMG_2410

Melty chocolate chips. Warm Peanut butter. Nutty Oats.

No guilt?

How could you say no?

Lemon Cheesecake Squares

A few years ago my cousin Diane gave me this fantastic book called the Cake Mix Doctor.

Every recipe in the book begins with a box of cake mix. I can’t tell you how fantastic this is if you entertain a lot or if you have kids and have to bake for school function a lot. A box of cake mix and some extra ingredients and you are on your way to a great dessert!

We’re heading to a family Labor Day barbecue. And we were asked to bring a dessert.

This means two things.

1. We’re engaged and so are adults and need to contribute

and

2. We’re engaged so I’m part of the family and can’t just hang out anymore (which is not a bad thing!)

SO I turned to the Cake Mix Doctor. And found this recipe for Lemon Cheesecake Squares.

I like lemony desserts at barbecues because they’re light and cut through all the richness of all the foods you ate throughout the day.

So here it is.

You will need

  • 1 box classic white cake mix
  • 2 eggs
  • 1/3 cup vegetable oil
  • 1/4 cup of sugar
  • 1 8 oz package of cream cheese
  • The juice from 1 lemon

Preheat the oven to 350 and grease a 9×13 baking dish.

Pour the cake mix, vegetable oil and one egg into a large bowl.

IMG_1015

Stir until combined. The mixture will be crumbly. Almost like sugar cookie dough.

IMG_1016

Pour the mixture into the baking dish and press it down. This will be the crust. Pop it in the oven and bake for about 13 minutes.

IMG_1017

While that bakes, stir together the cream cheese, sugar, remaining egg and the lemon juice until the mixture is smooth.

IMG_1019

Remove the cake from the oven and pour the cream cheese mixture over top.

IMG_1020

You get a cakey crust on the bottom and a tangy lemony cheesecake on the top. Two desserts in one.

IMG_1021

Pop the pan back in the oven and bake for another 13-15 minutes, until the cheesecake is set.

IMG_1022

Remove from the oven and allow to cool. Then slice up into bars. I got 24 out of the pan. (The below is only half)

IMG_1023

Peachy Keen Cobbler

I’ve been in a baking mood lately.

Not like all from scratch, make your own bread kind of baking. More like, simple and yummy desserts that I can whip up and toss in the oven while I’m preparing dinner.

This little concoction is one of my most recent favorites.

Peaches are one of the best parts of summer. Those fresh, fragrant piles of them in the store are so tantalizing.

But, canned peaches are good too and totally have their place in the kitchen.

This cobbler starts with a can of peaches, drained.

IMG_0790

Look at those peach slices! Don’t you just want to devour them?

To begin the transformation of canned peaches into an awesome cobbler, layer half of the peaches in each of two small ramekins.

When it’s just the two of us, I like making little individual-sized desserts. Maybe it’s the only child in me that doesn’t want to share, or maybe it’s the little kid in me that gets really excited about being able to eat the whole thing.

You can also make just one of these if you’re home alone.

IMG_0791

Either way, he gets one and I get one.

IMG_0792

In a bowl mix together

1/4 cup brown sugar

1/3 cup chopped pecans

2 tablespoons flour

2 tablespoons butter, diced

a mess of cinnamon

IMG_0793

Combine the ingredients. I used my hands so I could crumble the butter and the brown sugar into nice sized crumbs.

IMG_0794

Divide the mixture in half and sprinkle over each ramekin.

IMG_0795

To make baking easier, place the ramekins on a cookie sheet or pizza pan. This way, you only have to remove one thing from the oven. The pan will also catch any spillover so you don’t have to clean your oven.

IMG_0796

Bake at 375 for 20-30 minutes. The butter will melt into the peaches. The crumb mixture will get all crunch and gooey. The peaches will release their juices, forming a sticky syrup in the ramekin.

Add a dollop of whipped cream for some extra indulgence.

Manhattan-20130723-00045

The fruit and the nuts you use are entirely up to you. I can imagine a strawberry and blueberry cobbler topped with hazelnuts. Or apples with pecans.

Let me know if you come up with some yummy combos!

One word – Funfetti

Here’s what I want you to do.

You’re in a city right?

Surrounded by lots of busy men in suits with serious faces rushing around from place to place while scrolling anxiously through their emails on their smart phones.

Find the most harried, most stressed, farthest from a smile one.

Now walk up to him and say one word.

Funfetti.

I dare that man not to crack a smile.

Funfetti.

The name itself is just happy. It’s fun. It’s rainbows and sunshine.

I mean, it’s rainbow sprinkles in a cake. And the Pilsbury Doughboy is on the box. And when you see him, you just have to think woo hoo!

Funfetti really is just vanilla cake with rainbow sprinkles inside. But for those of us of a certain generation, it’s so much more than that. It’s birthday parties and cupcakes you brought to school. It’s the smell of mom’s kitchen. It’s childhood. In a box.

You may already know my obsession with boxed cake mix.

I always buy it when it’s on sale because I like to be prepared in case I need to whip up a quick dessert, but also, because a homemade, from scratch cake, is not the same.

My boyfriend agrees.

I grew up baking Pilsbury or Betty Crocker cakes with my mom and grandma. They were easy, and more importantly, they were easy to make with a child.

Most of us have these cakes as our earliest kitchen memories because they were simple enough to assemble for mom to leave us to it. The mixing part at least.

Here, crack two eggs. Here pour in this water. Now add this oil. Ready? Here’s a spoon. Stir it up!

And you did. You stirred and stirred and stirred and stuck your finger in the batter and stirred and stirred and licked the spoon and stirred some more.

Mom or grandma would come along and help you pour the batter into the pan and put it in the oven.

But you did the hard part. You did the mixing. You made the cake. And once it cooled, you would get to do the finishing touches of adding the frosting.

Funfetti just looks like a cake a kid would make. An explosion of colors.

And because it’s bright and cheery, and because it always marked special occasions in our lives, it was the first thing that popped into my head when my boyfriend called me with good news.

He was getting a promotion at work!

That clearly called for Funfetti.

I didn’t feel like making a cake though.

So I was thrilled when I found a gem of a recipe for Funfetti cookies on the Pilsbury site. My last venture in cake batter cookies was a great success, so I jumped into this one too.

You will need

  • 1 box Funfetti cake mix. (Yes you can use vanilla and just add sprinkles, but no it’s not the same. You need this box.IMG_0657If you have to ask why, you will never understand. But you should call your mom and why she deprived you, why she never made you a Funfetti cake as a kid)
  • 2 eggs
  • 1/3 cup vegetable oil

Preheat the oven to 375.

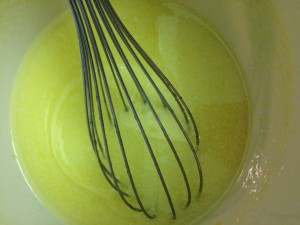
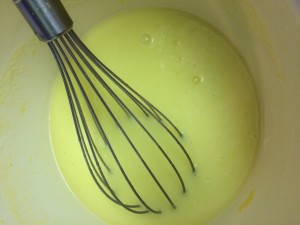
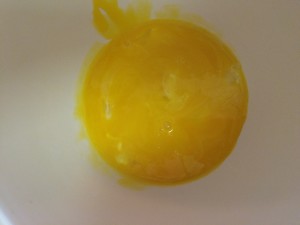
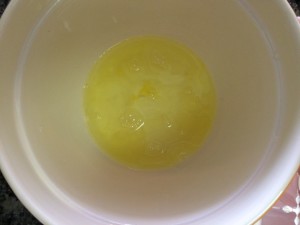
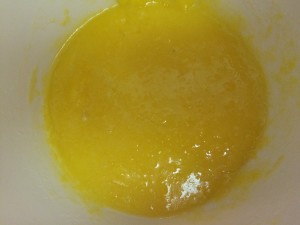
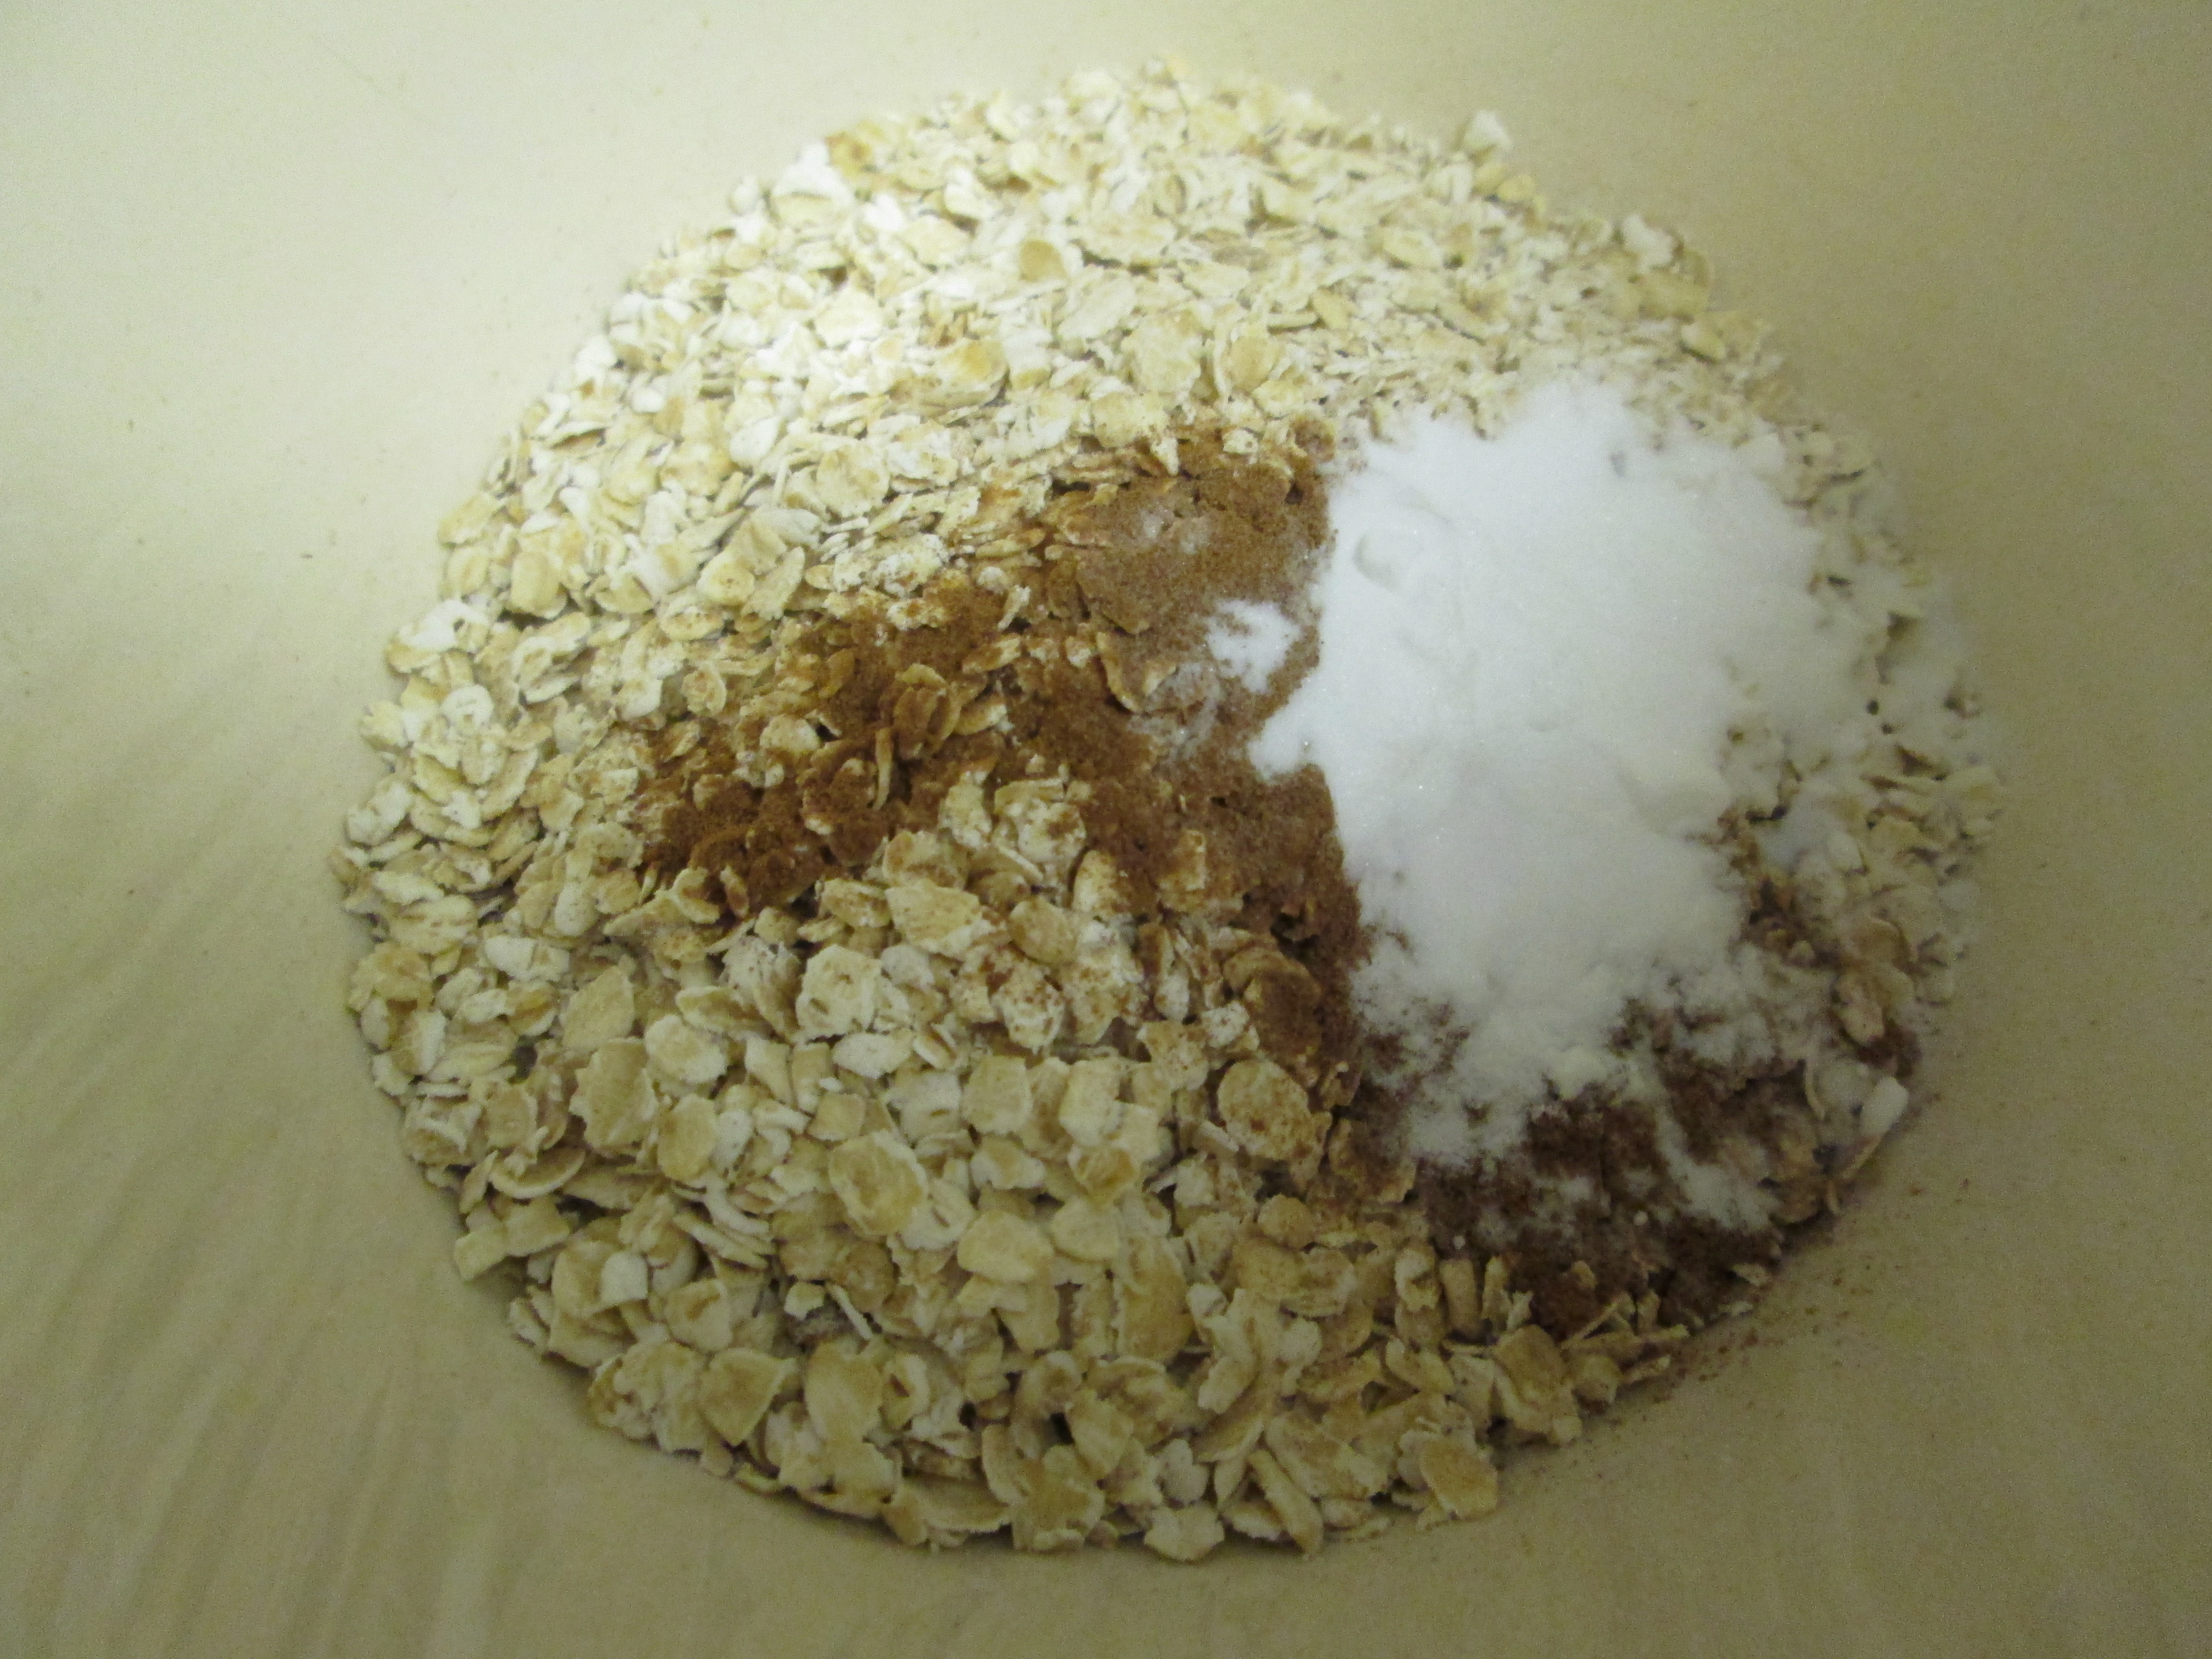
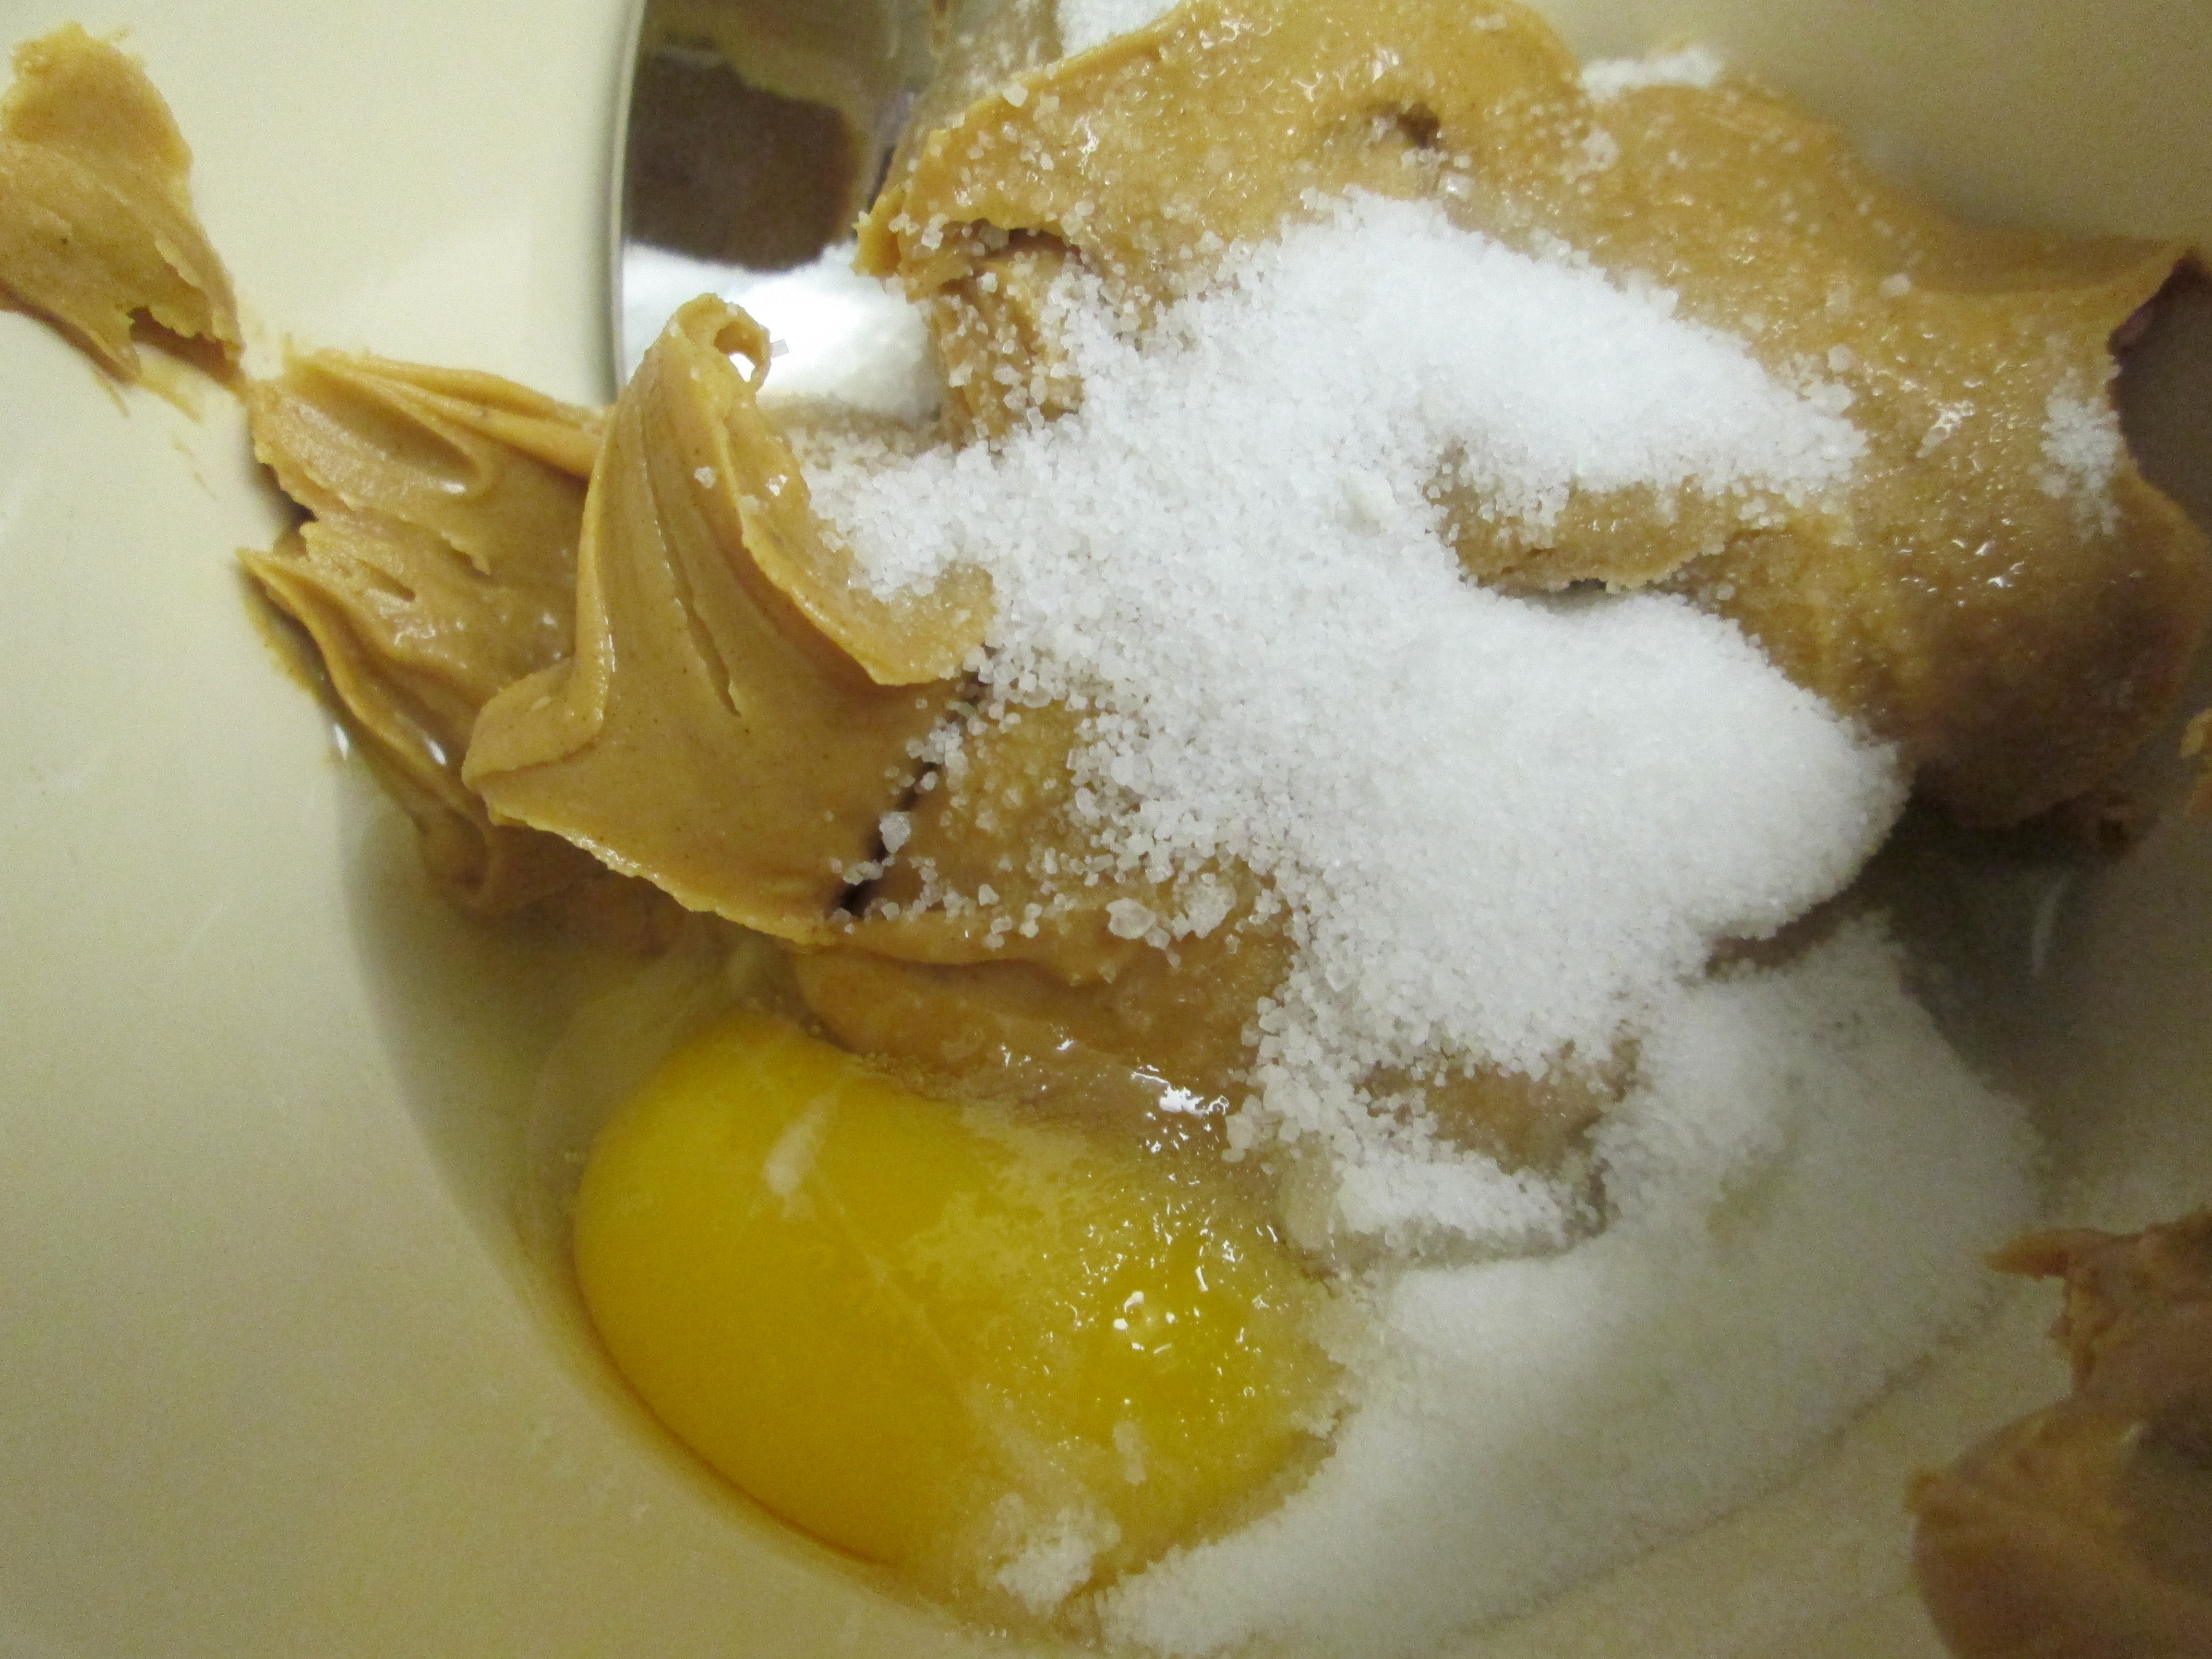
Pour the cake mix, eggs and oil into a bowl.

IMG_0653

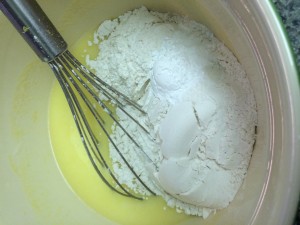
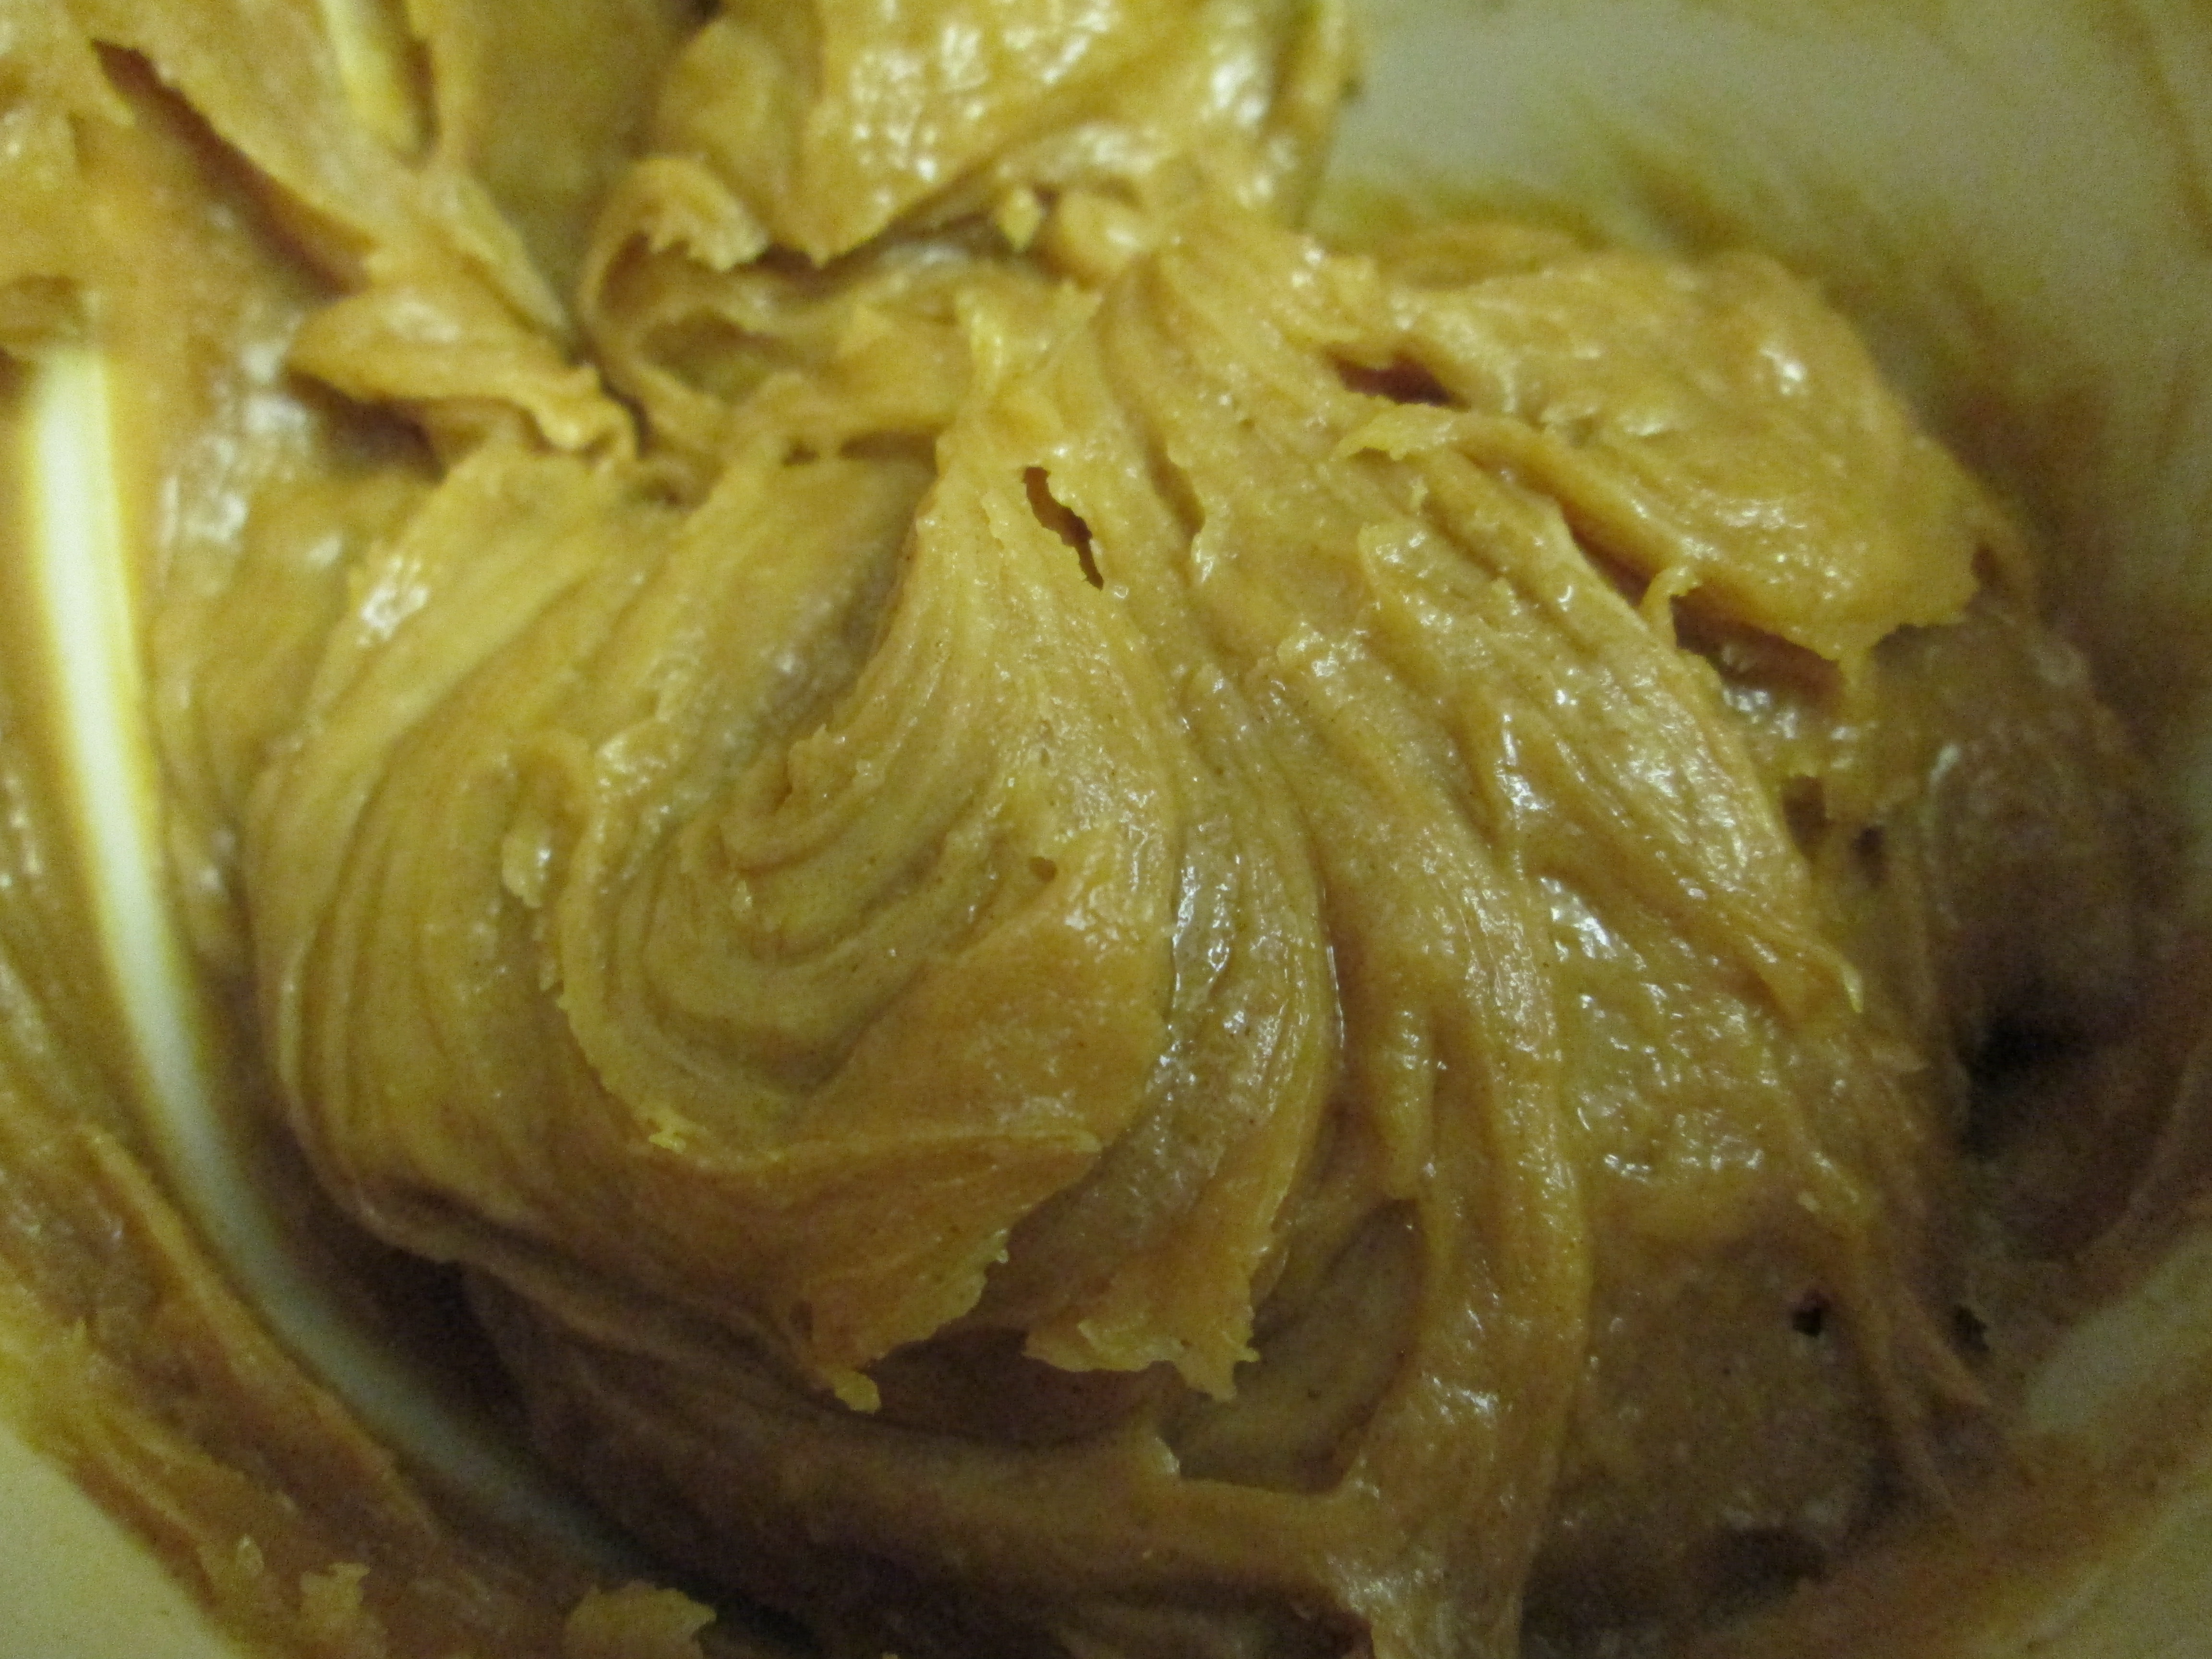
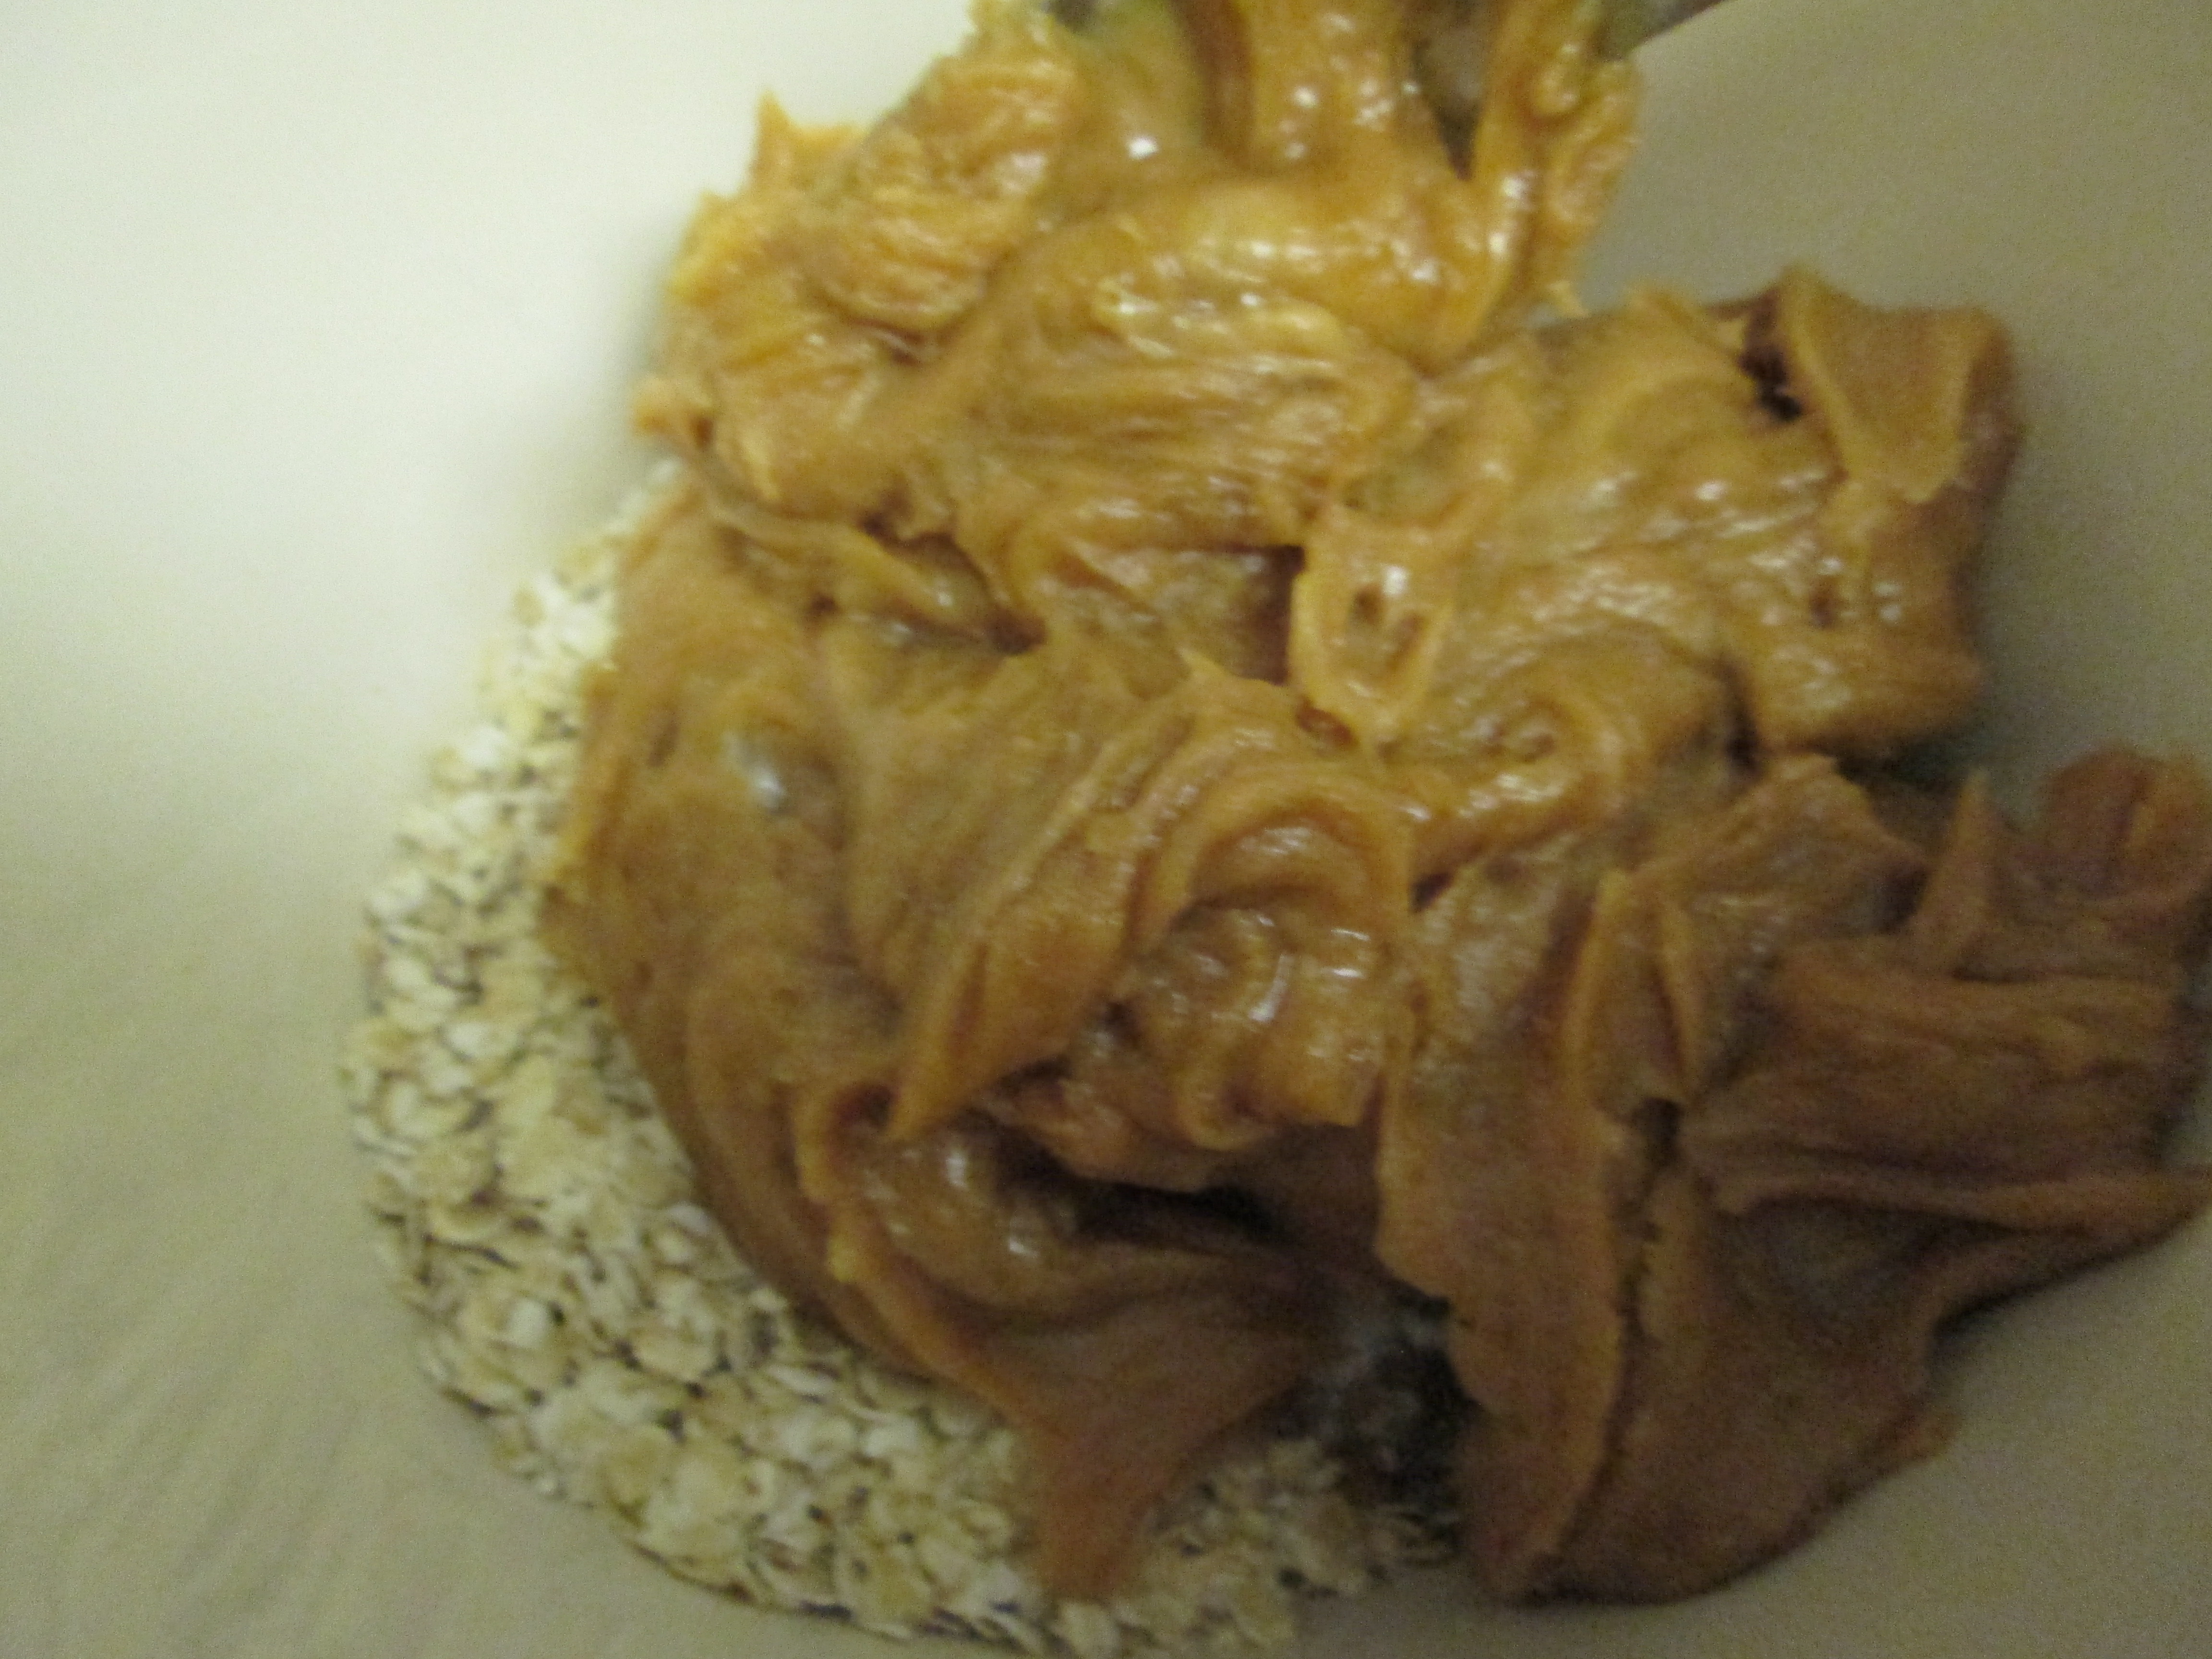
Grab the wooden spoon, and like when you were a kid, start mixing. The batter will form a dough ball.

IMG_0654

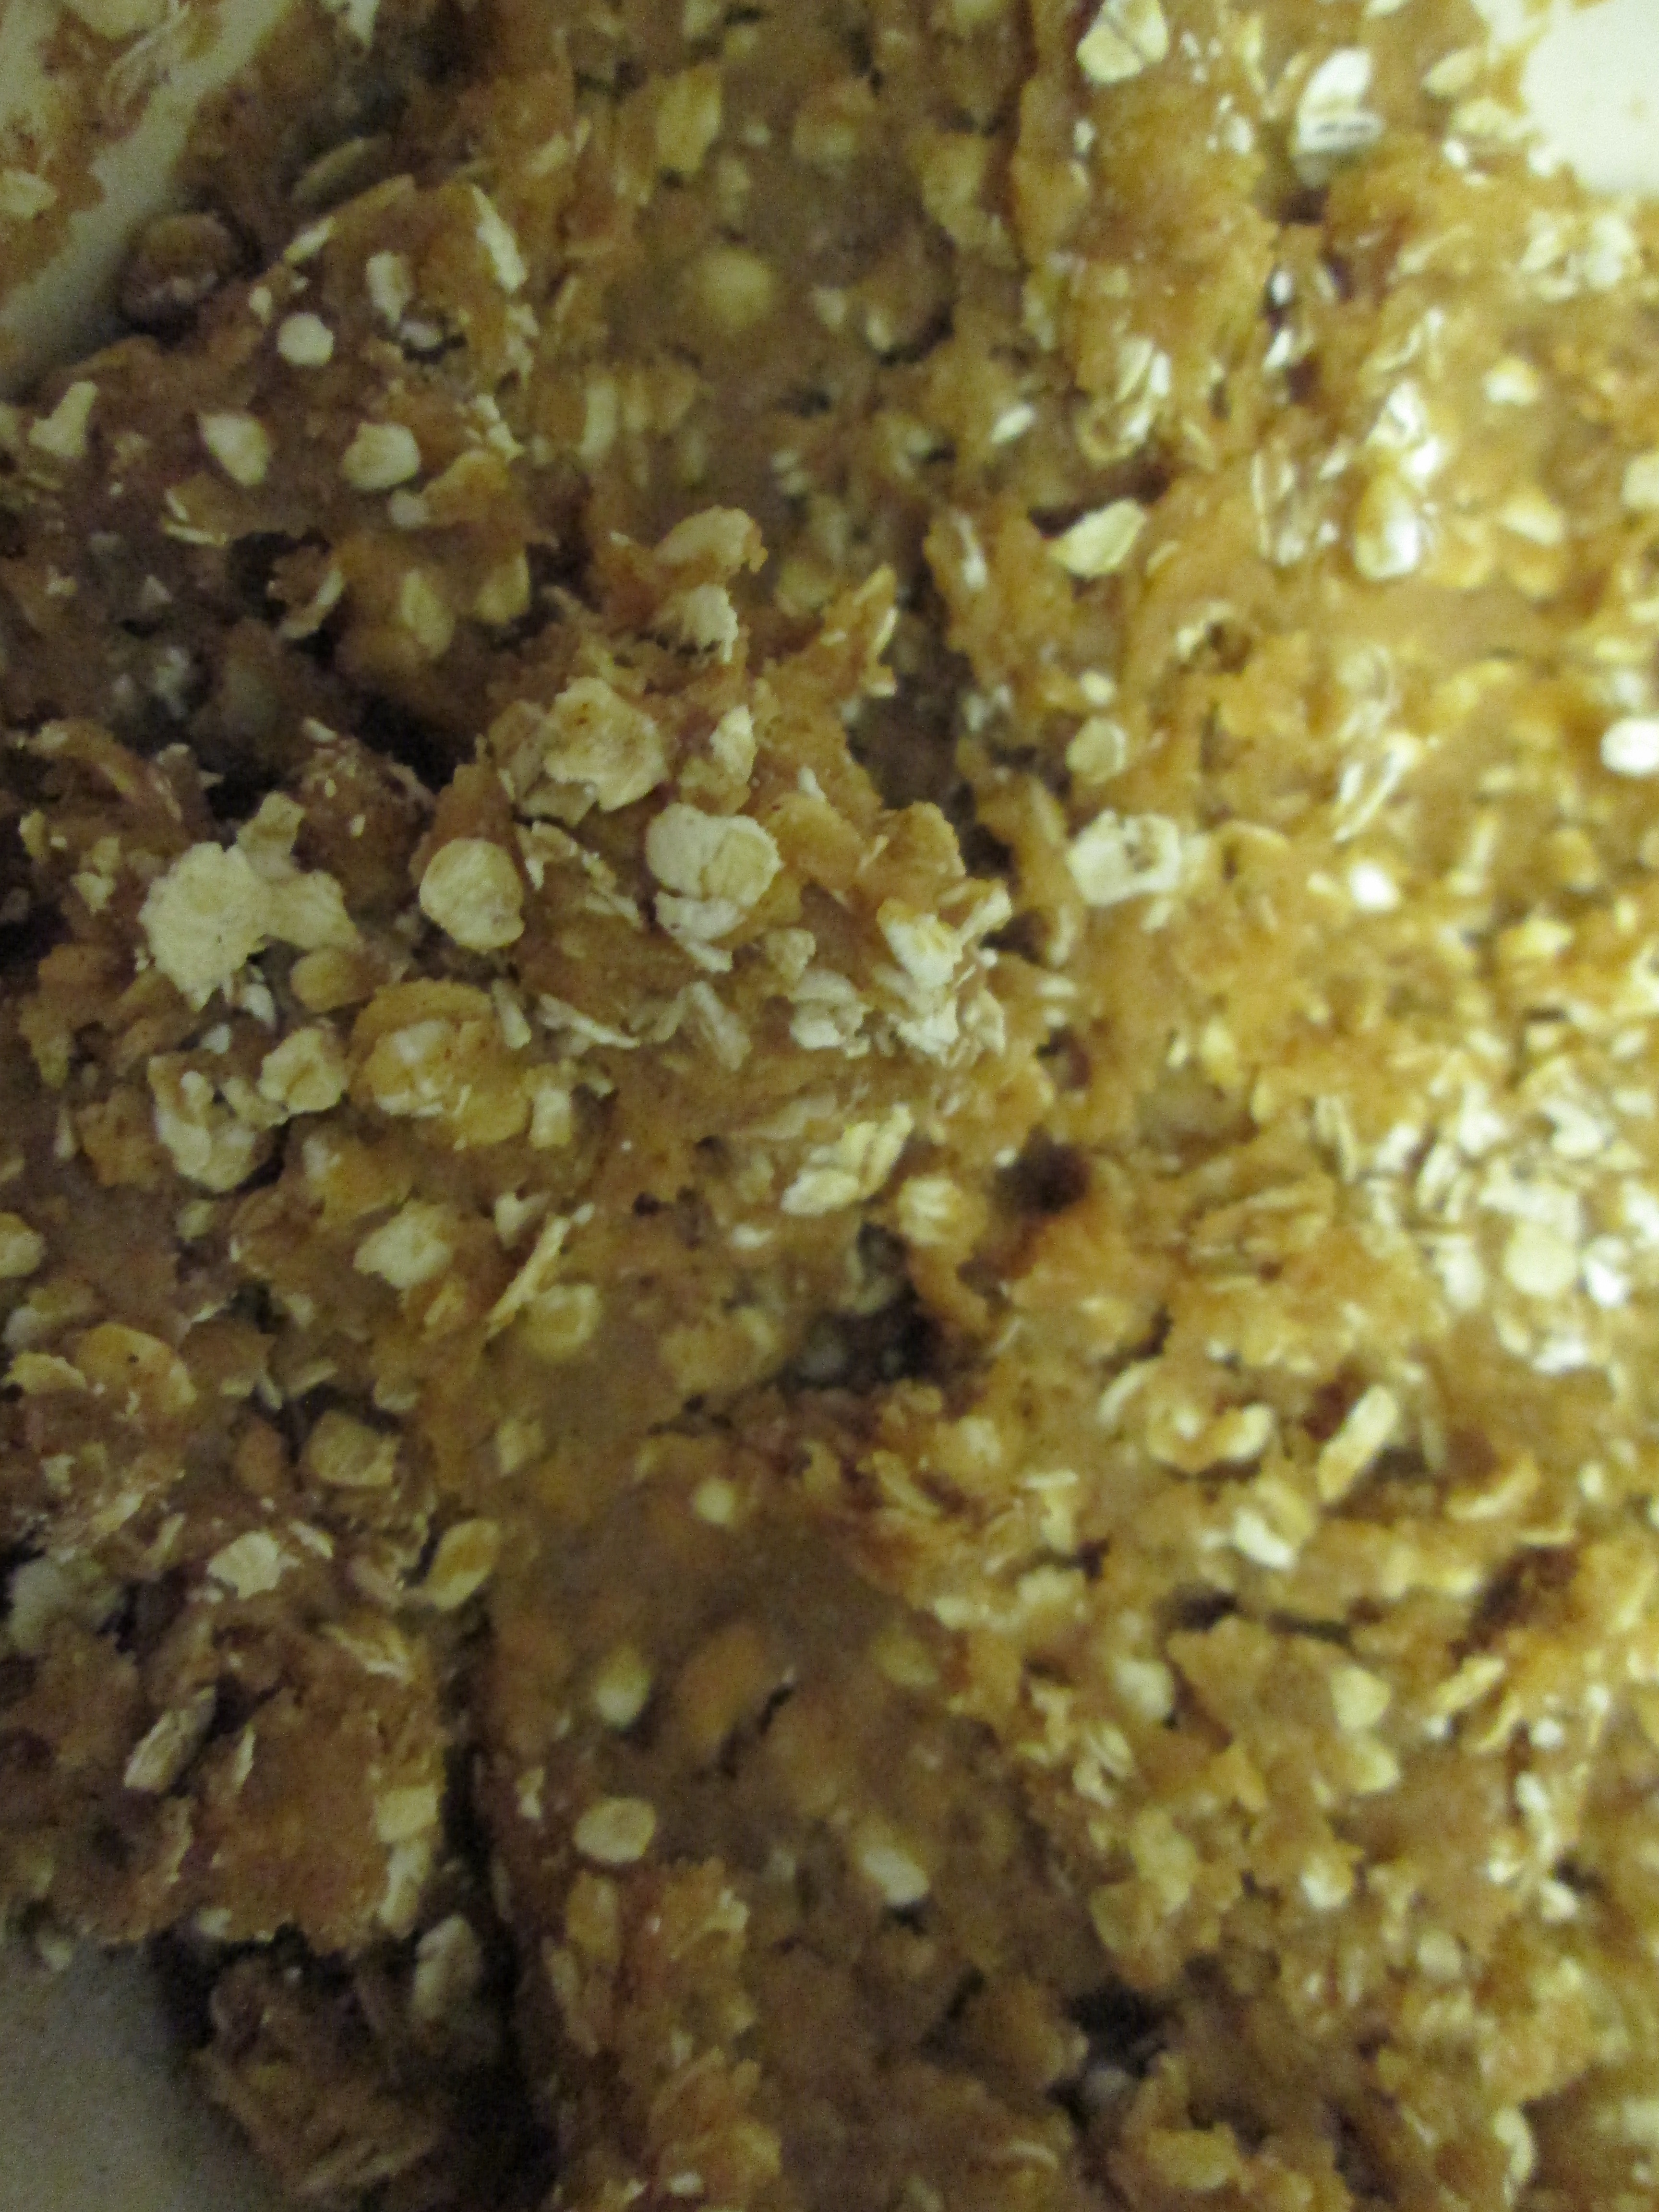
Spoon out the dough onto a greased cookie sheet. I went with my usually golf to ping pong ball size dough blobs.

IMG_0656

Bake for 11 minutes.

Okay. Mine took 11 minutes, but yours might not. 8-12 minutes let’s say.

IMG_0658

I got 28 cookies out of the dough. Most recipes I found online said you would get 30, but I think I made mine a little bigger. I maybe ate some of the dough before it got baked, but definitely not two cookie’s worth.

Bigger cookies. Yea that’s where the two cookies went.
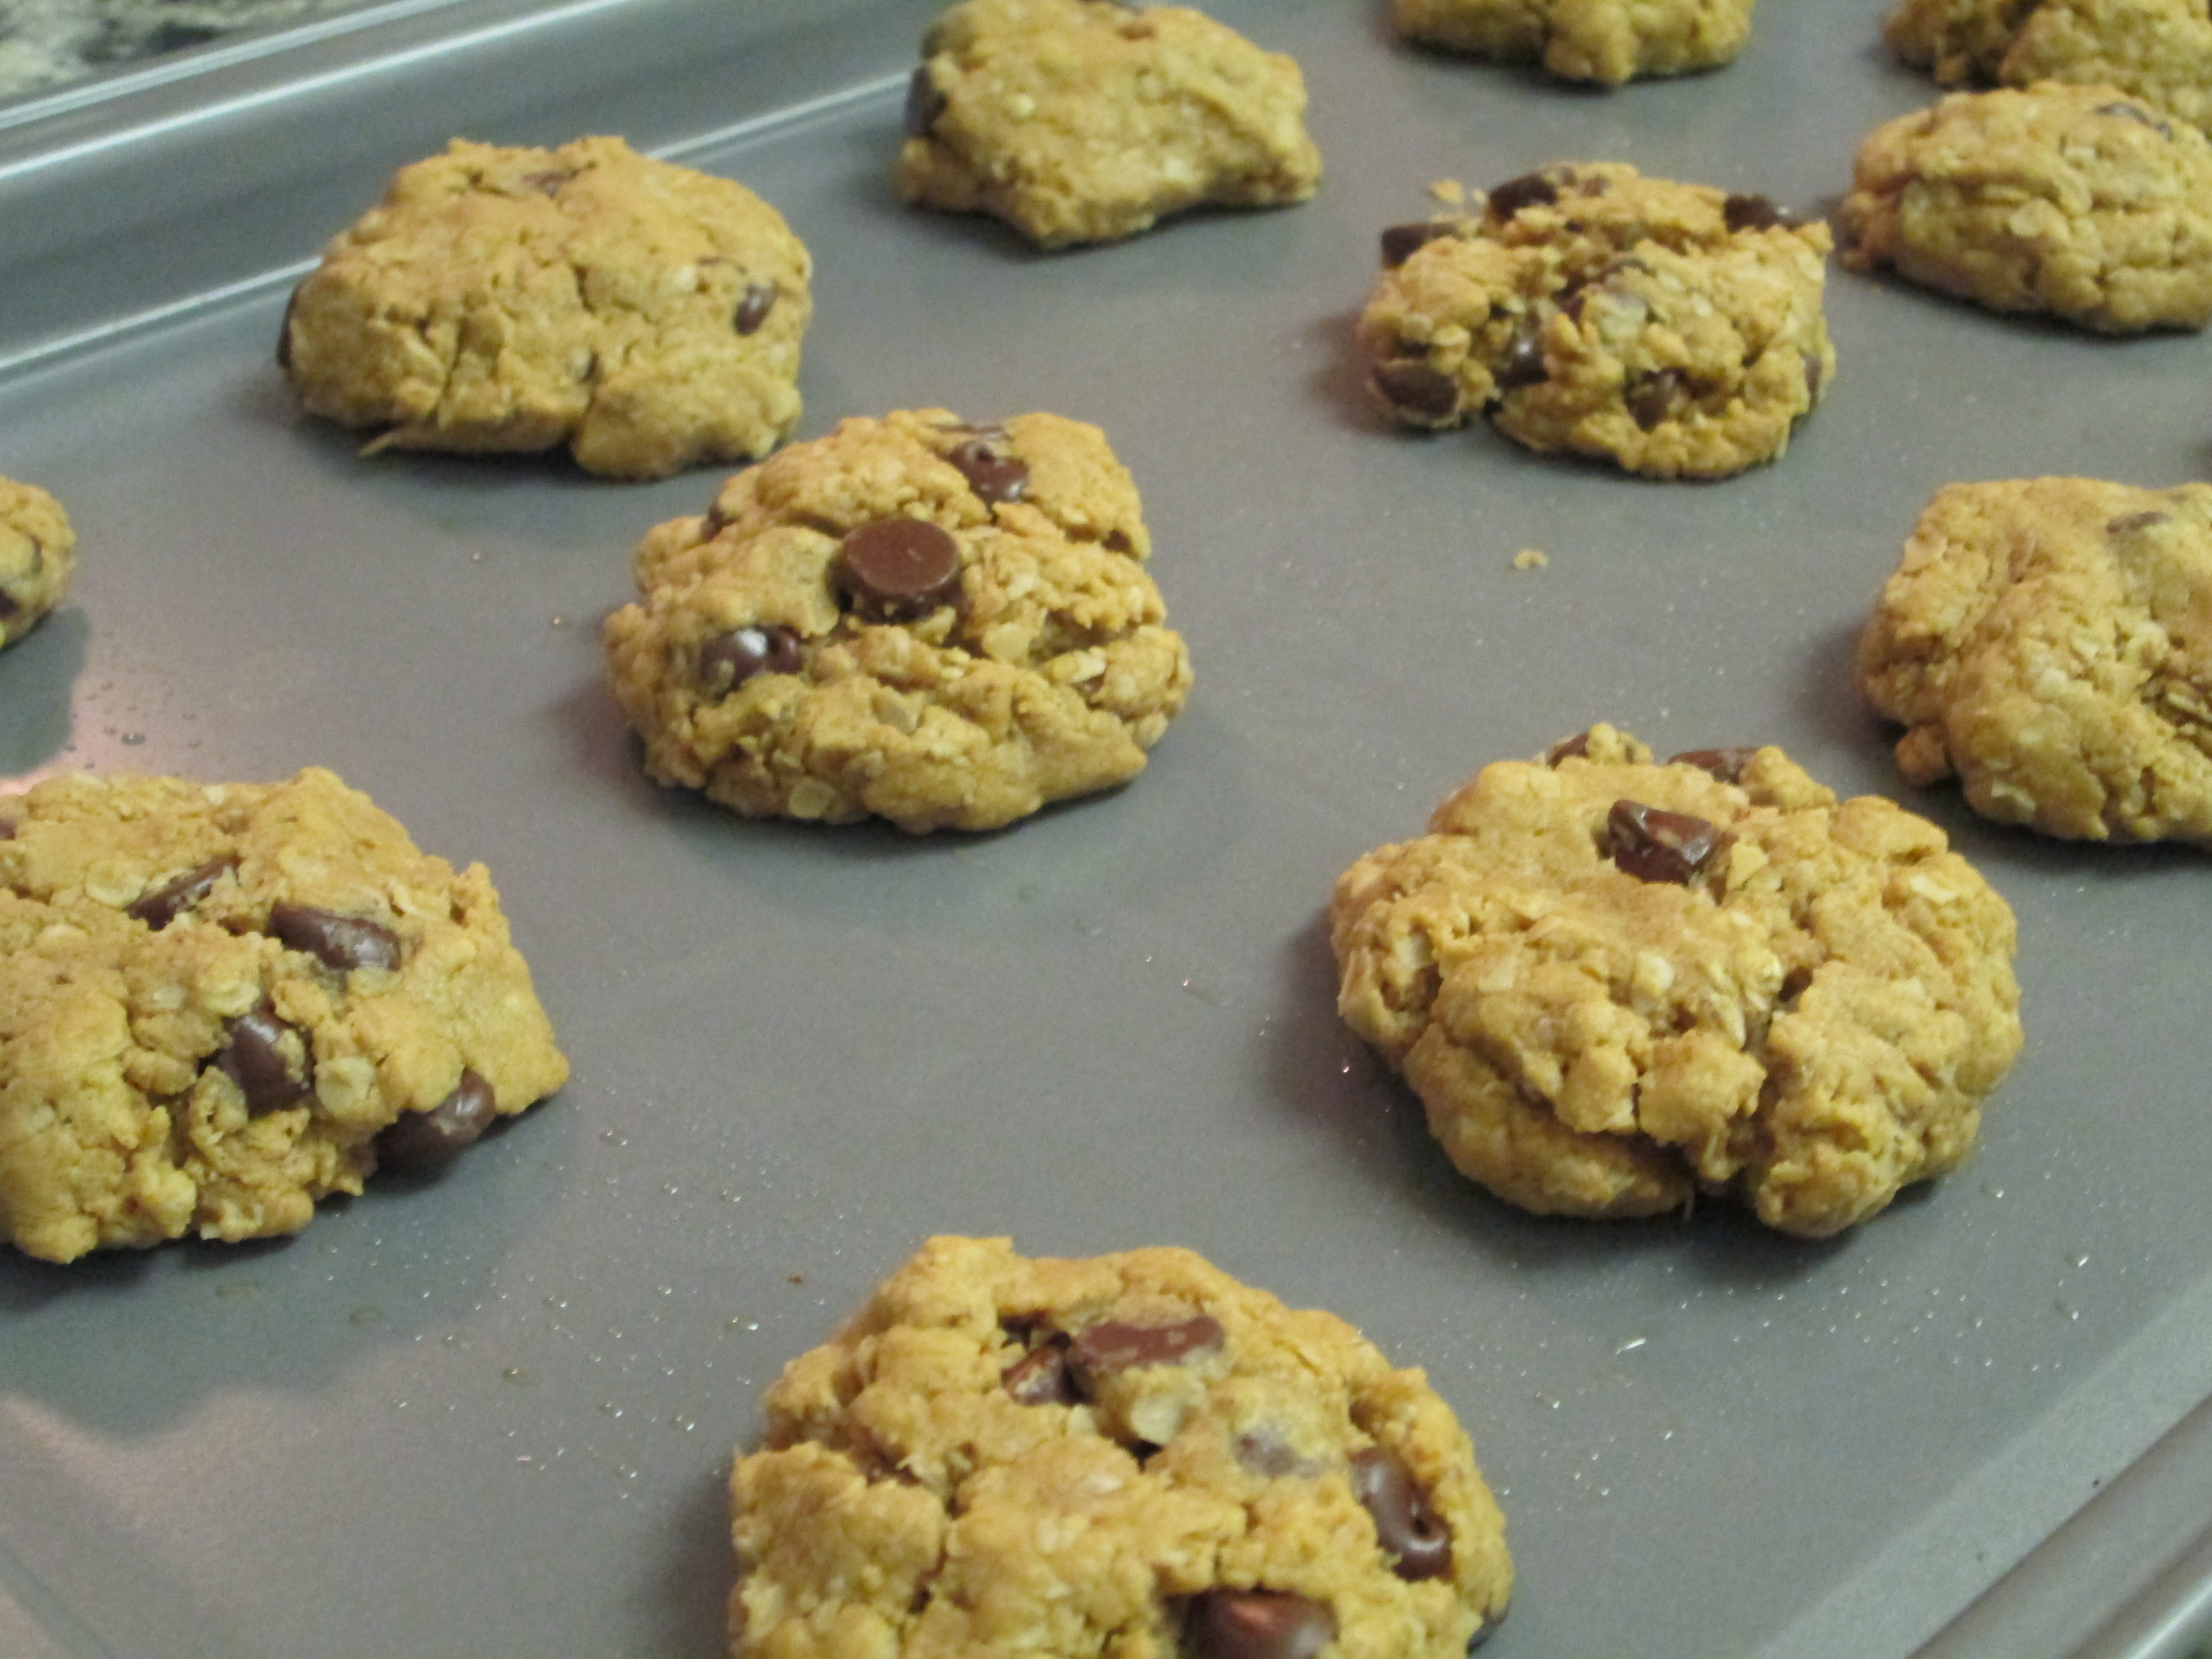
Let cool.

IMG_0659

Don’t they just look like a celebration on a plate? I would send some to Tukka Rask if I could after the Bruins just swept the Penguins (yup, Bruins advance to Stanley Cup), but since I don’t have his address, we’ll just have to overcelebrate the promotion and eat the whole batch ourselves.

You can frost them with the Funfetti frosting if you want, but they’re perfect just like this.

IMG_0661

Lightened Up Stove Top Rice Pudding

In keeping with last night’s theme of leftovers repurposed-

Oh, who am I kidding, I wasn’t going for a theme, I just had a craving.

But seriously, I don’t like to throw out food, so I was intentionally trying to use up the leftovers.

So theme night.

Sort of.

We had some brown rice in the fridge from our deconstructed tuna roll night.

What to do with cooked brown rice?

The first thing that came to my mind was, of course, rice pudding.

I’m starting to see where those extra six pounds the scale flashes back at me have come from…

With bathing suit season approaching, and with rice to put to use, I channeled Bobby Deen and worked on a lighter version of rice pudding.

My boyfriend’s meme (grandma in French – his mom’s side is Armenian, but they fled to France during the Armenian genocide, so they’re French Armenian. Meme’s cooking is a blend of French cuisine and middle eastern favorites – dolma (stuffed grape leaves), kefta (ground meat mixed with spices and bulgur – a sort of middle eastern meatball), Coquilles St. Jacques. All of it delicious, and all of it packed with butter. Meme takes a page out of Paula Deen’s book.

But then, so did my grandma. Crisco. Butter. Shortening.

They didn’t know all the things that we know about fats. They just knew it tasted good and that their mother’s had done it that way too.

So, I thought about the principles Bobby employs on Not My Mama’s Meals and eliminated the fat (most of it) by getting rid of the whole milk, the cream and the eggs. I also reduced the sugar.

This is my Lightened Up Stove Top Rice Pudding.

You will need:

  • 1 cup cooked rice (white or brown is fine, I had brown leftover from the weekend)
  • 1 cup 2% milk
  • 1 pat of butter (I used just a nub of butter to give the pudding the hint richness that would make you feel like you weren’t being deprived)
  • 3 tablespoons sugar
  • 1 teaspoon vanilla
  • A mess of cinnamon (yes, a mess. I don’t measure cinnamon. I love it, so I just pour it on)

Dump all the ingredients in a pot and cook over a medium flame.

IMG_0592

This is the only work involved in this recipe.

You have to stir constantly so the milk doesn’t burn and so the rice doesn’t stick.

IMG_0593

(I started out with a metal spoon, not thinking about how hot it would get. Use a wooden spoon!)

This is a good time to call your mom, or your meme. Or to catch up on the last episode of your favorite show, or to listen to some music.

You will be at the stove for about twenty minutes, stirring, until the mixture boils and thickens.

IMG_0594

This recipe makes enough for two, so double or triple as needed.

When the pudding has thickened, pour into serving cups. Enjoy warm, or pop in the fridge and eat cold. It’s a hot night here in the city, so cold it will be for us.

IMG_0595

On serving, I have these sundae glasses, but you can use coffee mugs, or you can make dainty servings and use demitasse cups.

This kitchen may be small, but our servings are not. So, demitasse cups are out for now. They would be great though if you’re having a dessert party. That way people can try small bites of lots of things.

Mmmm. Dessert party.

I may have to see when my friends are free.

IMG_0597