Meme’s Kitchen


Hello world!

Or the world that reads this blog.

The Itty Bitty City Kitchen is back.

We lost one of the most loving and wonderful and caring people (and chefs) in our family two weeks ago now. We’ve been hurting and crying and laughing at the memories. And I hope you will laugh some too. Step into meme’s kitchen with us as we made dolma here and here.

I know that I will always hear her voice any time I say a “lil bit” when telling someone a recipe.

I know that nothing will replace the sound of her laugh.

And I know that it will always hurt, but that we have each other and the love that she had for us.

And, I know that with a few chop chop chops, a lil bit of garlic and a lot of love, my kitchen can smell like hers.

A Guest Post from my Cousin in Cambridge

Good Evening Itty Bitty City Kitchen Readers; cheers from Jacky’s cousin Eric Washkewicz, writing to you from Jolly Old England.  England? Yes, England.  You know, fish, chips, cup o tea, bad food, worse weather, Mary Freaking Poppins, England! If you don’t get it, I highly recommend you watch the movie Snatch.

That being said, the bit about the food is quite true; English food isn’t all that good, unless you know how to cook it and prepare it yourself.  Most of the traditional supermarket ingredients expire quickly, taste bland, are quite far away given my lack of a car, and are quite hard to transport, given my lack of a car trunk.  That being said, England has a few gold mines that are often neglected in major cities.  Those hidden treasures are Grocers, Butchers, Regional Markets, and Hostels.  Grocers and Butchers are similar to your typical farmers market, however, the prices are dirt cheap and they are open 16 hours a day, every day.  Also, it’s not that hard to find a local Italian, German, Turkish, Greek, or in my case, Polish Market willing to sell you plenty of food for next to nothing.  Hostels are essentially dormitory hotels where you get a room for about $15, and have access to a 6 person room, bathroom, and kitchen.

Why do I bring this up?  Well, when I was homeless for my first week in England, I stayed in a hostel.  After eating out for a few days, at a price of about 12-15 pounds (18-25 dollars) a meal, I realized that I needed to save cash fast, and the easiest way was by cooking for myself (What a concept!)

Trouble was, I didn’t have a huge kitchen; just a cutting board, a knife or two, a frying pan, one other pot, and a few spices.  I needed to cook something easy, cheap, flavorful, and hearty enough to support my 3 a day workouts.  So, I decided to explore and check out the local market; it was well worth the time invested.  Long story short, I picked up a half dozen potatoes, peppers, onions, mushrooms, two pounds of fresh tomato sauce in a jar (not a can), and garlic from my grocer, half a pound of fresh shrimp from my local butcher/fish monger, and two pounds of Kielbasa (Polish Sausage) from the Zhwermart.  Total Cost: $9.50. 

So, what was I making? Polish Jambalaya.  It’s actually an incredibly simple and tasty dish.  Here’s how it’s done:

Ingredients:

  • 18 oz Fresh Tomato Sauce (NOT in a can)
  • 12-24 oz Kielbasa (or meat of choice)
  • ½ lbs Fresh Shrimp, cleaned and peeled
  • 4 Small Potatoes (Hackey Sack Size)
  • 1 Medium Onion (Baseball Size)
  • 1 Bell Pepper (Red Works Best)
  • 4 oz Baby Bella Mushrooms
  • 2-4 oz Vegetable Oil (or Canola, Sunflower, but not Olive)
  • Garlic, Basil, and Oregano to taste

You can really play around with the amount of meat to suit your guests.  I know most cookbooks have long and lengthy explanations, but I’m going to keep this simple. 

The Sauce:

Pour the sauce into a cooking pan about 6 inches high.  Mince the garlic, and dice the onions, peppers, and mushrooms.  Add all the vegetables, except the potatoes, to the sauce, and let it cook on low heat for about 20-30 minutes.  Stir occasionally with a WOODEN spoon and DO NOT BOIL THE SAUCE (I’m still Italian).

Afterward, cut the potatoes into thin chips (about two credit cards thick) and feel free to dice them again if necessary.  Add the oil to the potatoes in a frying pan, and let them fry for about 8-10 minutes over medium-high heat.  Then, cut the Kielbasa into larger chips (about two quarters [the coin] thick) and add them to the frying pan.  Add the Kielbasa to the frying pan, and feel free to splash in another ounce or two of oil if the frying has stopped sizzling.  Let this mixture cook for another 8-10 minutes, and then drain the oil.

Finally, in a large bowl, or serving tray, put the meat and potatoes down first, and cover them with the sauce.  Feel free to mix them for about 5 minutes to get the flavors mixed up.  When you’re finally done, you should have something like this:
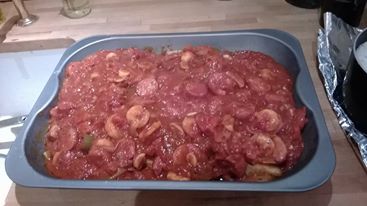
 

polish


This isn’t a meal for presentation, aesthetics, or culinary shows.  This is a hearty meal that’s quick and easy to whip up (total time: 40 minutes, total skill level: don’t cut your finger off), and it’s great comfort food.  Best part is, that meal above lasted me for 6 meals; breakfast, lunch, and dinner for two days straight.  I saved well over $100 for an hour of biking & shopping and about an hour of cooking.  If you want to make $50 an hour, or save $300 on your next trip overseas, fly Ryanair, don’t bring a suitcase (a small camping bag works wonders), book a hostel, and cook for yourself.

Cheers!

-Eric Washkewicz
Spaghetti Squash

Have you had a pasta overload?

I know. Silly question.

You can never have too much pasta!

But every once in a while, you can have a feeling that maybe you should lay off the bread and the spaghetti and the french fries for a day or so.

It may have something to do with the Halloween parties you went to this weekend. And the french fries and the snacks and the drunk pizza that happened before during and after said party.

But hey. Who am I to judge?

All I’m saying is, I get it. Sometimes you just need to give your stomach a break and give it something light and healthy.

But that doesn’t mean your stuck with a cold bowl of lettuce and tomatoes. No, sir. It’s too cold for that.

You need something warm and comforting and healthy.

And that, my friends, is where spaghetti squash comes in.

It’s a squash that when cooked shreds apart like spaghetti. So you feel like you’re getting the comforting bowl of spaghetti, but really you’re getting a bowl packed with the vitamins and nutrients your body needs after the boozy weekend.

Bonus?

It’s ridiculously easy to make.

This is a spaghetti squash.

IMG_1266

One of those bad boys is enough to serve two people.

So here’s how you make it. Even in your hungover state, you got this. I promise.

Preheat the oven to 425.

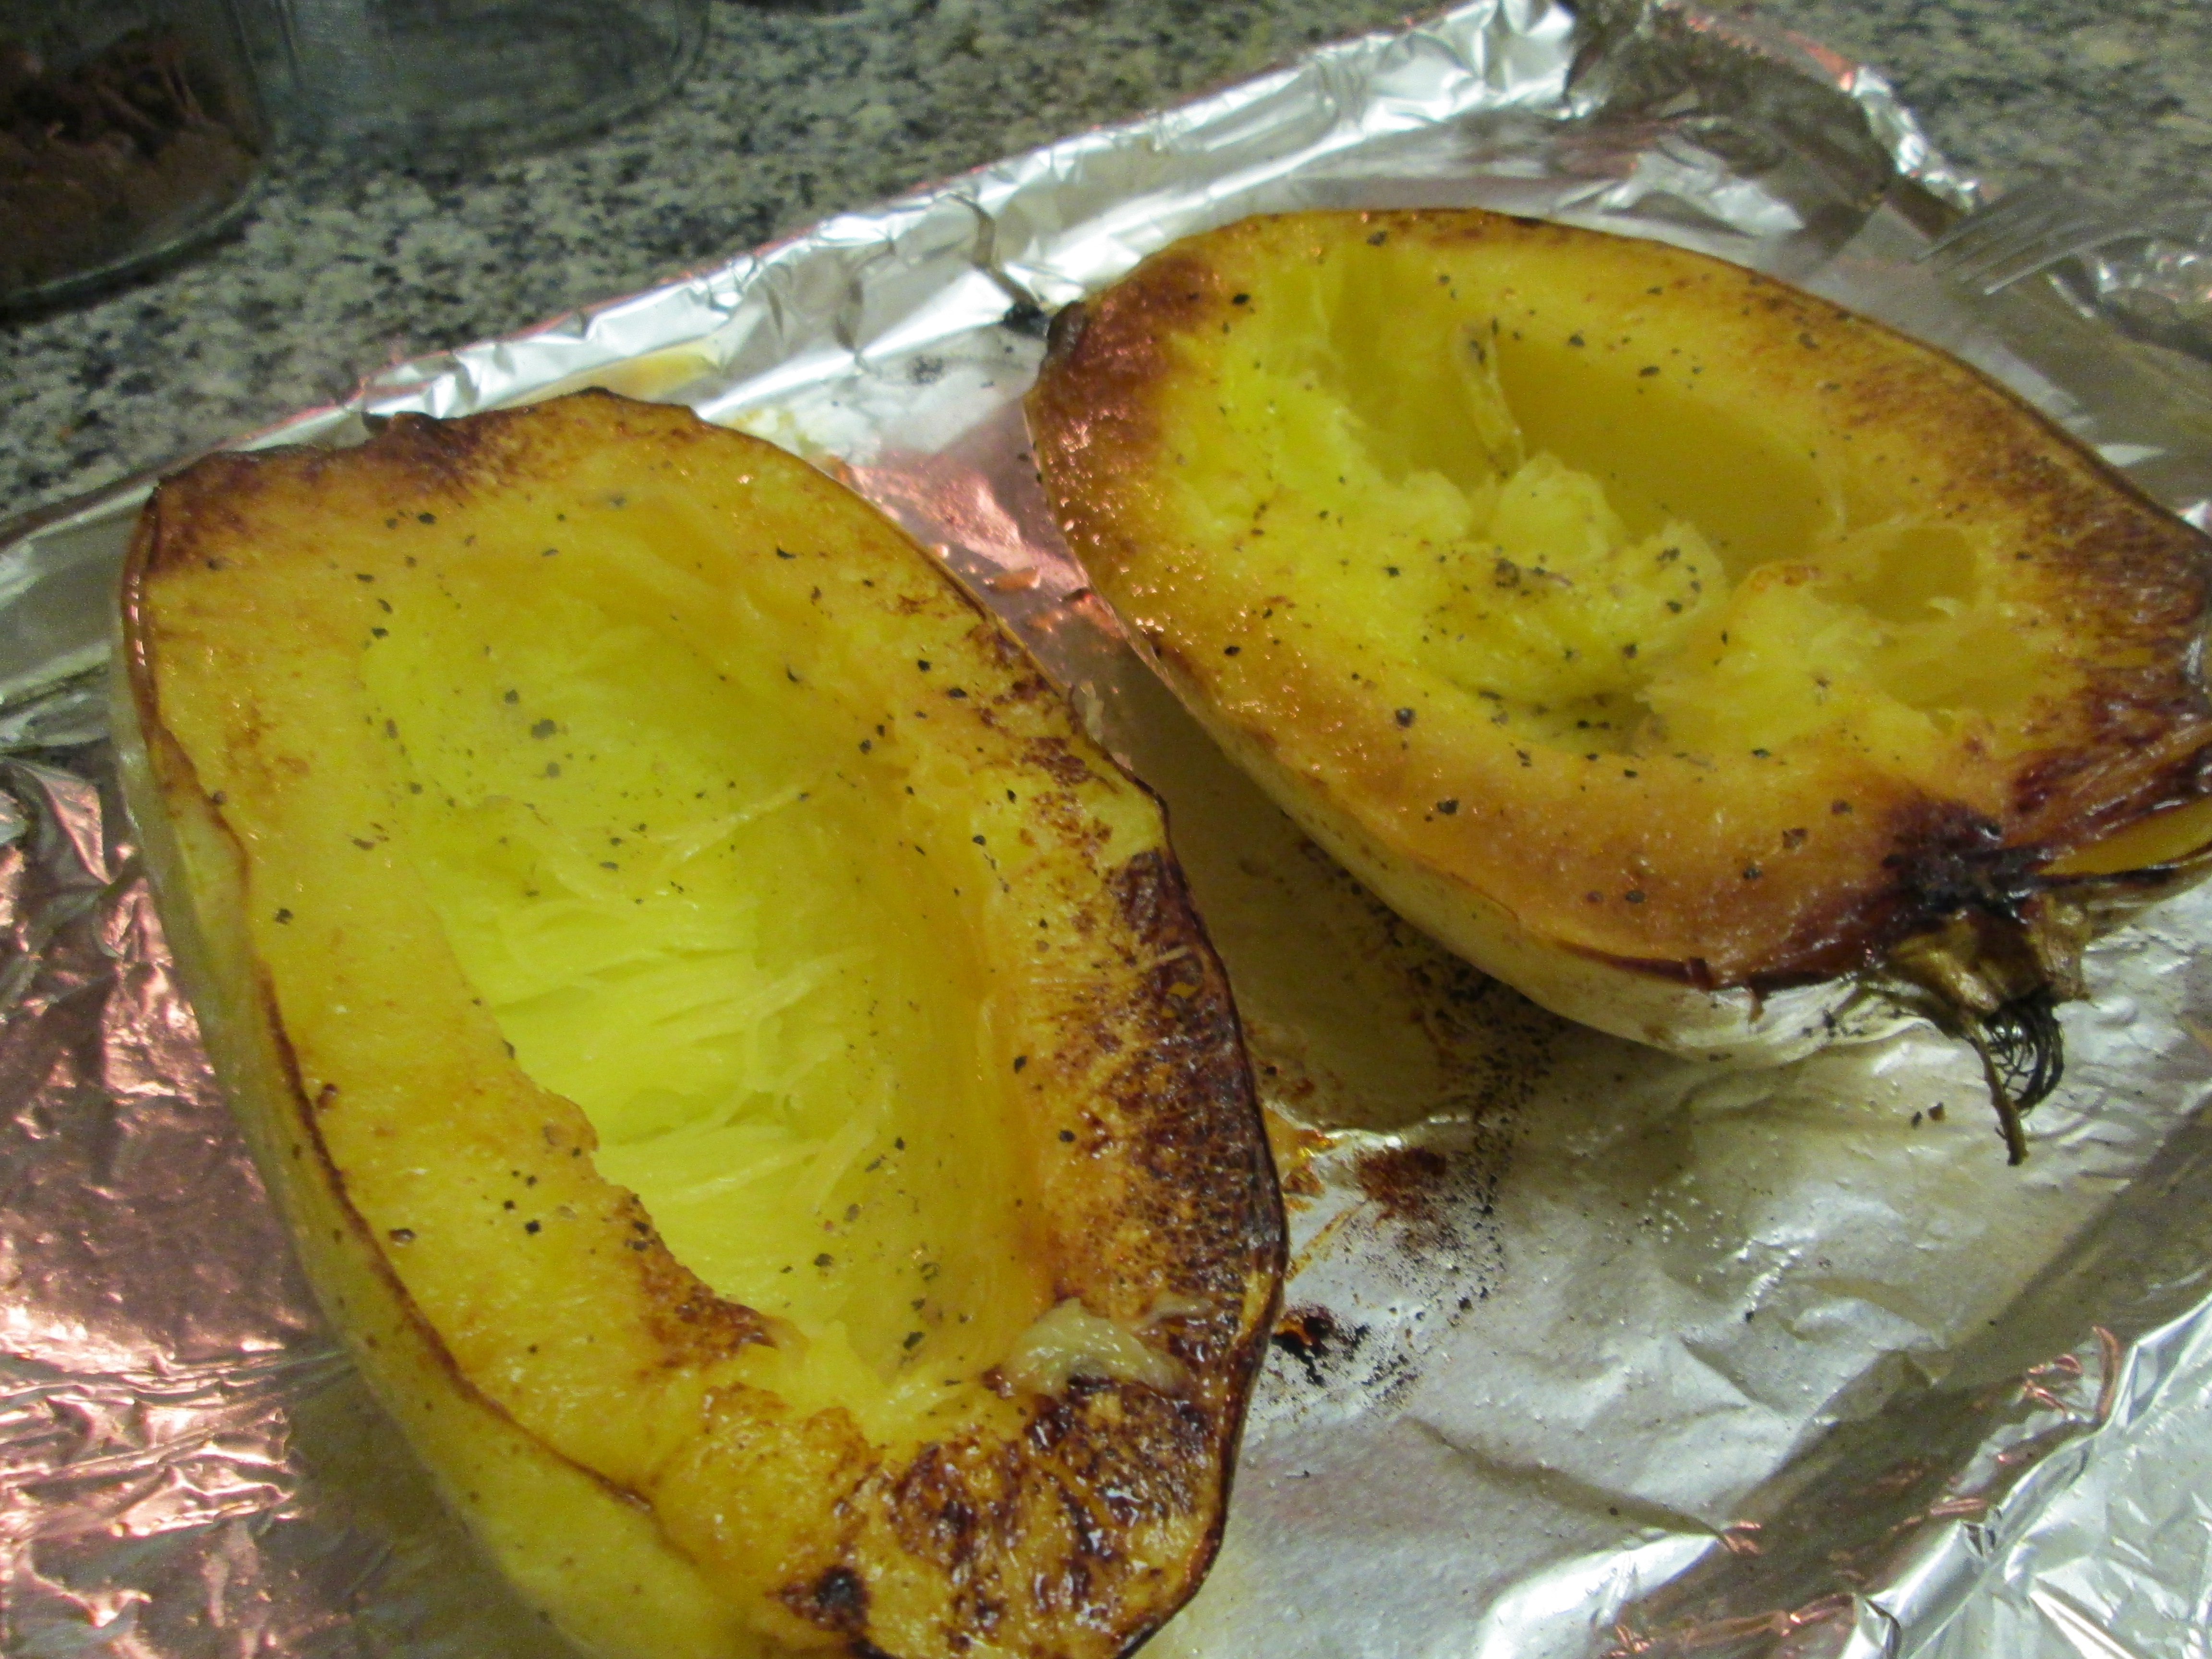
Cut the squash in half and scoop out the seeds. Place on a foil lined cookie sheet.

IMG_1268


Drizzle the squash with olive oil and season with salt and pepper.

IMG_1270

Flip the squash over so it’s cut side down and pop it in the oven for about 30-40 minutes. The squash is done when you can easily pierce the skin with a fork.

IMG_1271

Remove from the oven, flip the squash halves over and let them cool slightly.

IMG_1277

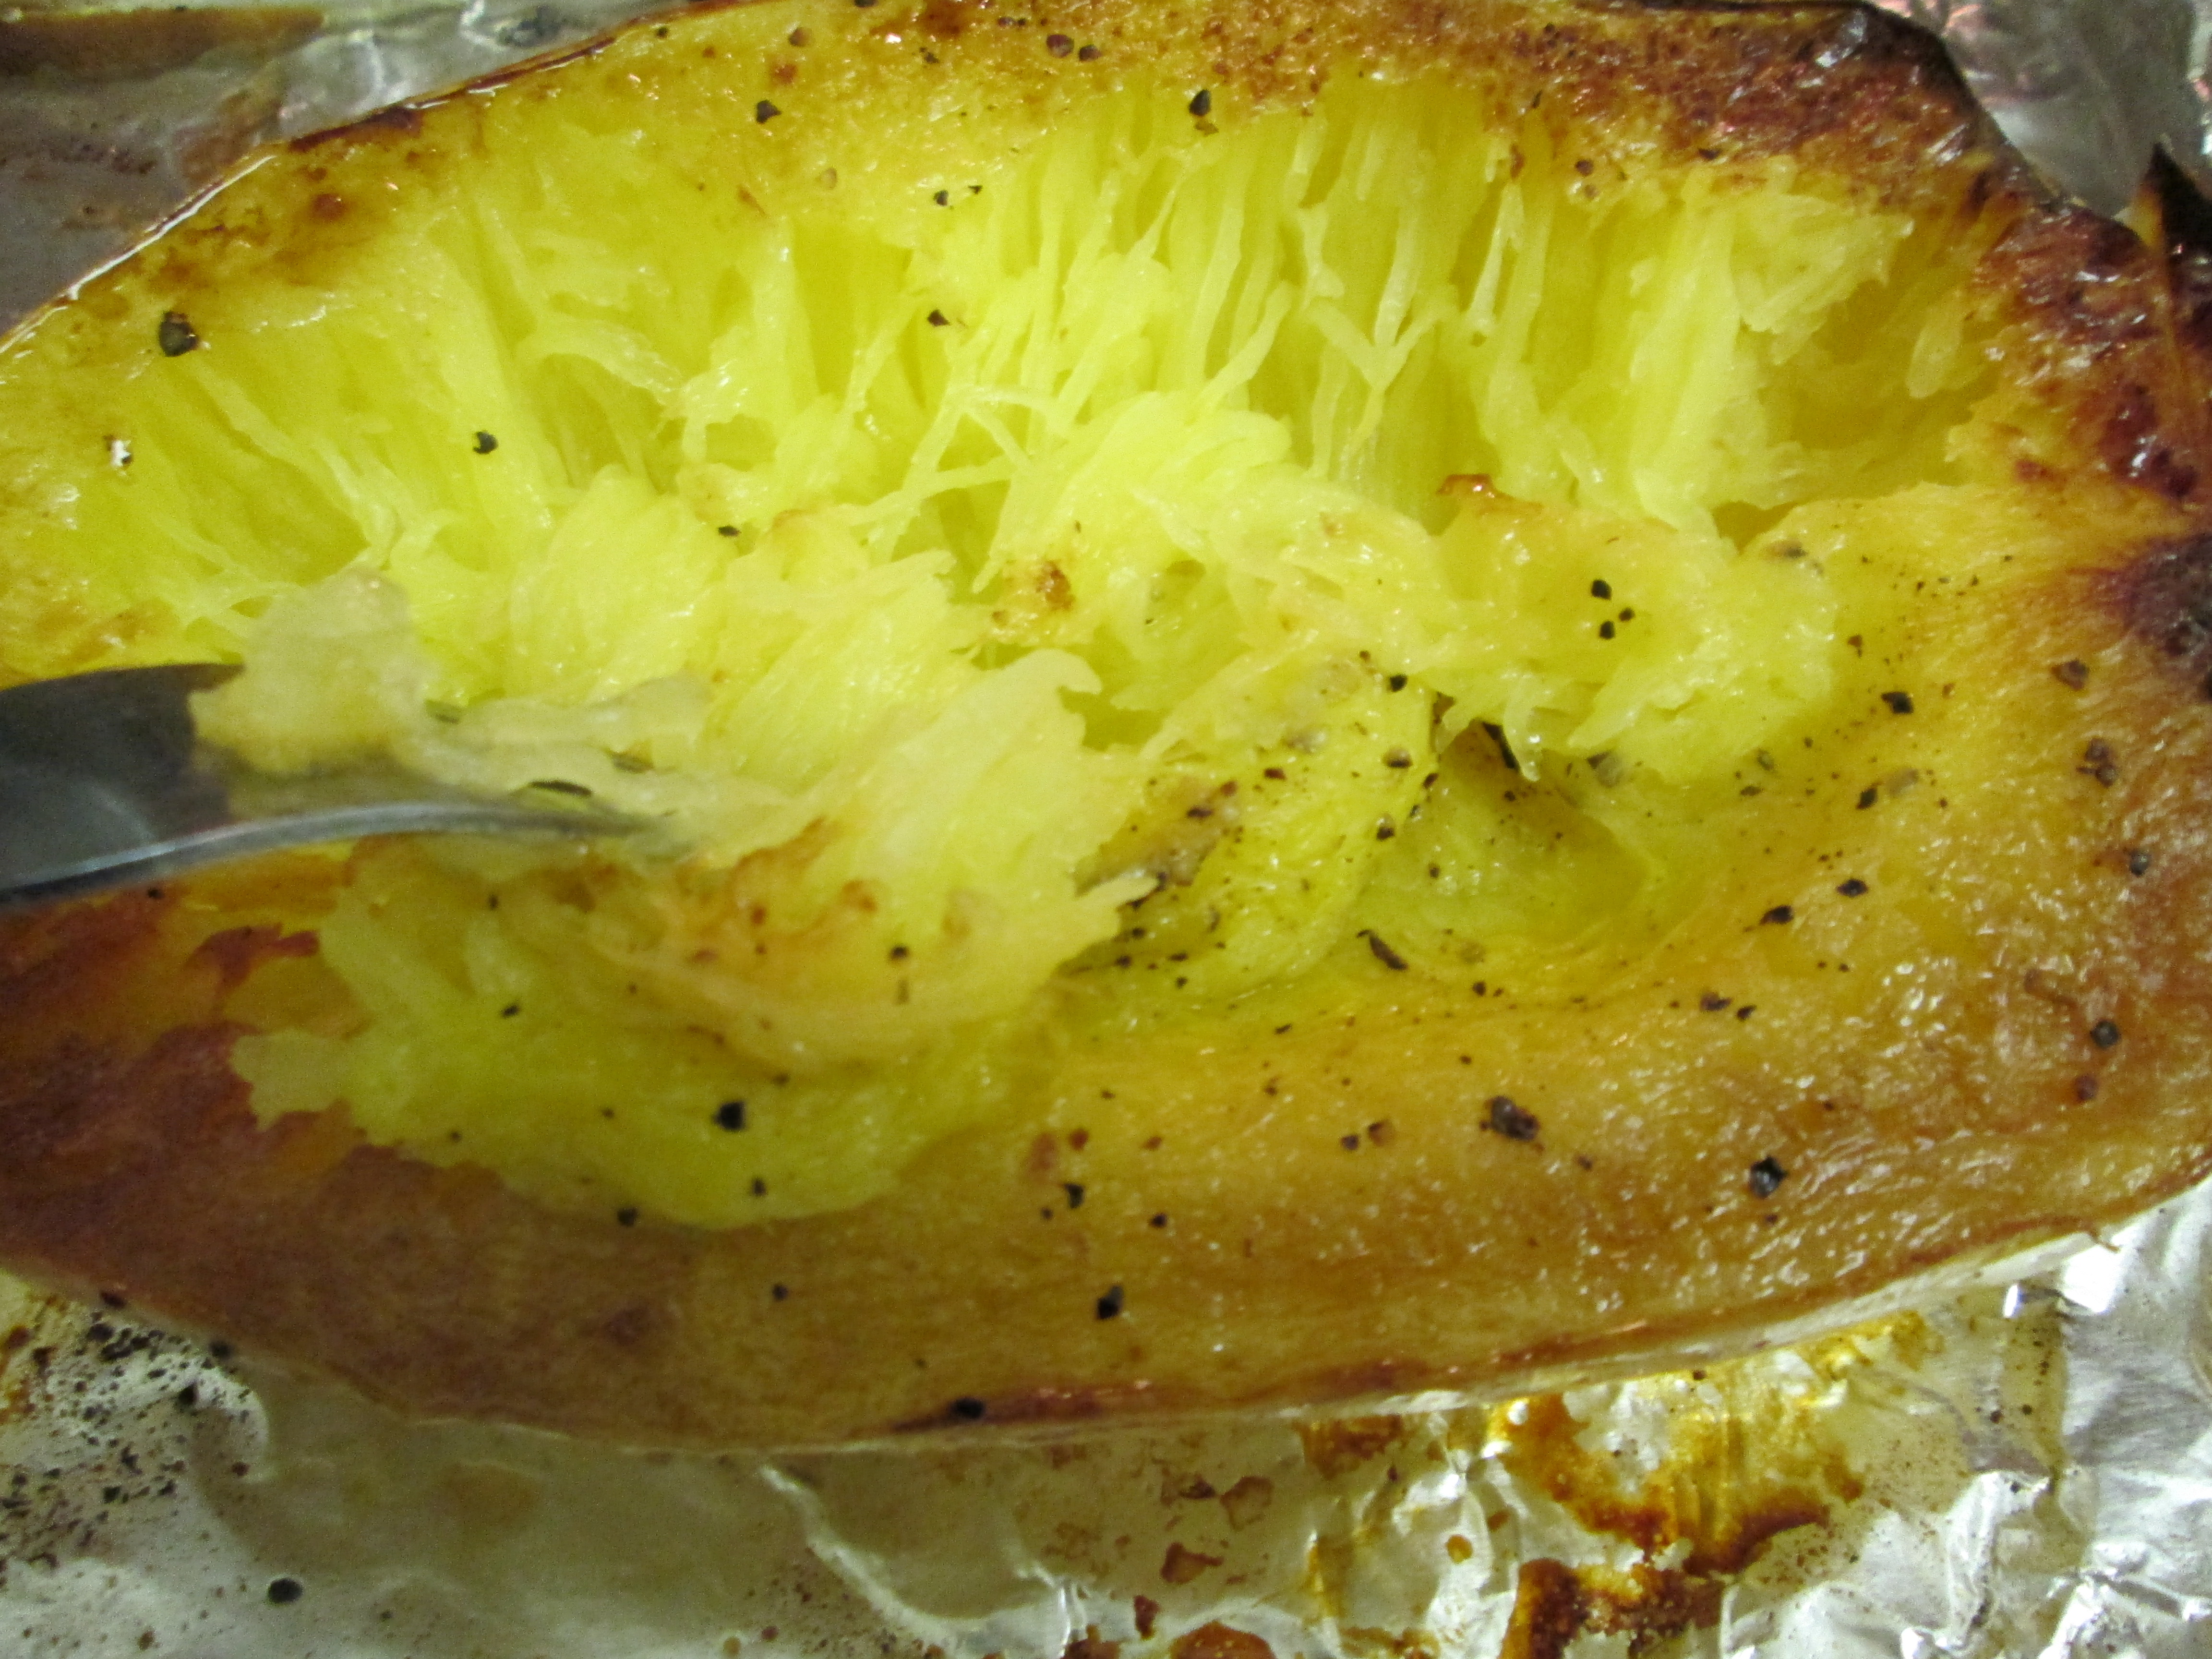
Take a fork and start scarping at the squash flesh. It will come away in strands like spaghetti. Hence, spaghetti squash.

IMG_1278

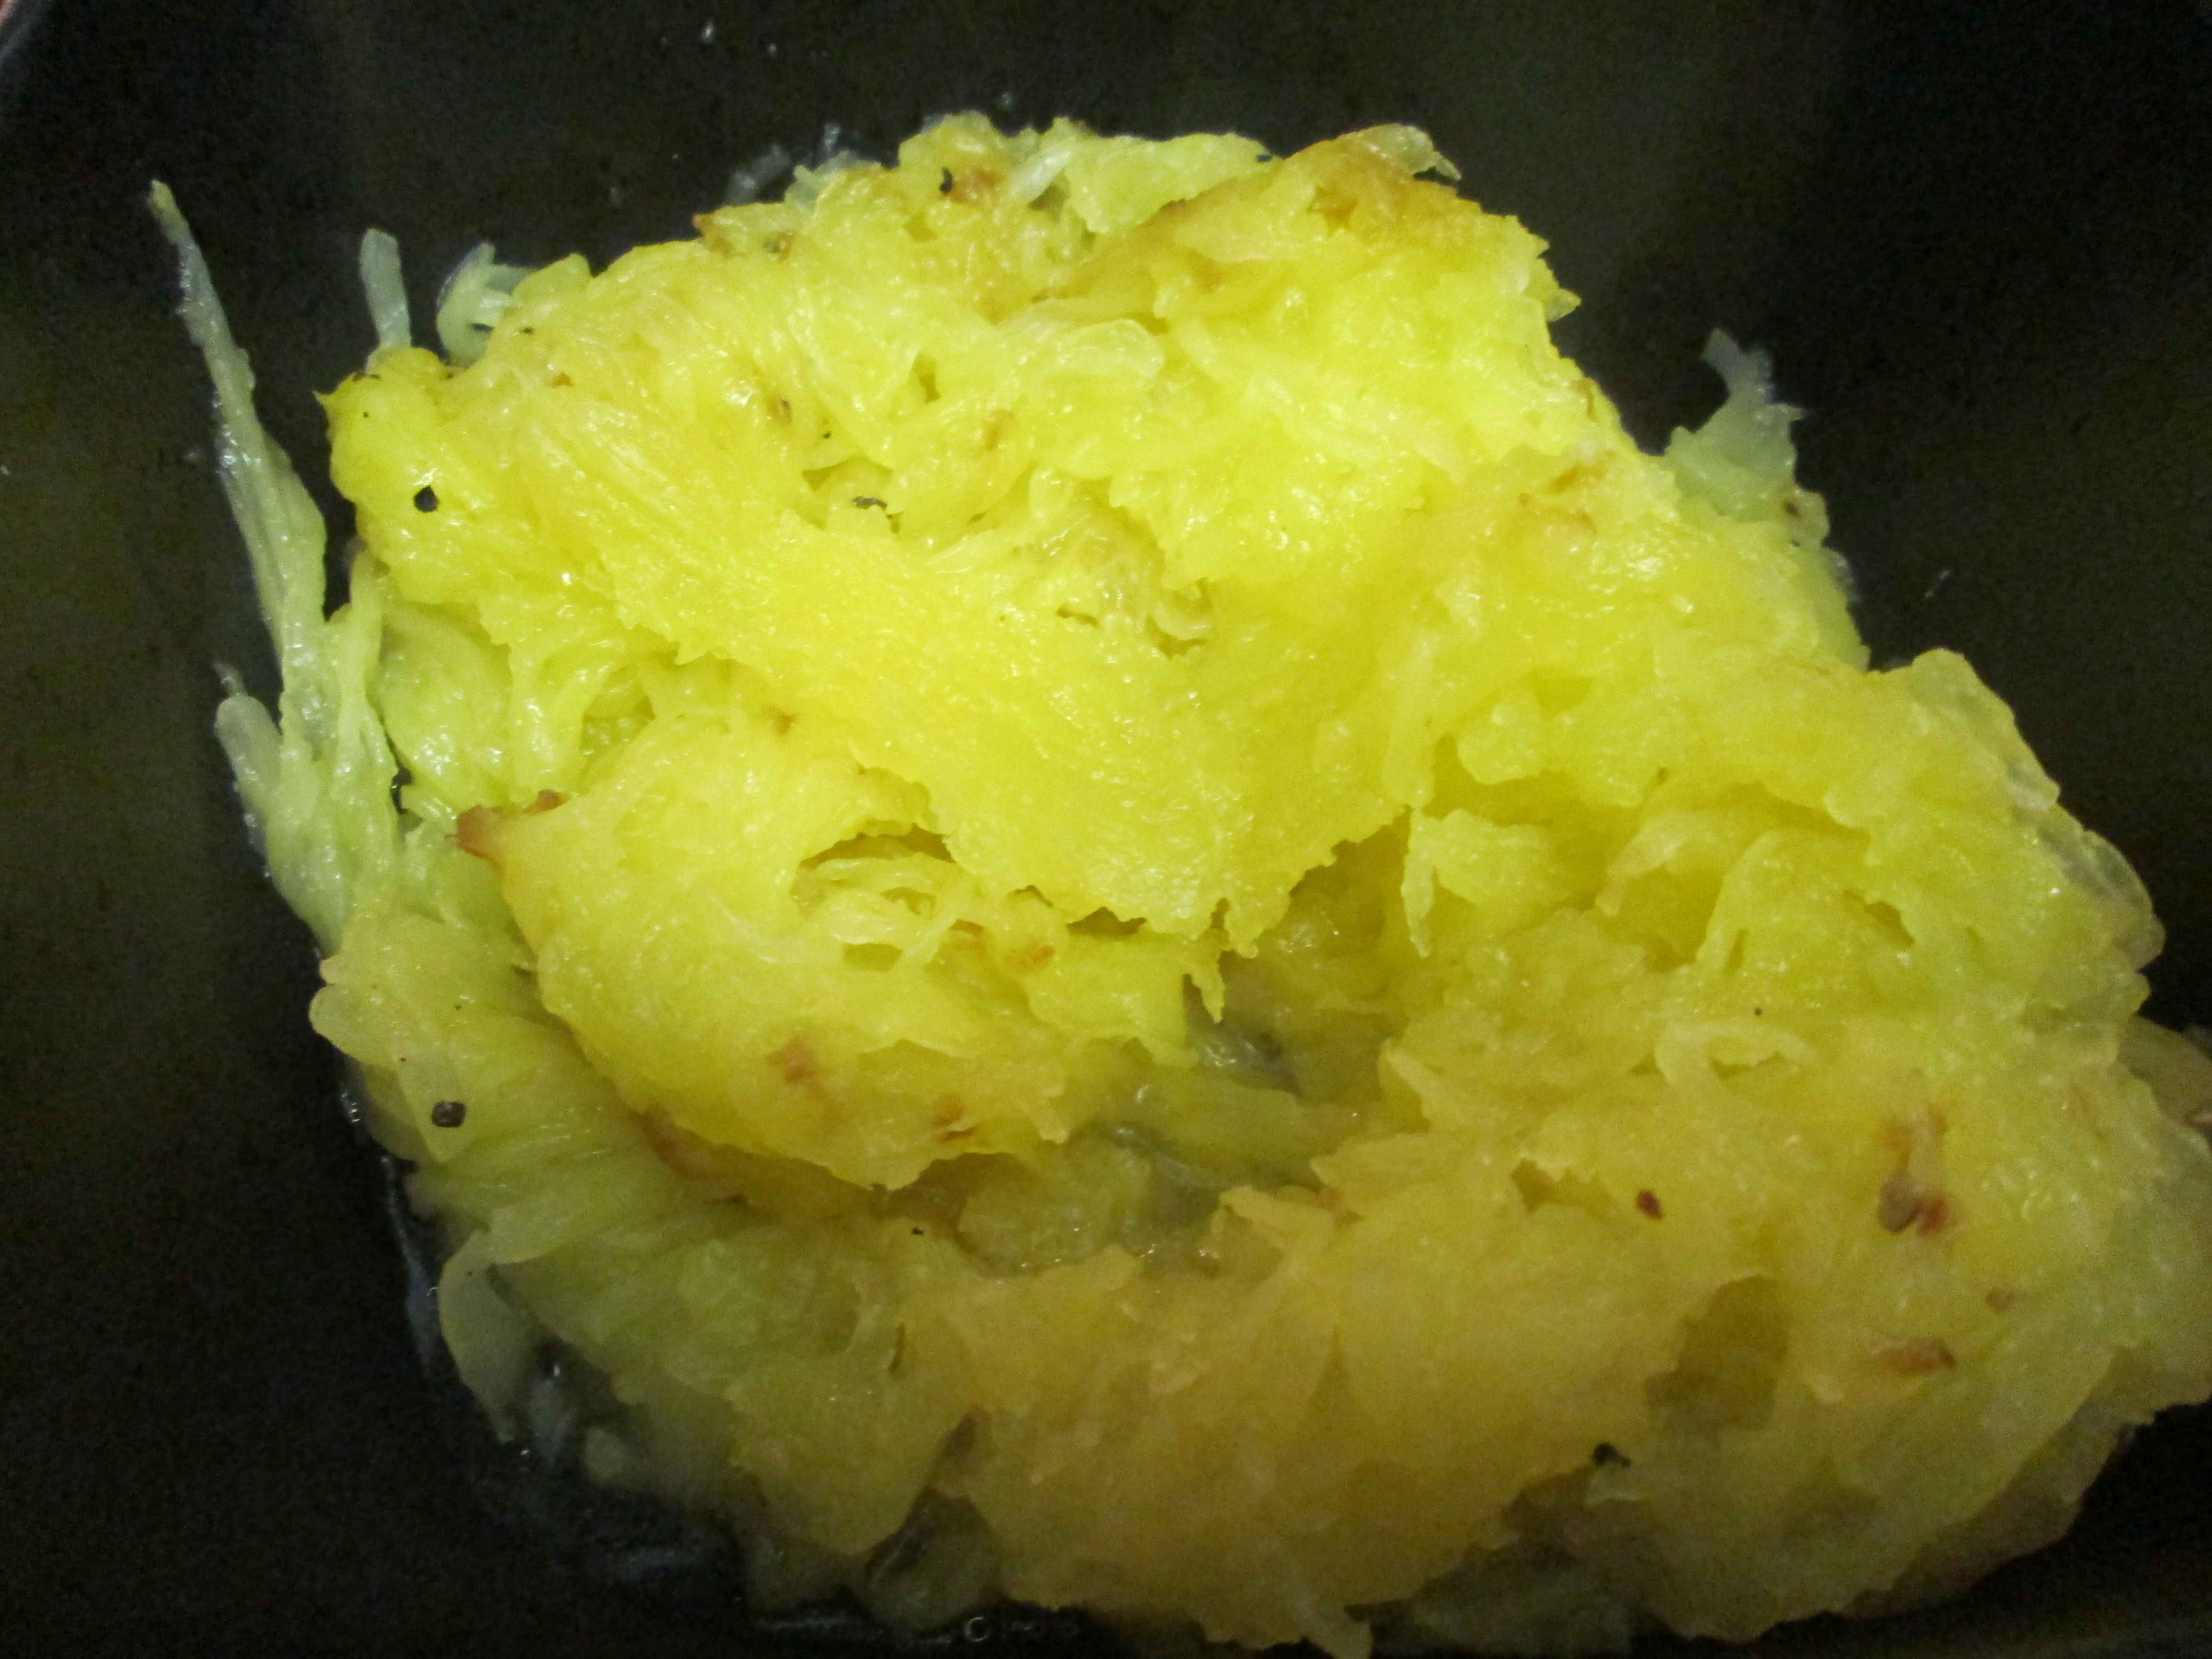
Scoop out the flesh from each half into a bowl.

IMG_1279

You can top it with parmesan cheese and it would be delicious, or, if in your hungover state you can handle one more step, you can make a quick marinara sauce to top it with.

While the squash cools, before you spaghettify it, sautee a chopped small white onion and two cloves of chopped garlic in olive oil.

IMG_1275

Add a can of diced tomatoes and season with lots of black pepper.

IMG_1276

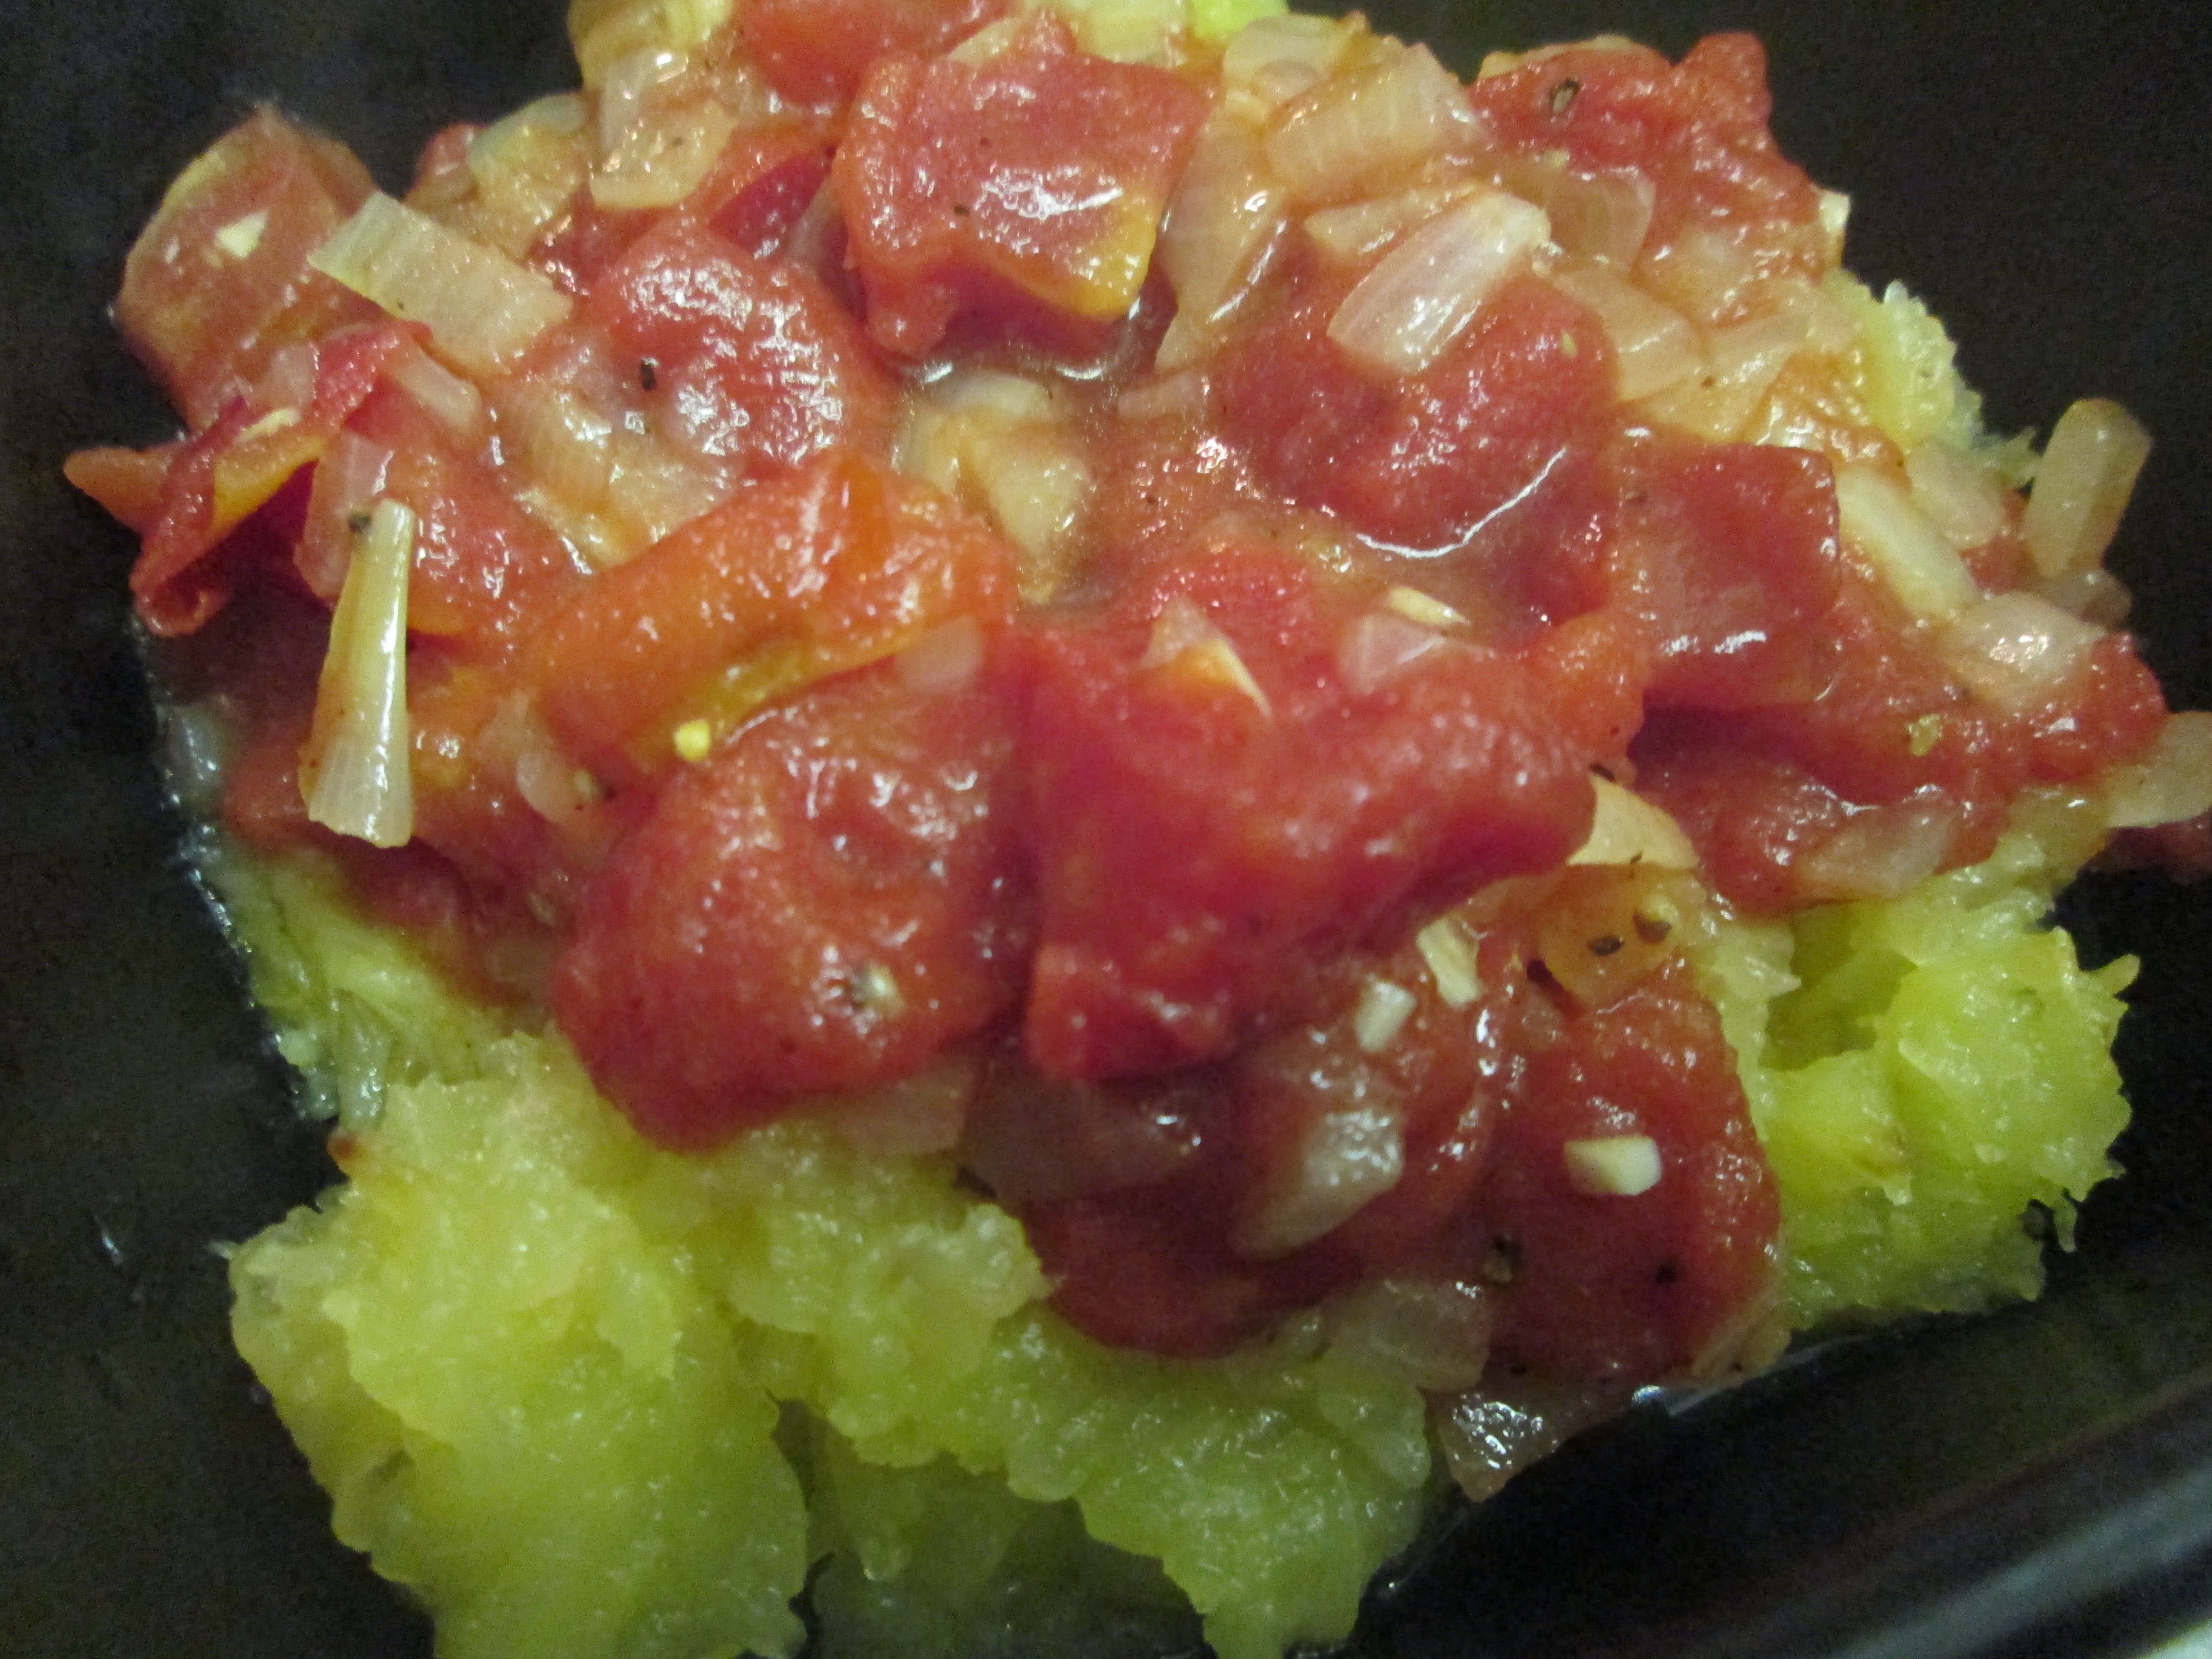
While the sauce simmers, spaghettify the squash and scoop into bowls. Top with the sauce.

IMG_1280

Drink lots of water. Tell yourself you will never do that again.

Repeat next weekend.

Cakes and Study Breaks

Since I was a kid, homework has been synonymous with baking.

Growing up, both my parents worked, so my grandma used to pick me up from school.

My mom’s mom is not a baker. My dad’s mom is the grandma of the pies. My mom’s mom is the grandma of the meatballs.

But my grandma has a sweet tooth. So she would pick me up from school and then ask me if I wanted to “help” her make brownies. Being 6 and naive, I thought I was a big deal, helping make brownies then sitting at the table and doing my homework while the kitchen was filled with the smell of warm chocolate.

But no.

My grandma just really hated baking and really liked brownies.

But what happened is that baking and homework have become linked in my mind. The time it takes for brownies or a cake to be baked is the time it takes to write a five page paper or read a twenty page article.

So, now, twenty years later and back in school for a graduate degree, I’m still baking while doing my homework.

Maybe because of the connection at an early age it has become part of my thinking process.

See, that’s not just a box of a cake mix and a mixing bowl below; no sir. That’s my brainstorming and rough draft.

IMG_1263

And this bowl of homemade buttercream frosting, it’s me formulating a thesis statement.

By the way, I see no problem with boxed cake mix cakes. They’re delicious and they remind me of childhood. To jazz it up, just make your own frosting. This one’s a snap.

  • 1/3 cup butter, softened
  • 2 cups powdered sugar
  • 1 teaspoon vanilla
  • 1-2 tablespoons of milk

Whip the ingredients together with your hand mixer and voila, homemade frosting.

IMG_1264

Scoop out the frosting and cover the cake when it’s cooled. Think about your introductory paragraph as you spread the fluffy white frosting.

IMG_1267

And then, let the cake sit while you finish the paper. The frosting will get a touch of hardness so there’s a bit of crunch when you bite into the cake.

Speaking of which, the best part of this whole baking and writing thing?

There’s a beautiful cake waiting for you.

IMG_1269

But only when you’ve finished your paper.

Butternut Squash Mac and Cheese


After last week’s mac and cheese venture, I started thinking about what other yummy combinations I could come up with to jazz up this childhood favorite.

Since it’s October, I started thinking about squash and pumpkins. I just made pumpkin pie, so squash it is!

Butternut squash is in season in October, it’s insanely delicious and it’s a great source of so many nutrients, so it counterbalances the whole pasta and cheese thing.

Sort of.

For this dish you will need

1 butternut squash, peeled and cut into one inch cubes

1/2 pound of rigatoni (use more if you want to make a bigger portion of course. And don’t sweat if you don’t have rigatoni. I actually used 1/2 rigatoni and 1/2 penne because that’s what I had)

1 cup milk (whole, skim, whatever you use)

Grated gruyere (I am never one to dictate the amount of cheese another human being uses)

1/2 a small white onion, chopped

2 cloves of garlic, chopped

olive oil

In a large oven proof casserole pot, drizzle olive oil and sautee the onions, garlic and squash.

IMG_1251

Meanwhile, bring a pot of water to a boil and cook the pasta according to the directions.

When the squash starts to brown a bit and the onions are translucent, add the milk. Let this cook over medium until the squash is fork tender.

IMG_1252


The squash should be done about the same time as the pasta. Drain the pasta and set it aside for a minute.

IMG_1253

Turn down the heat on the squash and milk mixture and add in the gruyere, stirring until it is melted.

IMG_1254


Add in the pasta and stir.

IMG_1255

Bake in a 350 degree oven for about 20 minutes. Serve up heaping bowls. Squash. Pasta. Cheese. How could that be bad?

IMG_1256

Pumpkin Pie


I have never made pumpkin pie before and I figured now is as good as time as any to give it a go.

I looked up a couple recipes and took ideas from them all to come up with this variation.

The key to this recipe is my grandma’s pie crust. Check out the recipe here.

But go ahead, use any pie crust you want.

Then make it again with her crust.

I promise you will taste the difference.

So the filling.

I should say, one of the main reasons for making pumpkin pie, besides it being fall and pumpkin pie being amazing, is that I got a fancy new toy and was dying to try it. My beach godmother sent me a new Cuisinart as an engagement gift. It needed to be christened. Christenings should always involve pie.

So for the filling you will need:

  • 1 15 oz can pumpkin puree
  • 1/2 cup whole milk
  • 1 and 1/4 cups heavy cream
  • 3 eggs, beaten
  • 3/4 cup light brown sugar
  • 2 teaspoons cinnamon
  • 1 teaspoon ground ginger
  • 1 teaspoon allspice

Ready for two step pie making?

All of the ingredients go in the Cuisinart.

downsized_1012131049

The blended ingredients go in the pie crust. The pie gets baked at 350 for 50 – 60 minutes.

downsized_1012131147

The pie gets sliced and eaten.

downsized_1012132106

I’m probably going to have to make it a few times. You know, to make sure it’s perfect for Thanksgiving…

Lentil Soup

Okay, those other times when I said fall was in the air, nope. That was just the warm-up, the preseason.

This morning, when I couldn’t fathom heading into the kitchen without a blanket as a cocoon, and when I saw 40s as the temperature on the map on the news in some places. Yea. Fall is in the air. And it’s chilly air.

And that means, it’s a soup day.

And because it’s meatless Monday, that means it’s a vegetable soup day.

One of my favorite soups, and really the food equivalent of a fuzzy blanket, is lentil soup.

The Turkish restaurant up the street from us makes the best. It’s velvety smooth, hearty and so comforting.

This comes close to it.

You will need:

  • 1 carrot, chopped
  • 2 ribs of celery, chopped
  • 1/2 a white onion, chopped
  • 2 cloves of garlic, chopped
  • 1-2 cups of lentils (depends how lentilly you like your soup. I usually do about  1 and a half cups for the two of us)
  • Olive oil
  • Salt
  • Pepper
  • halebi biber (for more on this see my post on grape leaves and Patty’s comment on the history of this red pepper)
  • vegetable broth

Drizzle olive oil in a heavy bottomed soup pot and add onions, carrot and celery. Let these cook over medium heat until softened.

IMG_1221

Add the lentils and the garlic, cooking to toast the lentils.

IMG_1222

You want to keep stirring so they don’t burn. Season with salt, pepper and halebi biber. (if you don’t have it you can use red pepper flakes sparingly)

IMG_1223

After cooking for about five minutes, add enough vegetable broth to cover all of the vegetables and lentils. Cover and let simmer for about twenty minutes.

IMG_1224

Using a food processor or an immersion blender, puree the soup. Serve up in bowl topped with a dollop of Greek yogurt.

IMG_1248

Spinach Artichoke Mac and Cheese

Today starts the one year countdown to the wedding.

I’m not that anxious to get married. I’m more one of those people that likes to mark things. Birthdays, first kiss, anniversary. These are causes for, as my friend Emily says, overcelebration.

So as we’re hitting the one year til we’re married mark, I’m thinking about where we started.

We actually met in October (part of the reason for the wedding being in October), and at the time neither of us were interested in dating.

I thought he was cute. He thought I was cute. We had some things in common. So we’d meet for drinks. Or we’d get Chipotle and hang out.

One of the first more real dates we went on involved beer and spinach artichoke dip. At that point, he shoulda known I was a keeper. No fancy dinners and wine for me. Nope. No thanks. I’ll take bar food at an Irish pub over cloth napkins and china any day.

So, thinking about that night had me thinking about a special dinner. Nothing fancy, but something that was reminiscent of that night in the bar over two years ago.

And so, spinach artichoke mac and cheese was born.

You will need:

  • Spinach
  • artichoke hearts (canned or jarred or frozen)
  • garlic
  • pasta
  • milk
  • fontina

In a large frying pan, sautee spinach. You can use olive oil. Or, if you are using artichokes packed in oil like I am, you can use the oil the artichokes are in for some extra flavor. Also, boil water and cook pasta (I’m using bow ties but you can use whatever shape you like) according to package directions.

IMG_1229

When the spinach is wilted down, add in the artichoke hearts and two cloves of garlic, minced.

IMG_1232

When the spinach is wilted and the artichokes are warmed, empty the mixture into a buttered baking dish.

IMG_1235

At this time, the pasta should be done. Drain the pasta.

IMG_1240

In the same frying pan you sauteed the spinach and artichokes in, pour in one cup of milk and some cubed fontina cheese.

IMG_1241

Cook over medium low heat, stirring constantly, until the cheese melts.

IMG_1242

Dump the pasta into the cheese mixture and stir.

IMG_1243

Next, add the pasta cheese mix to the spinach and artichokes in the baking dish and stir.

IMG_1244

If you want to, add a sprinkle of parmesan over the top. You can add breadcrumbs too if you like. I just did cheese.

IMG_1245

Bake in a 400 degree oven for about 20 minutes.

IMG_1246

Pour some beers and gaze at each other across the table, remembering the butterflies he gave you that night and the butterflies he still gives you tonight.

Eggplant Parm.

I just found out that today is National Pasta Day.

I love pasta. I could not live without pasta.

I should be making pasta for national pasta day.

But, I confess. I’m not.

Because the only thing I will say yes to over pasta is what’s for dinner tonight.

Eggplant Parm.

When I was a kid, there were two things I would not eat. Meatloaf and eggplant parm. I thought the eggplant looked weird. And meatloaf? I still won’t touch that.

But I did eventually try the eggplant and find a love for it.

So now given the choice between pasta and eggplant, sorry pasta, it’s all about the parm tonight.

Eggplant parm is one of those dishes you have to mentally prepare yourself to make. It’s not really an itty bitty city kitchen weeknight one pot wonder.

In fact, it’s kind of a big mess.

But it is totally worth it.

I should clarify by saying that it’s not hard. But there are multiple steps involved. And there’s frying. Hence the mess.

Your ingredient list is simple though:

  • eggplant, peeled and sliced into discs
  • eggs, beaten into an egg wash
  • flour, for dunking the eggplant,
  • vegetable oil, for frying
  • gravy (see here for mom’s recipe or use jarred)
  • mozzarella

Get a big frying pan and add enough oil to cover the bottom.

Set up a dredging assembly line with eggplant, egg wash, flour and frying pan.

Get ready to stand here for a while. Turn the game on. Or better yet, an episode of Sex and the City.

So the eggplant goes into the egg wash, then into the flour and then into the oil in the frying pan.

IMG_1217

Fry the eggplant in batches. You want the heat at about medium and you don’t want to crowd the pan. You’re going to keep things moving by taking the dredged eggplant into the oil, flipping it to brown on both sides, and the placing it into a gravy-lined baking dish.

IMG_1216

Like so.

IMG_1214

That’s about the color you want on your eggplant. You want the slices slightly browned, softened, but not cooked to mush.

Continue frying until the eggplant is all cooked and your baking dish is full. (I used two eggplants, because if I’m going to go through the process, I might as well make enough for leftovers. This is one of those things that’s better the next day.

IMG_1218


Top the eggplant with gravy.

IMG_1219

Then top the gravy with mozzarella.

IMG_1220

Bake in a 400 degree oven for about 30-40 minutes. You want the cheese to melt and for all the flavors to meld together.

IMG_1226

Dad hates that I decided to try eggplant. He doesn’t get as many leftovers as he did when I thought it looked weird


Italian Fondue


I was just struggling to come up with a name for this dish and I was thinking about the elements. Melty cheese, marinara, prosciutto… all the best Italian flavors. So… Italian fondue!

This is the most fantastic thing for watching the Broncos take on the Colts on Sunday Night Football, or, more immediately, for the Rangers taking on the Caps. (Note the Advil on the counter below. Necessary when watching the Rangers)

This is a super easy dish and is really more of a game day snack than it is an actual dinner. But, hey, add a side salad and it’s a meal. In my book, a salad turns anything into a meal.

For this dish you will need, marinara (jarred or homemade), mozzarella, prosciutto and crusty bread for dipping.

IMG_1190

In ramekins, layer the marinara

IMG_1191


The prosciutto

IMG_1192

And the mozzarella. Pop under the broiler for 5-10 minutes until the cheese melts, tear off some bread and dunk!

IMG_1193