Steak Salad

IMG_1487

This isn’t so much cooking as it is layering.

Which is not to be underestimated.

There is an art to the layering of a dish.

You want to make sure that you make all of the bites interesting, both in texture and temperature.

A good salad gives you warm, savory, chewy bites, mixed with cool and refreshing, crunchy bites.

There is no wrong combination, there are only slightly boring ones.

This one is far from boring.

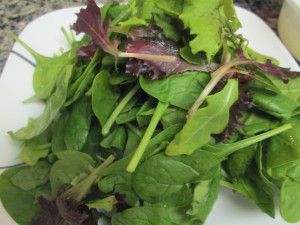
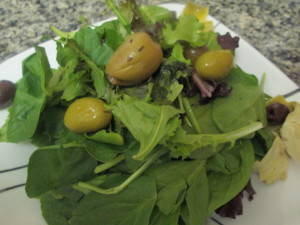
I started with a bed of mixed greens and baby spinach.

IMG_1482

Then added marinated artichoke hearts and a mix of good olives.

IMG_1483

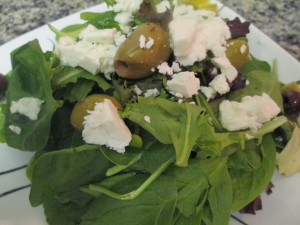
Next add a crumbling of feta for a salty tangy bite.

IMG_1484

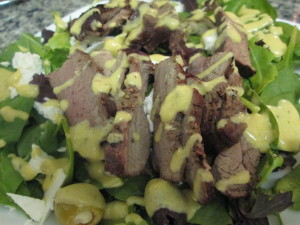
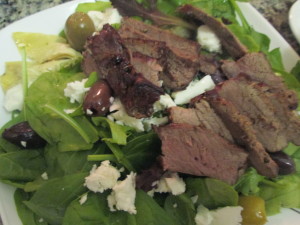
Lay slices of steak over top to turn this into a hearty meal.

IMG_1485

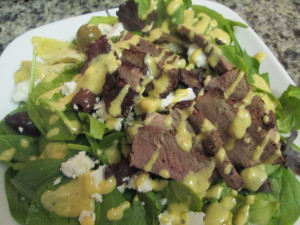
Top with your favorite dressing. I used my go to vinaigrette, but a creamy caesar, a garlicky yogurt or even just some good balsamic would be great.

IMG_1486

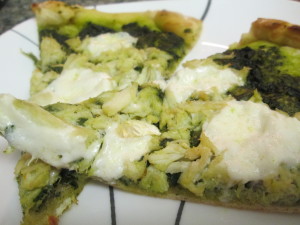
Crab Pesto Pizza

Dreaming of beaches over here still even though the temperatures are below zero.

So I’m still combating the cold by cooking some of our warm weather favorites.

One of our favorite places in the world is the town where my parents have their shore house. It’s where I spent my summers. It’s where I feel most relaxed. It’s where I threw my first kegger, had my first crush and my first hangover.

It’s also where my fiance proposed to me.

Fenwick Island. I just think of it and am happy.

The DelMarVa peninsula is known for a few things, fresh crabs being one of the top.

There’s an Italian restaurant in the area that takes advantage of the fresh, local seafood, and merges it with Italian classics.

Their best dish? Pesto crab pizza.

It’s amazing.

And while it sounds complicated, it really couldn’t be easier.

To bring the Delaware shore to your home, you will need

  • Frozen pizza dough, thawed
  • pesto (store bought or homemade – my recipe here)
  • mozzarella
  • 1/2 a pound fresh jumbo lump crab meat

See my previous post about Jersey Tomato Pizza for tips on stretching out the dough.

Once the dough is stretched, it’s just a matter of layering pesto, crab and some mozzarella on the dough and baking at 425 for about 10 minutes.

I got so excited about making this that I forgot to take pictures along the way.

That’s how good this is.

We actually ate all but two pieces before we remembered we needed shots for the blog.

Oops.

IMG_1529

Not that I’m counting, but 163 days ’til summer and ’til we’re eating this pizza at the beach!

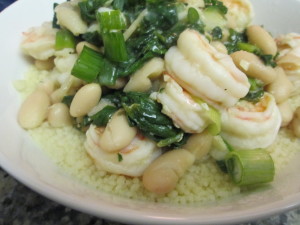
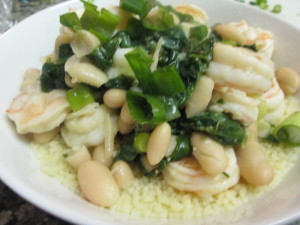
Lemony Shrimp and Cannelini Beans with Couscous

IMG_1480

It’s Tasty Tuesday over at the Craft Dictator, so if you’re stumped what to make for dinner, I suggest you head on over there for some tasty inspiration.

So over in the city, we’re in the polar vortex. Sounds all si-fiey, but I promise you this is real.

It is absolutely frigid out in New York, and, actually, across the country.

When it’s this cold, you probably want to go the warming comfort food route – lasagna, chili, and chicken cacciatore come to mind.

But sometimes I just want to take my mind off the cold and make a bright summery dish to ease away those winter blues.

Nothing like some shrimp and a bright citrusy burst of lemon to bring you thoughts of beaches and crashing waves as you cozy up at home while the wind blows outside the windows.

So tonight, I am defying the polar vortex and making a lemony shrimp and cannelini bean dish.

I’m serving over couscous, but this can easily be tossed over pasta. Use what you have on hand and what you like.

For this dish you will need

  • One pound of shrimp peeled and de-veined
  • one can of cannelini beans rinsed and drained
  • 1 bag of baby spinach
  • 2 scallions, chopped
  • 2 cloves of garlic, chopped
  • juice from one lemon
  • olive oil
  • butter
  • black pepper
  • couscous

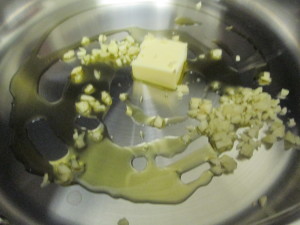
Start by heating butter, olive oil and garlic in a large skillet. Also, prepare your couscous or pasta according to directions.

IMG_1474

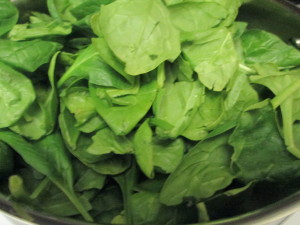
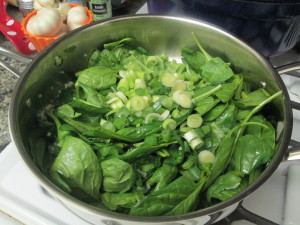
When the garlic starts to brown, toss in the spinach and stir.

IMG_1475

When the spinach wilts, add the scallions and let them warm through.

IMG_1476

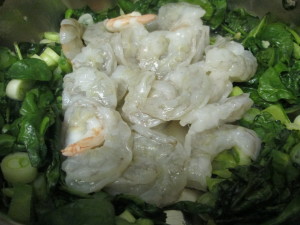
The add the shrimp and season with black pepper.


IMG_1477

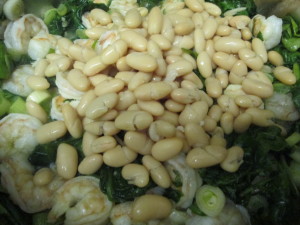
When the shrimp are cooked through on both sides, add the cannelini beans and the lemon juice.

IMG_1478

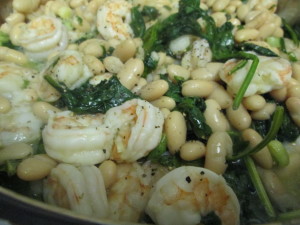
Stir and cook for an additional three minutes or so. You don’t want to overcook the shrimp but you want the beans to warm up.

IMG_1479

Serve up in bowls over couscous or pasta.

IMG_1481

Can you hear the waves lapping the sand?

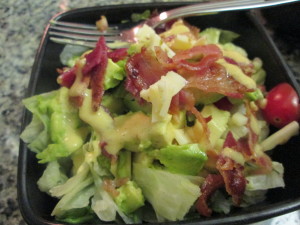
BLT Salad


IMG_1457

My fiance just got his wisdom teeth out.

Which means he’s on the applesauce and mashed potato diet.

I feel horrible. But, at the same time, I’m hungry. And I can chew. So mashed potatoes and applesauce are just not going to cut it for me.

But I also don’t really feel like cooking just for me. When I lived alone I never really cooked, not because I couldn’t cook, but because it seemed like such a lot of work to make a meal just for myself.

But from that time alone, I’ve come up with some satisfying meals that involve just the smallest amount of cooking. This is one of them.

I love big salads for dinner. But sometimes you need a little meat tossed in there to make it really feel like a meal. Usually I go the route of the prosciutto salad dressing, but I was in the mood for something with a little more to it.

I liked the idea of prosciutto, but I wanted something a little smokier, something more like bacon.

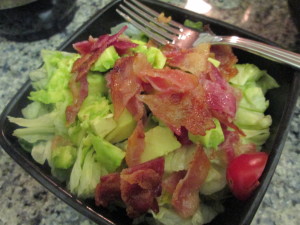
And so, a BLT salad.

I love BLTs, but sometimes you just aren’t in the mood for a sandwich. Don’t brush aside the meal, but instead think about deconstructing it and assembling it in a bowl.

For this salad you will need:

  • Bacon
  • Lettuce
  • Tomato
  • Avocado
  • (and any other bits you like added to your BLT)

For the dressing, I’m making a champagne vinaigrette. But again, use whatever you like.

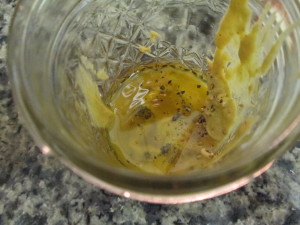
My dressing is a tablespoon of good, spicy mustard, a tablespoon of champagne vinegar, two tablespoons of olive oil and some freshly ground black pepper, tossed in a mason jar, then shaken (lid on) to combine.

IMG_1453

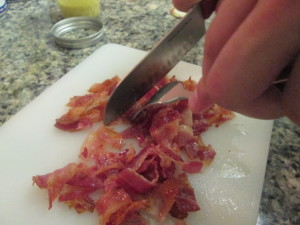
From there it’s just a matter of slicing up your veggies and your bacon

IMG_1455

Tossing in a bowl and topping with dressing.

IMG_1456

I’m aware it’s slightly mean to make bacon and fill the apartment with the intoxicating aroma when your other half can’t eat, but I’ve made promises to make him all of his favorites as soon as he’s better.

That makes it okay.

Right?

Eggs in Purgatory


If you’re reading this from the Northeast, then you’re getting ready for the foot of snow they say is coming our way.

You’re probably trying to run to the grocery store, braving the long lines, and fighting off angry moms for the last loaf of bread and carton of milk.

But, I bet you have the ingredients in your house already to make a warming, cozy and filling dinner.

Eggs in Purgatory, or Uova in Pugatorio in Italian, is a little dish I stumbled on in the Sopranos Family Cookbook. It’s insanely simple. Insanely delicious. And perfect for a snowy night because 1. it’s spicy and warm and 2. you probably have everything on hand.

You will need:

  • Marinara sauce (jarred or homemade)
  • eggs (figure 2 per person)
  • Red pepper flakes
  • Parmesan cheese
  • Crusty bread (optional. Don’t risk a run-in with a soccer mom before the storm)

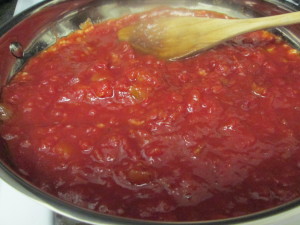
To start, heat marinara sauce in a large skillet over medium heat. If you want to make a quick marinara from scratch, dice half a white onion, 2 cloves of garlic and sautee in olive oil until the onions are translucent. Then pour in a can of diced tomatoes and cook. But again, jarred stuff works great for this.

IMG_1387

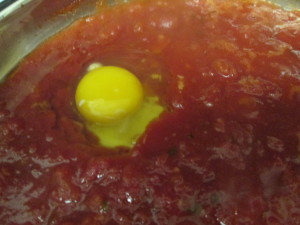
Crack the first egg in a small bowl. Using a wooden spoon, move the sauce aside to make a little bed for the egg. Gently pour the egg into the indent.

IMG_1388

Continue to add eggs until you have enough for everyone.

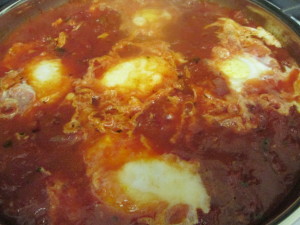
Let the eggs simmer in the sauce for about 5 minutes. You are essentially poaching the eggs, but in marinara instead of water. Which is way better. When the eggs are cooked (see how the whites form around the yolk) it’s time to turn this into purgatory.

Give the eggs a healthy pinch of red pepper flakes.

IMG_1389

Spoon out the eggs onto plates and top with marinara sauce and a sprinkling of parmesan cheese.

IMG_1391

This is a great dish to whip up when you want a light dinner or when you have bare cupboards and no desire to go outside.


New Year’s Eve Vegetable Lo Mein


Did you know that eating noodles is good luck for the new year?

I was googling around for some New Year’s eve dinner inspiration and I came across this article on Woman’s Day about the good luck foods for the New Year.

In China, Japan and other Asian countries, it’s customary to eat long noodles, which signify longevity, on New Year’s Day. Since the noodles are never to be broken or shortened during the cooking process, the typical preparation for “Long-Life Noodles” is a stir-fry.

Well, I’ll drink to longevity! You can choose any combination of vegetables you like. You can add some pork or some chicken if you want to make this a meaty dish. Also, in some countries, pork is a luck New Year’s food as the pig symbolizes progress.

But as I always say, the beauty of cooking is the ability to adjust to your specific tastes. So have fun with it. Just don’t break the noodles!

So here’s my New Year’s Eve, Long-Life Vegetable Lo Mein.

You will need

  • 2 tablespoons chopped ginger
  • 2 chopped garlic cloves
  • 3 chopped scallions
  • white button mushrooms, sliced
  • snow peas
  • shredded cabbage (I like the coleslaw mix because it has cabbage and carrots all shredded and ready to go)
  • vegetable oil
  • soy sauce
  • stir fry sauce or teriyaki
  • noodles ( I used Japanese somen noodles which are wheat noodles that cook in like 2 minutes)

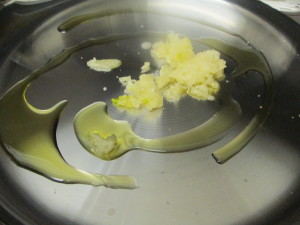
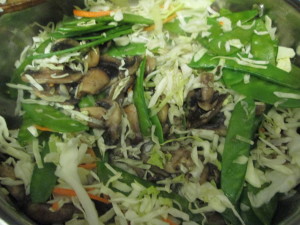
To get started, bring a pot of water to a boil. Then, in a large skillet, drizzle olive oil and add the ginger and garlic. Sautee for a few minutes.

IMG_1386

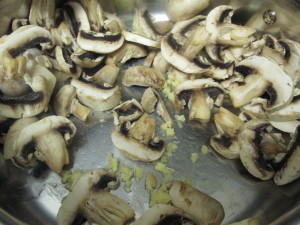
Next, add the mushrooms and cook until they are browned.

IMG_1488

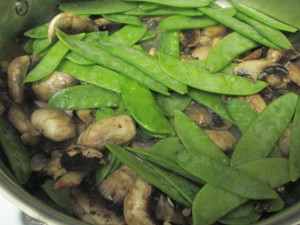
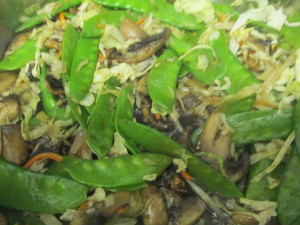
Add a little water, maybe 1/8 of a cup, to the bottom of the pain. Then add in the snow peas. The water will help you scrape up all the brown bits from the bottom of the pain and will steam the snow peas so they stay nice and crunchy.

IMG_1489

After about 3-5 minutes, toss in a few handfuls of the shredded cabbage.

IMG_1490


Add a few dashes of soy sauce and two tablespoons of teriyaki or stir fry sauce.

IMG_1491

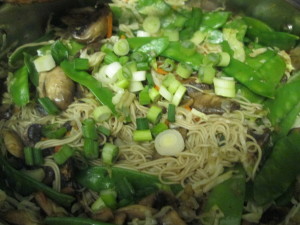
Add the noodles to the boiling water and let them cook while the cabbage wilts into the mix. When the noodles are done, drain and toss them into the skillet, stirring to coat them in the sauce. Top with scallions.

IMG_1492


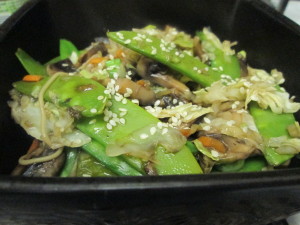
Serve up heaping bowls and toast to a new year!

IMG_1493

Christmas Quiche

With Christmas only a few days away, dinners need to be fast, easy and light.

Whenever that’s the order of the day, I turn to quiche. Quiche doesn’t sound light, but if you take away the crust, you’re left with fresh veggies and eggs, both of which are good for you things that will keep you going during your marathon present wrapping session!

I know that the crust is the best part of most things. But with the amount of pies and cookies that we’re all going to consume in a few days, I think it’s okay to lose it for this dish.

You can use any vegetables you like in this. I’m going with spinach, tomatoes and some feta cheese for a bit of a Greek twist. Let me know the combos you come up with.

The basic quiche mix will be the same.

You will need 4 eggs and a few tablespoons of heavy cream. Okay I’m being a little naughty. You can use skim milk if you want to be totally virtuous.

Also, I bake my quiche in a lightly buttered pie dish. It makes for easy serving, easy clean up, and it looks really pretty. I usually don’t care about presentation, but with the holidays coming up, I send that to you as a little piece of advice in case you wind up with unexpected overnight guests. Baked eggs in a pie dish = elegant breakfast!

Okay, for my spinach, feta and tomato quiche, I started by preheating the oven to 400.

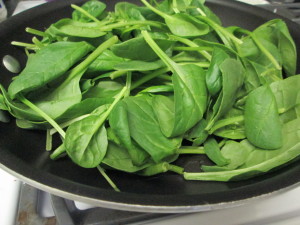
Drizzle some olive oil in a skillet and add heaping handfuls of baby spinach.

IMG_1283

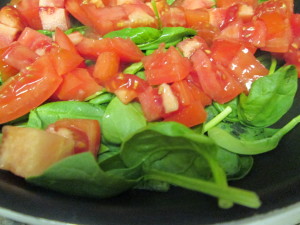
When the spinach starts to wilt a bit, add a few diced tomatoes (The other wonderful thing about quiche is that there’s no measuring necessary. Chop up leftover veggies, throw ’em in and you are good to go).

IMG_1284


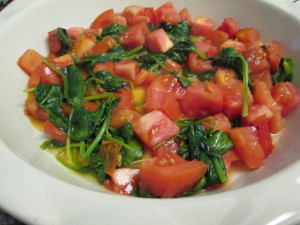
When the spinach and tomatoes are cooked, pour the mixture into the bottom of your greased pie plate.

IMG_1285


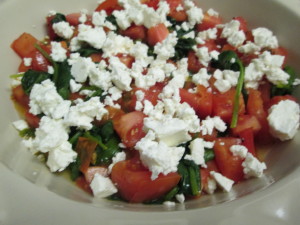
You’ll notice I didn’t season these. I’m going to crumble feta over the veggies, so I don’t want to add extra salt.

IMG_1286

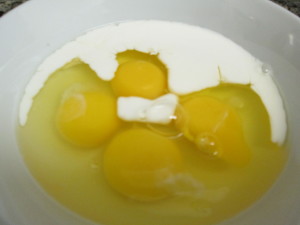
And I season my eggs with pepper (I forgot to take a picture after adding pepper. Imagine little black specks floating amidst the cream and egg yolks!)

IMG_1287


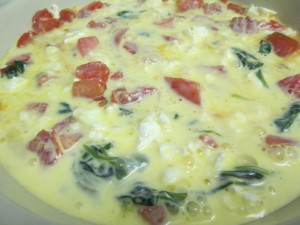
Beat the eggs and cream and pour over the veggies.

IMG_1288

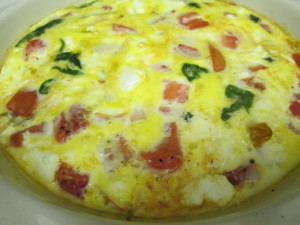
Bake for about 30-40 minutes, or until the eggs are set.

IMG_1289

This is great to bake the night before then warm up for a grab and go breakfast, too.

And look. It’s red and green. That’s a very festive quiche, if I do say so myself.

Final Exam Soup

I forgot what an awful experience finals week is.

Somehow, when I decided to go back to school, I only remembered, fondly and warmly, the readings, the intellectually stimulating conversations with professors and fellow students, the horizon expanding.

I completely blocked finals week out of my memory.

How anyone writes 3 25 page papers in 2 weeks is beyond me. I know I knew how to do it at one point, but I think I traded in that ability for my diploma.

To say the least, I’m a bit stressed. And when I’m stressed I tend to reach for the sweets. But I am trying to get my child like candy consumption under control. So I came up with this super healthy, super easy, super filing soup to keep me satisfied and focused on the papers I need to write.

For this soup you will need

2 carrots, chopped

3 celery stalks, chopped

1/2 a white onion, diced

2 cloves of garlic, minced

1 can of chickpeas, rinsed and drained

1 can of diced tomatoes

2 cups of chicken broth

I find anything with chicken broth to be soothing and comforting. SO broth-based soups are ideal for the stressy time of finals.

To make the soup, drizzle olive oil in a heavy-bottomed pot and toss in the carrots, celery, onion and garlic.

IMG_1334

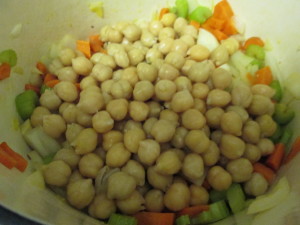
Let simmer until the onions are translucent and the carrots are soft. The add the chickpeas.

IMG_1335

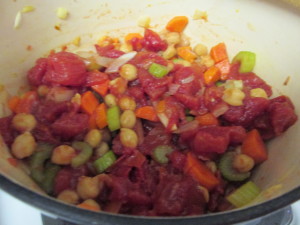
Stir and let simmer for 5 minutes or so. The add the can of diced tomatoes, with juices.

IMG_1336

Let this simmer again for about 5 minutes, then add the chicken broth. If the 2 cups of broth is not enough to cover all the veggies, add some hot water.

Let the soup simmer for another 10 minutes or so.

IMG_1337

See. You can do this.

Those final papers are no problem!


Good Old Fashioned Lasagna

Oh the weather outside is frightful!

No snow as of yet, but I think a high of 25 degrees warrants the term frightful.

When it’s cold like this all I want to do is hang out in my warm kitchen and make something yummy, warming and comforting.

We started talking about some of the classic holiday episodes of shows when we were kids and the Garfield Christmas came up. Remember, John and Garfield and Odie pack up and leave the city for a good old fashioned Christmas down here on the farm? That’s the song I remember most from the show. If you don’t remember it, here it is in all it’s glory.

Anyway, where am I going with this?

When you think Garfield, what do you think of?

Yup.

Big trays of lasagna.

So that’s what’s for dinner tonight. It’s warm, it’s filling, it’s the perfect thing to curl up with, especially when you add some red wine and some Christmas music.

Lasagna is actually pretty easy to make. There are just a number of steps that make it seem like a process. But it’s relatively quick assembly and really basic ingredients.

You will need

  • Lasagna noodles
  • 15 oz ricotta cheese
  • mozzarella
  • parmesan
  • marinara (homemade or jarred)
  • 1 egg

You’ll notice the absence of meat. I’m not a big fan of meat in my pasta. I’d much rather have a meatball on the side. So, sorry carnivores, this is a very cheesy but meat free lasagna.

Start by bringing a big pot of water to a boil and preheating the oven to 400 degrees.

When the water’s at a boil, drop in your lasagna noodles. I do three layers of noodles in a 9×13 pan so I boil 9 noodles. If you’re using a smaller pan or you want more layers, you will have to do some noodle math. Just figure out roughly how many noodles are needed to cover your pan width wise.

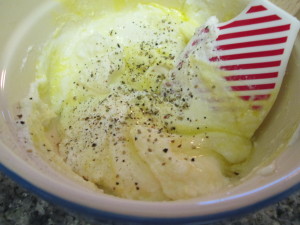
While the noodles cook, combine the ricotta, one egg, some parmesan and lots of black pepper to a bowl. If you want to multiply this recipe, just use one egg for every 15 oz container of ricotta
IMG_1338

When the noodles are ready, drain and set aside to cool.

Get your pan and cover the bottom with a layer of marinara.
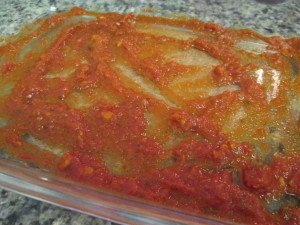
IMG_1339

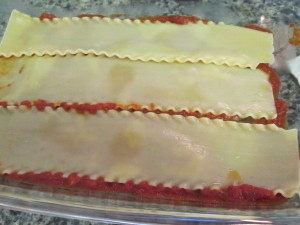
Then add a layer of noodles.

IMG_1341

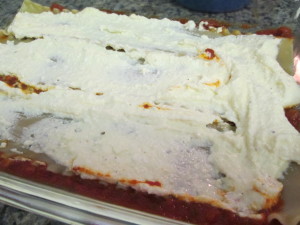
Then add a layer of the ricotta mix

IMG_1342

Followed by another layer of noodles, cheese, noodles. Top the final layer of noodles with more marinara and some shredded mozzarella.

An extra sprinkle of parmesan never hurt either.
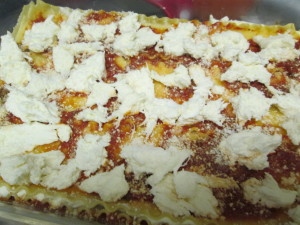
IMG_1348

Bake for about 30 minutes. The cheese will be bubbly and some of the edges of the pasta will be a little browned.
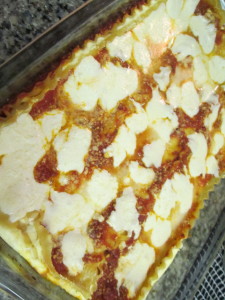
 

IMG_1352

And you will have three glorious layers of lasagna to eat your way through
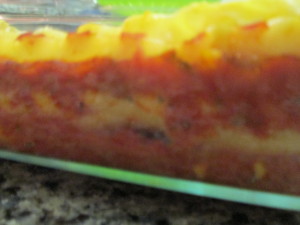
IMG_1353

as you try and get “Good old fashioned Christmas” out of your head

Sausage and Peppers


Every good Italian knows where to go to get a good sausage and pepper sandwich.

The boardwalk at the Jersey Shore, the Feast of San Genaro, and your grandma’s kitchen.

Because if you’re a really good Italian, your grandma or your mom makes the best sausage and pepper sandwich! How dare you even think of comparing something from the boardwalk to hers!

And you know what, it’s easy enough to do at home that you should be making a big ‘ol pot and having your friends over.

This recipe is enough for 4 sandwiches. Multiply as necessary.

You will need

  • 1 large white onion, sliced
  • 4 bell peppers, chopped (I used green and yellow but use what you prefer)
  • 2 links hot Italian sausage
  • 2 links sweet Italian sausage
  • Olive Oil
  • Italian bread
  • Provolone cheese

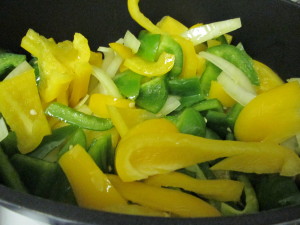
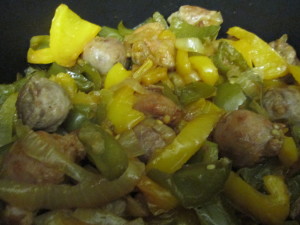
Get out the big pot and drizzle in some olive oil. Toss in the onions and peppers.
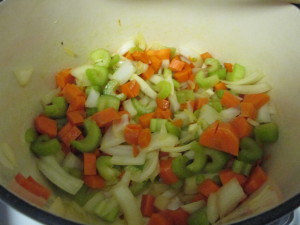
IMG_1305

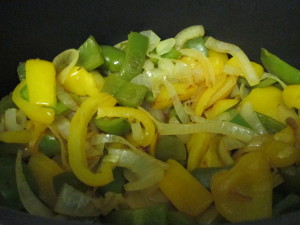
Let these cook over medium until the onions start to brown and the peppers are soft (about 20 minutes)

IMG_1309

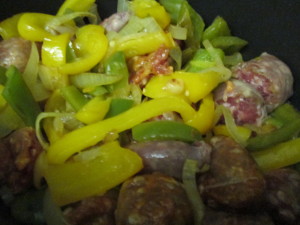
Cut your sausage up into small one-inch or so bite-sized pieces. It’s easier to build a sandwich when the pieces are smaller. When the onions and peppers are cooked, toss in the sausage.

IMG_1310

You want to nestle the sausage in amongst the peppers and onions so that the sausage can get browned by the bottom of the pain and pick up all the brown bits the onions left behind.

I use a blend of sweet and hot sausage because I like the depth of flavor. All hot is too hot for me and all sweet is just a little boring. Both is just right! Says Goldilocks.

IMG_1311

You want to turn the sausage occasionally so it cooks on all sides. It takes about 20 minutes to get it all browned and cooked through. During that time, the onions and peppers melt into the sausage and the oil and fat from the sausage drips over the onions and peppers. Heaven.

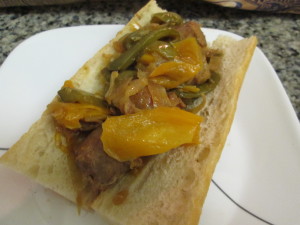
Slice up a piece of bread. Pile high with sausage and onions and peppers.

IMG_1321

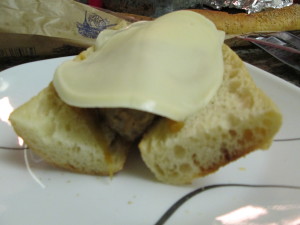
Top with a piece of provolone for some extra indulgence.

IMG_1322