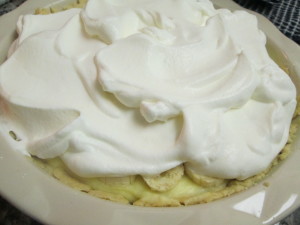
Helen’s Banana Cream Pie

If you ask anyone within a five mile radius of my grandma Helen’s house about banana cream pie, I bet you their eyes will light up and a little bit of drool will form at the corner of their mouths.

Yes, this pie is that good.

My dad and his siblings used to tell Helen that she should sell it.

But that wasn’t Helen’s style.

Cooking for her 6 kids and their friends and anyone else in the neighborhood who happened to stop by was her style.

So there are definitely quite a few people who can wax poetic about this pie.

I’m not going to lie, this is not really one of my typical easy dessert recipes.

It takes a lot of standing at the stove and stirring.

But, it is surprisingly itty bitty kitchen friendly! Once you make the crust, all you need is a saucepan and a bowl. So, time-consuming? Yes. Complicated and intricate? No.

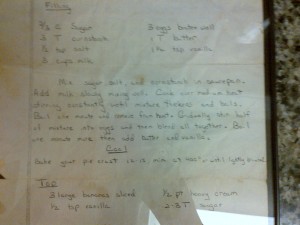
I actually have this recipe hanging on the wall in my kitchen.

IMG-20140515-00099

You’re going to need a 9 inch pie crust, baked, to start. Use your favorite recipe, or use Helen’s, which you can find here.

Now onto the filling.

You will need:

  • 2/3 cup Sugar
  • 3 tablespoons cornstarch
  • 1/2 teaspoon salt
  • 3 cups whole milk (sorry no cheating here)
  • 3 eggs, well beaten
  • 1 tablespoon butter
  • 1 1/2 teaspoons vanilla
  • 3 bananas sliced
  • whipped cream (preferably homemade)

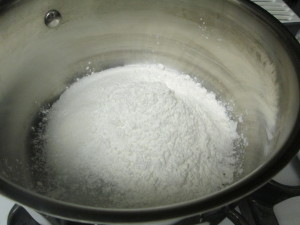
Mix the sugar salt an cornstarch in a medium pot.

IMG_2669

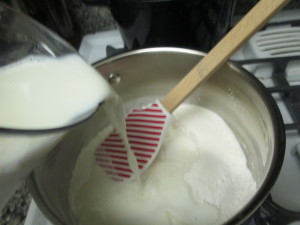
Add the milk slowly, mixing well.

IMG_2670

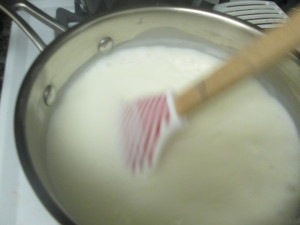
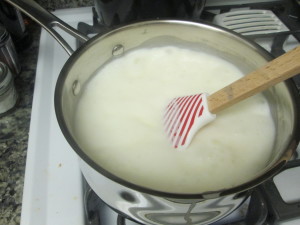
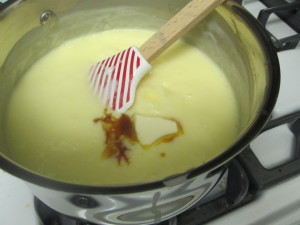
Cook over medium heat, stirring constantly until the mixture thickens and boils.

IMG_2671

Don’t try and force it by raising the heat. You will burn the milk (I’m speaking from experience). You should put on a show you’ve been meaning to catch up on or a CD you’ve been wanting to listen to, because you’re going to be here a little while.

When the mixture has thickened, remove from the heat.

IMG_2672

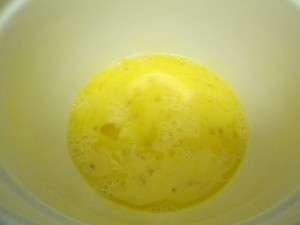
In a large bowl, beat 3 eggs.

IMG_2673

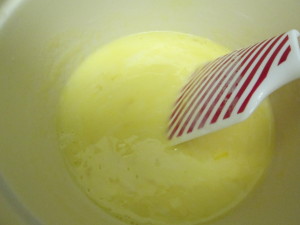
Slowly ladle half of the milk mixture into the eggs, stirring as you pour. We’re tempering the eggs so you don’t end up with scrambled eggs in your pie.

IMG_2674

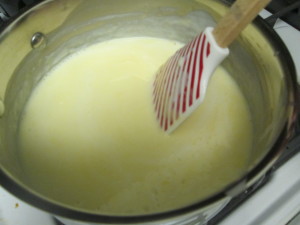
When the mixture is well incorporated, pour back into the pot on the stove and bring to a boil, again stirring constantly.

IMG_2675

Lower the heat and add the butter and vanilla and stir.

IMG_2676

Let that sit for a minute, and turn your attention to your pie crust. We need to get it ready for this luscious filling.

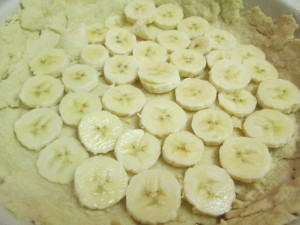
Place a layer of sliced bananas along the bottom of the crust.

IMG_2677


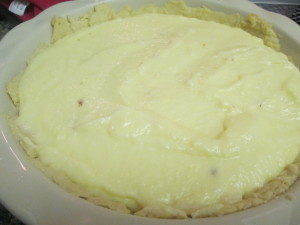
Pour in the filling.

IMG_2678

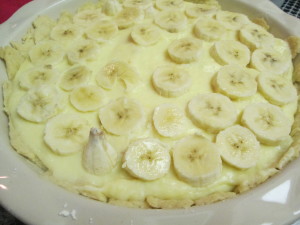
Layer with more banana slices.

IMG_2679

And top with whipped cream.

IMG_2681

This is best when it’s icy cold, so let it sit in the fridge for at least 6 hours.

Be careful when you go to lift it. It’s heavier than you think.

IMG_2683

You will never be able to order a slice of banana cream pie at the diner again.
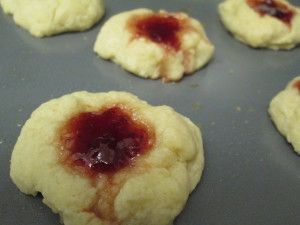
Jam-Filled Thumbprint Cookies

Pump up the Jams! It’s Friday!

And it’s time for Jam-filled cookies.

IMG_2515

I love me a jam-filled cookie. It’s one of the few vending machine snacks I find it hard to resist and it’s the one in the Italian cookie assortment I reach for first.

(My real favorite in the Italian cookies is the tri color pink, green and yellow spongey cake-like cookie, but no one else likes those, so I don’t have to reach for that first. They’re always left behind.)

The beauty of the jam-filled cookie is the way it walks the line between a butter cookie and shortbread cookie but then brings another friend to the party with jam.

These cookies are super easy and you probably already have everything in your kitchen already.

  • 1 stick of butter, room temperature
  • 1/4 cup sugar
  • 1 egg
  • 1/2 tsp vanilla
  • 1 cup flour
  • 1/2 tsp salt
  • jam of your choice (I used strawberry)

Preheat the oven to 350.

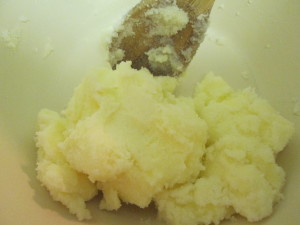
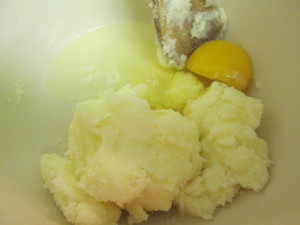
Cream together the butter and the sugar.

IMG_2506

Add the egg and the vanilla and mix

IMG_2507

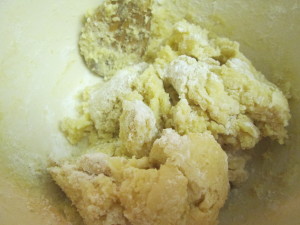
Add the flour and mix

IMG_2508

Pop the dough in the refrigerator for 15 minutes.

Lightly grease a cookie sheet.

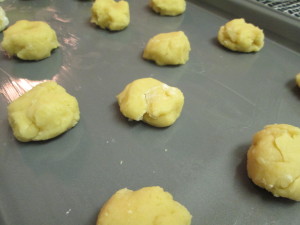
When the dough is chilled a bit, roll into one inch balls and place on the cookie sheet

IMG_2509

Truthfully, I never manage one inch balls. I always look at them and think, wow, that’s a sad cookie, and add more dough. So while you should be able to get 20 cookies from this dough, I got 15.

I like a hefty cookie.

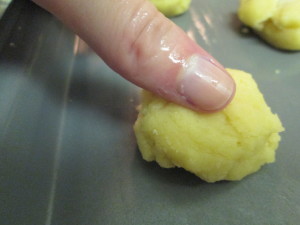
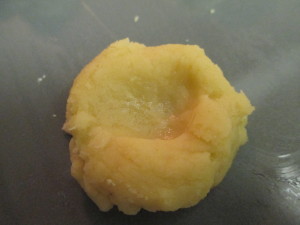
Now, lightly dampen your thumb and press gently into the center of a cookie (thumbprint cookies!)

IMG_2510

You’ll leave a little indent

IMG_2511

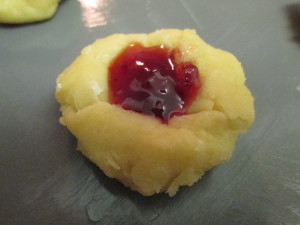
Which we’re going to fill with jam!

IMG_2512

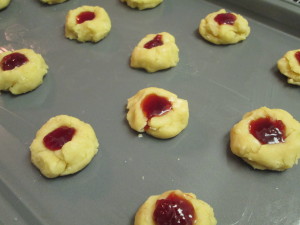
Continue until all the cookies are indented and filled. Be careful not to overfill.

IMG_2513

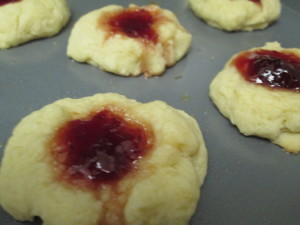
Bake for about 10-12 minutes.

IMG_2516

You will be tempted, but do not eat these right out of the oven. They will be delicious, but they will also be like molten lava and will scald your mouth.

Let them cool before enjoying.

They are slightly reminiscent of a buttery and jammy scone.

The perfect cookie for afternoon tea!


Cupcakes!

Yesterday we made some buttercream.

And much as we’ve all had days where we’d love nothing more than to sit down with a big ‘ol bowl of butter cream and a spoon, we’re all adults here.

Well, actually, that doesn’t mean anything. We’re adults. So we CAN eat the butter cream with a spoon if we want to. Yea, I guess we know better. But we also knew better when we were kids and mom told us not to do something and we did it anyway…

But I digress.

We made butter cream. And because we know better, and well, because today is all about the letter C, we’re going to put the butter cream on some amazingly delicious and simple cupcakes.

I don’t have a go-to cupcake recipe so I set out to find one. This one is from Natasha’s Kitchen. She got it from Glorious Treats. If these two ladies both love it, then it sounded good to me. So thank you for posting this one.

  • 1 1/4 cups flour
  • 1 1/4 tsp baking powder
  • 1/2 tsp baking soda
  • 1/2 tsp salt
  • 2 eggs
  • 3/4 cup sugar
  • 1 1/2 tsp vanilla
  • 1/2 cup canola oil
  • 1/2 cup buttermilk (or use 1/2 cup milk with a 1/2 tsp of lemon juice. I did. It works! Swear! Great baking trick!)

Preheat the oven to 350 and line a cupcake pan with cupcake liners.

In a bowl whisk together flour, baking powder, baking soda and salt.

IMG_2452

In another bowl beat two eggs

IMG_2453

then add the sugar and stir

IMG_2454

then add the oil and the vanilla and stir

IMG_2455

Now here is where you’re supposed to patiently mix the wet ingredients into the egg mixture, alternating with the buttermilk and the flour until everything is gently combined.

I don’t have the room for a stand mixer in this bitty kitchen

Nor do I have the patience for this.

So I very gently folded the dry into the wet (all at once, but carefully)

IMG_2456

And when it was almost mixed

IMG_2457

I added the milk lemon concoction

IMG_2458

and gently mixed

IMG_2460

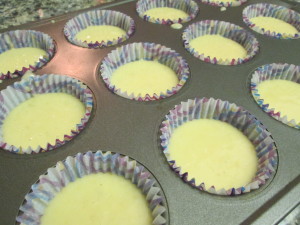
And filled my cupcake liners about halfway

IMG_2461

Bake for about 15 minutes. Let them cool

And frost!

IMG_2481

So if you’re having one of those days where you could just eat a bowl of frosting, remember, it’s almost Friday.

And here, have a cupcake.

IMG_2480

strawberry Buttercream

The letter B. Is there anything that this day could possibly be about other than butter cream?

Last week I made a lemon butter cream that was absolutely delicious.

The lemon really cut through the rich sweetness of the frosting and gave the cake an almost refreshing feel.

With this in mind, I knew I wanted to make a butter cream that wasn’t overpowering and that maybe had a citrusy or fruity twist. It is spring after all.

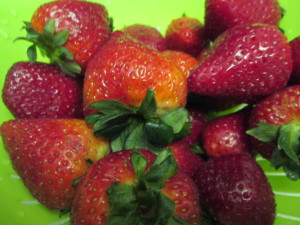
So when I walked into the store and saw these

IMG_2462

i knew.

Strawberry butter cream had to happen.

Now, I’m going to admit, I’m not the best baker.

I started out loving baking, but then over the years I grew to be more of a cook.

So while this butter cream actually came out tasting great, it wasn’t quite how I envisioned. I wanted a bit of a firmer texture. But this came out a little more on the fluffy side. I think I didn’t compensate enough for the extra liquid the strawberries brought to the mix.

But hey. That’s part of the fun of cooking!

Let the kitchen be your laboratory and experiment away.

I’ll tell you what I did and then I’ll tell you what I think I would do differently.

So my vision was a lighter butter cream.

I love me a so-sweet-your-teeth-hurt glob of butter cream on my cupcakes, but after eating a bag of jelly beans without realizing I had eaten a whole bag, I was thinking I should cut the sugar a bit.

Strawberries are naturally sweet, so that would let me cut down the amount of powdered sugar.

I didn’t want to use a full stick of butter though. So I thought maybe mixing some whipped cream into the butter cream to make a less dense frosting.

So that was my thought process.

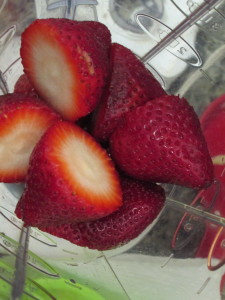
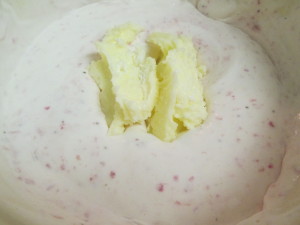
Toss your hulled strawberries into the blender or food processor (I used 10)

IMG_2464

give it a buzz

IMG_2465

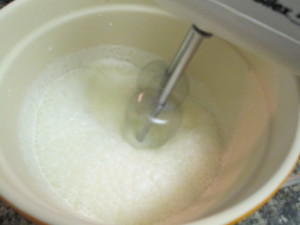
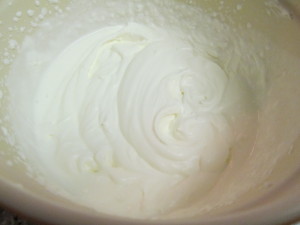
Next, pour some heavy cream into a bowl and whip it up

IMG_2466

into a thick an frothy whipped cream

IMG_2467

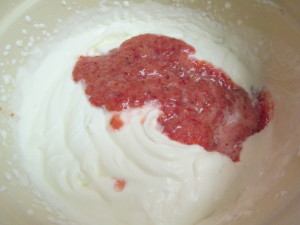
I didn’t put any sugar in because now we are going to fold in the strawberry puree

IMG_2468

and we will tailor the amount of sugar we add based on the sweetness of the strawberries.

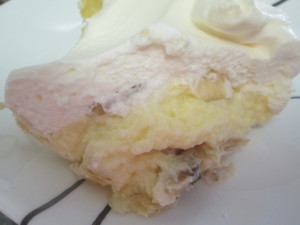
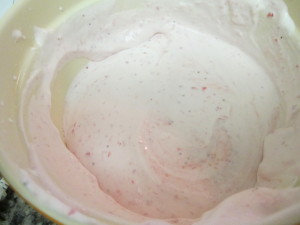
You’ll get a very pretty, light pink whipped cream that would be lovely to top a cream pie with.

A banana strawberry cream pie would be heavenly!

IMG_2470

But I wanted to top some cupcakes, so I needed this to have a bit more substance to it.

And here’s where the butter cream comes in.

And where I think mistakes start to be made.

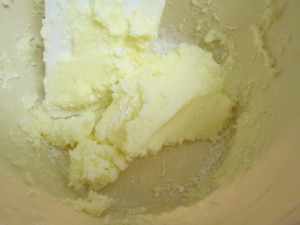
So I used half a stick of butter and a cup of powdered sugar.

IMG_2473

And I am an impatient baker. Which is why I’m not the best baker.

And I don’t think I whipped the butter and sugar up quite enough.

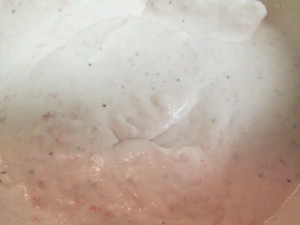
So when I added it to the whipped cream, it didn’t quite incorporate as well.

IMG_2474

Also, next time I would add the whipped cream to the butter cream. I think my ratio was off and if I had added whipped cream to the butter cream I would have had more control over the texture.

But, I gave it a taste, added a little more powdered sugar (my strawberries weren’t as sweet as I thought) and gave the mixture a good whipping with a hand mixer. And let it sit in the fridge for about a half hour.

IMG_2477


The result?

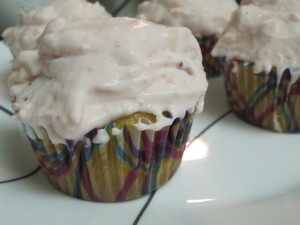
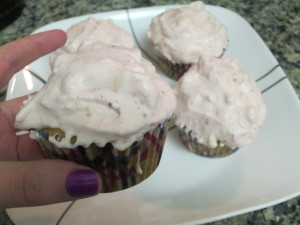
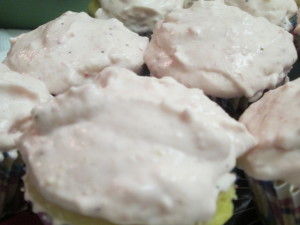
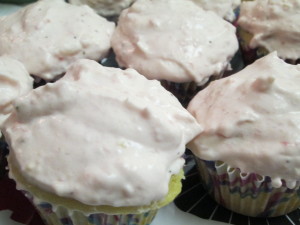
A light and fluffy strawberry butter cream meets whipped cream cupcake topper.

IMG_2478

You really taste the strawberries. And you’re not overwhelmed by butter and sugar.

IMG_2479

a semi-successful butter cream experiment.

Healthy Peanut Butter Oatmeal Chocolate Chip Cookies

Have greater words ever been uttered?

Peanut Butter Oatmeal Chocolate Chip Cookies. That are healthy? Or at least better for you than the average cookie?

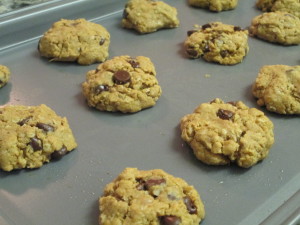
IMG_2411

When I saw this recipe from Sally’s Baking Addiction, I had to try it!

These came out even better than I thought and you can’t even tell that there is no flour and no butter in here. The oatmeal gives the cookie the chewy cookie texture we all expect in our chocolate chip cookies and the peanut butter gives the rich taste that makes this feel like a naughty after school treat.

But there’s good protein and fat in the peanut butter, heart healthy oats, antioxidant rich dark chocolate, and only a few spoonfuls of sugar.

This is not your grandma’s cookie!

You probably even have all of the ingredients in your pantry.

  • 2/3 cup old-fashioned rolled oats
  • 1/2 teaspoon ground cinnamon
  • 1 teaspoon baking soda
  • 1 large egg
  • 1 cup  peanut butter
  • 6 Tablespoons sugar (Sally uses brown sugar, but I didn’t have any.)
  • 1/2 cup dark chocolate chips

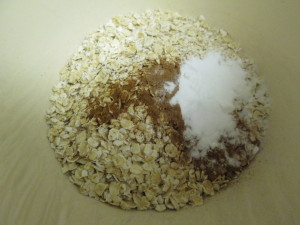
In one bowl mix together the oats, cinnamon and baking soda.

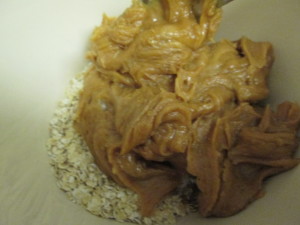
IMG_2395

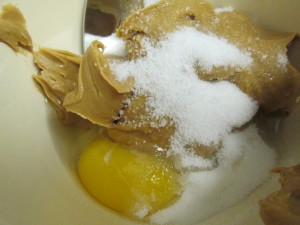
In another bowl place the egg, peanut butter and sugar.

IMG_2396

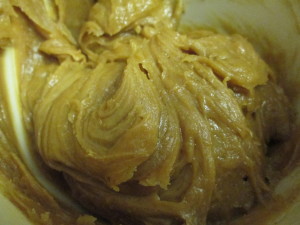
Mix the peanut butter and egg mixture until fully combined.

IMG_2397

Then add the peanut butter mixture to the oats.

IMG_2398

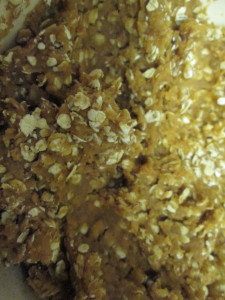
And stir to combine.

IMG_2399

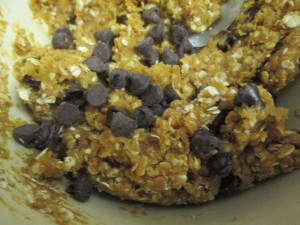
And fold in the chocolate chips.

IMG_2400

Let the dough chill in the refrigerator for about 30 minutes.

Preheat the oven to 350 and lightly grease a cookie sheet.

Roll the dough into one inch balls and flatten slightly.

I was way too excited about getting these cookies into the oven and forgot to take a picture of them before baking.

I got about 16 cookies out of the dough.

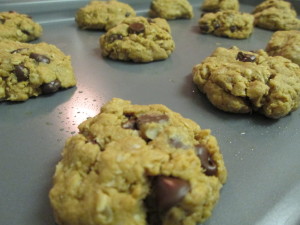
Bake for about 10 minutes.

IMG_2410

Melty chocolate chips. Warm Peanut butter. Nutty Oats.

No guilt?

How could you say no?

Lemon Buttercream


Have your cake and eat it too!

IMG_2382

Yes, I know the saying is that you can’t have your cake and eat it too, but I was thinking about this. Last night I asked Christopher if he wanted to have some cake with me. And by have, I meant, do you want to eat cake with me so I am not the fat kid sitting on the couch in my pajamas watching the rangers game and eating cake by myself?

Sometimes have and eat are interchangeable.

And sometimes you just need to have cake!

And that’s why I always have box cake mix in the house.

I whipped up a box white cake mix.

And then jazzed it up with homemade lemon butter cream.

I didn’t realize how easy butter cream was to make until recently.

1 stick of butter + 3 cups powdered sugar + flavoring + muscles = frosting!

Seriously.

Just let the butter soften, then either use some muscles and a wooden spoon or a hand mixer.

I vote for muscles and a wooden spoon because then you kinda got a workout in so you’re entitled to more frosting.

For a twist, instead of vanilla extract, I added 3 tablespoons of fresh lemon juice. It gives the frosting a light, springy taste. Despite the snow they’re calling for.

IMG_2383

Hello! It’s the end of March!

I can’t handle the snow. Or the cold!

I’m sorry. I’m having a melt down.

I need spring and sun and beach and warm.

But for now, I’ll have to settle for cake.

IMG_2385

Irish Soda Bread

By now you all probably know that I’m Italian. But I’ve never mentioned that I am, in fact, Irish too. A little.

My grandma Helen (of the famous cinnamon rolls) was an Irish girl through and through. But because she married an Italian man, most of the food I most associate with her is Italian. Or kind of Southern.

So this St. Patrick’s Day, I decided to channel my oft-forgotten Irish roots with some soda bread.

Now, if you’re like me, you’ve had some amazing Irish soda bread in your life, and you’ve probably had some not so amazing soda bread in your life.

It has to be kind of dense, a little chewy, not overloaded with raisins and not real sweet. You know what I mean.

I found the most perfect soda bread recipe over at Simply Recipes, and I will definitely be making this one again. It may not be my grandma’s recipe (I don’t know where it is or if she ever wrote one down in the first place) but it tastes homey and comforting.
Oh and east! This is one of the easiest bread recipes I’ve ever made.

You will need

  • 4 cups flour
  • 2 tbsp sugar
  • 1 tsp salt
  • 1 tsp baking soda
  • 4 tbsp butter
  • 1 cup raisins
  • 1 egg, beaten
  • 1 3/4 cups buttermilk

Preheat the oven to 425 and lightly grease a cookie sheet.

In a large bowl, whisk together flour, sugar, salt and baking soda.

IMG_2335

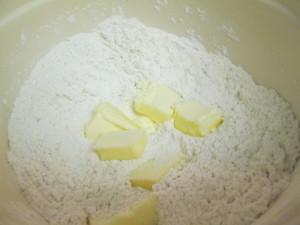
Slice the butter and add it to the dry ingredients, working it into the flour with your hands or a pastry cutter until it forms a coarse meal.

IMG_2336

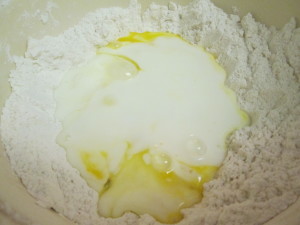
Make a well in the center and add the egg and the buttermilk.

IMG_2338

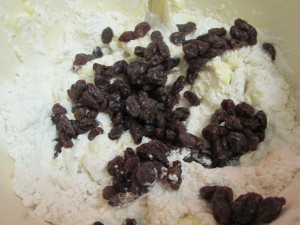
Using a wooden spoon, gently combine the ingredients and add the raisins.

IMG_2339

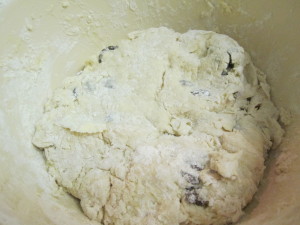
Lightly flour your hands and gently knead the dough. This isn’t a dough you want to go at. You want to just bring it together loosely.

IMG_2340

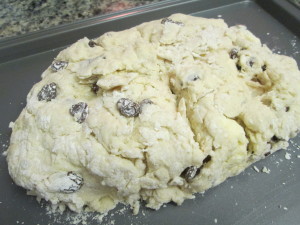
When it forms a loose ball, turn it out on the cookie sheet and form it into a loaf.

IMG_2342

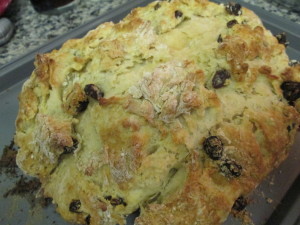
Bake at 425 for about 30-40 minutes.

The top will be golden brown and a knife will come out clean when inserted in the center.

IMG_2352

Put on the tea. Or grab a Guinness.

Slice up the bread. Slather with butter.

And kiss me! I’m Irish!

Fudgy peppermint brownies

I know.

Two sweet and delicious recipes in a row.

But it’s Valentine’s Day and all I want to do is bake and eat chocolate.

And spread love.

And what better way is there to spread love than with a brownie?

And not just any brownie.

Oh no. You will never be able to even look at another brownies again after having these.

I admit,  I always reach for the box when a craving for brownies strikes. But, it being Valentine’s Day and all, I decided to put on my girl panties and go for it. From scratch.

And to whom did I turn when venturing into the world of real, made from scratch brownies for the first time? Pssh.

Do you even need to ask?

This recipe comes from the one and only Martha Stewart.

My little twist was to add some chopped up candy cane Hershey Kisses to the top because I love peppermint and chocolate and because I’m trying to use them up.

Necessity the mother of invention and all that jazz.

So. The recipe.

  • 1 stick unsalted butter
  • 8 ounces bittersweet chocolate chips (or chocolate chopped up)
  • 1 1/2 cups sugar
  • 4 eggs
  • 1 tsp vanilla
  • 3/4 cup flour
  • 1/2 tsp salt
  • chopped candy cane Hersey Kisses (optional)

This recipe is really pretty easy. I don’t know why, but I had always imagined that brownies would be harder and that the box was just so much more convenient. But really, this is a snap.

Preheat the oven to 350 and grease an 8×8 baking pan.

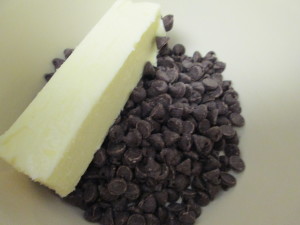
fill a pot with about a one inch layer of water and set a heat-proof bowl in it. The bottom of the bowl should not touch the water. Turn the burner to medium and add the butter and the chocolate to the bowl.

IMG_1587

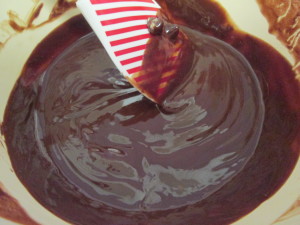
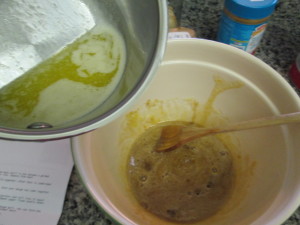
Stir the butter and chocolate until the melt, being careful not to burn,

IMG_1588

When melted, remove from the heat and let cool.

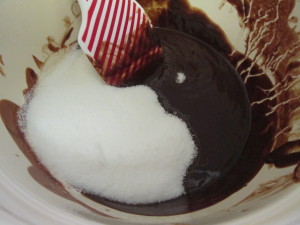
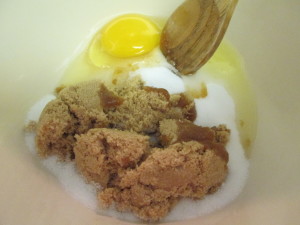
Add in the sugar and stir until combined.

IMG_1589

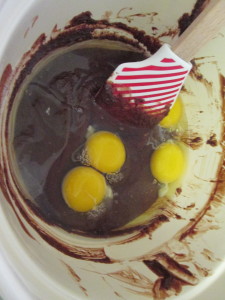
Add the eggs and vanilla, and again stir until combined.

IMG_1590

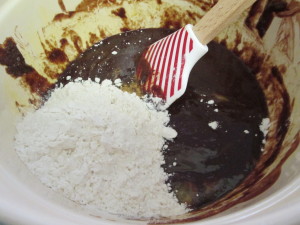
Last, Gently fold in the flour.

IMG_1591

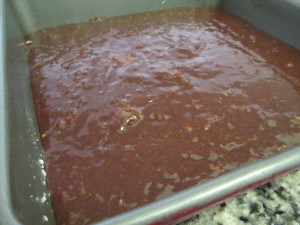
Pour the mixture into the greased pan

IMG_1592

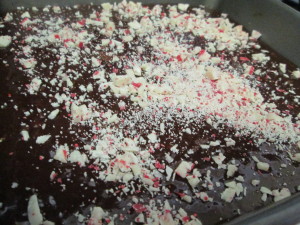
Sprinkle with the candies (if you want to)

IMG_1593

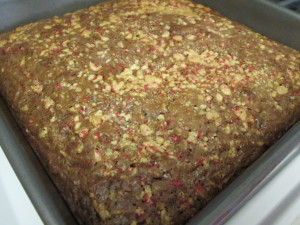
And pop in the oven for 40-45 minutes.

The peppermint candies will bake into the top and form a minty crust on top of the rich chocolate brownies.

IMG_1594

Your Valentine will definitely be thine.

Brown Butter Peanut Butter Oatmeal Cookies


I bet that title caught your attention.

Brown butter,

Peanut butter

Oatmeal

Sign me up!

And make it a double.

I found this recipe over at the Bakeaholic Mama’s Site. Hers included caramel, which the fiance is not a fan of. So, I tweaked slightly, removing the caramel, and came up with what is now his favorite cookie.

Remember, if there’s some ingredient you don’t like or can’t find, don’t be afraid to play. You might come up with a new favorite too!

For this recipe you will need:

  • 1 stick of butter, melted until golden brown and nutty smelling
  • 1/2 cup sugar
  • 1/2 cup packed brown sugar
  • 1 egg
  • 1 tsp vanilla (I didn’t have vanilla so subbed with bourbon. Best idea ever)
  • 1 1/4 cup flour
  • 3/4 cup old fashioned oats
  • 1/4 tsp salt
  • 1/2 tsp baking powder
  • creamy peanut butter – I will never tell you how much or how little peanut butter to use. dollop away

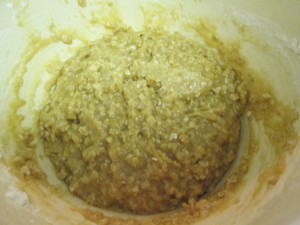
Preheat the oven to 350 and lightly grease a cookie sheet.

In a bowl, mix together the sugars, egg and vanilla (or bourbon. I’m telling you, it added a nice little something to the cookies)

IMG_1569

When combined, pour in the melted butter

IMG_1570

Add in the oats, flour, salt and baking powder.

IMG_1572

When the dough comes together, refrigerate for about 20 minutes.

IMG_1573

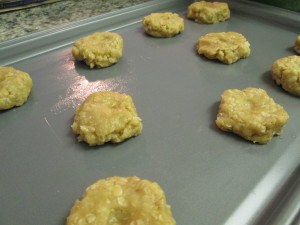
Remove from the fridge and roll the cookies into one inch balls, and press lightly to flatten.

They are perfectly wonderful just as they are, all buttery and oaty.

IMG_1575

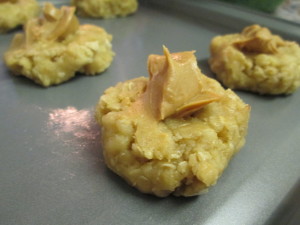
But we’re going to up the game and add a dollop of peanut butter to the top of each cookie

IMG_1576

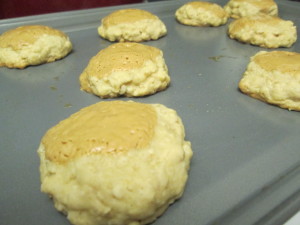
And then bake them for about 14 minutes. I got 16 cookies out of this recipe.

The peanut butter will melt over the top and form a nice little shell on the cookie.


IMG_1577

They’re nutty and warm and gooey and buttery, and vaguely reminiscent of a childhood favorite – Nutter Butters!

Anything that takes you back to childhood is a good thing in my book.

A Long Time ago in a Galaxy Far Far Away…

(Or last night in the comfort of kitchen on this cold night.)

It is a period of civil war. Rebel spaceships, striking from a hidden base, have won their first victory against the evil Galactic Empire

(It is a period of great coldness. Bitter winds, blowing with much force, have invaded from the northern territories)

Ok. Ok. Writing opening credits is clearly not my thing.

But Star Wars definitely is.

And Star Wars cookies most definitely definitely is.

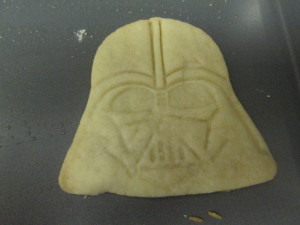
That’s right. Star Wars cookies.

My future brother in law’s girlfriend gave them to us as a gift for Christmas.

Jeff. Take note. She bought a Star Wars related gift. She is a keeper! (She’s a keeper for plenty of reasons, but I digress)

I’ve been dying to try them. But what with Chris getting his wisdom teeth out and it being so cold I have found it difficult to get out from under a blanket, I haven’t had the time.

Until now.

I followed the recipe that came with the cookies. But use your favorite sugar cookie recipe.

The one I had:

  • 2 1/2 cups flour
  • 1 1/2 sticks of butter, room temperature
  • 1 cup sugar
  • 1 egg room temperature
  • 1 teaspoon vanilla
  • 1/2 teaspoon of salt.

I was really excited and forgot to take pictures of making the dough, but it’s very basic.

Cream the butter until light and fluffy. Then add sugar and mix until well incorporated. Add the vanilla and the egg and mix again. Add half the flour and the salt and mix until flour is absorbed. Add the other half of flour and stir until combined.
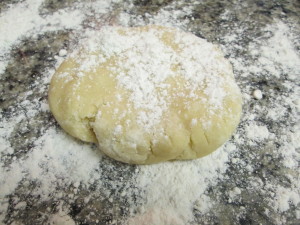
Turn the dough out onto a floured surface. Divide into two balls. Wrap in plastic wrap and place in the refrigerator for at least an hour.

Now.

Flour your surface and roll out the dough.

IMG_1556

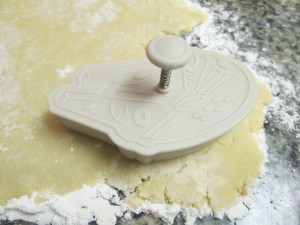
Choose your vehicle. I mean there really isn’t a choice. I mean you’ve never heard of the Millennium Falcon? It’s the ship that made the Kessel Run in less than twelve parsecs.

IMG_1557

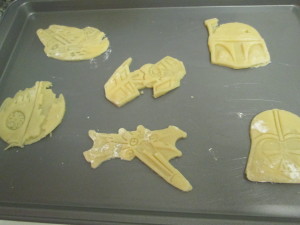
Place the cookie cut outs on a lightly greased cookie sheet and bake at 350 for about 10 minutes.

IMG_1558

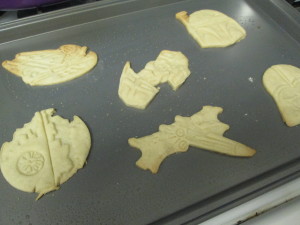
They will be lightly browned and delicious. And yes, you will now witness the firepower of this fully ARMED and OPERATIONAL battle station!

IMG_1559


What’s that? You can’t believe how awesome these cookies look?

Well. I find your lack of faith disturbing.

IMG_1560

There you have it. Star Wars cookies. And as many quotes as I could pack in!